When I first started making amigurumi, I found the hardest part was the sewing. Sewing the head, arms, legs etc. on can be very tricky at first, but the more I did it the better I got and it usually doesn’t bother me now (usually!) – I also found that switching to a bent/curved-tip needle made it much easier… once I had got used to the needle.
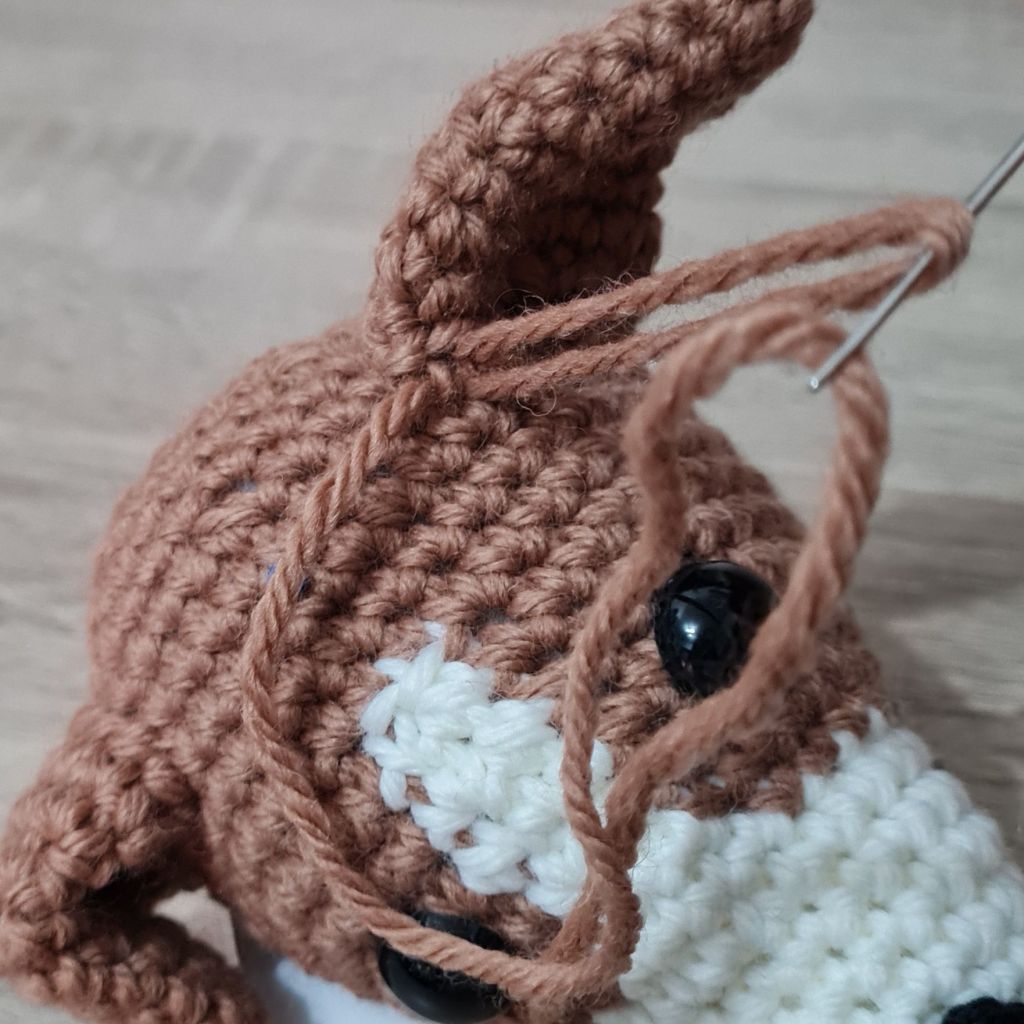
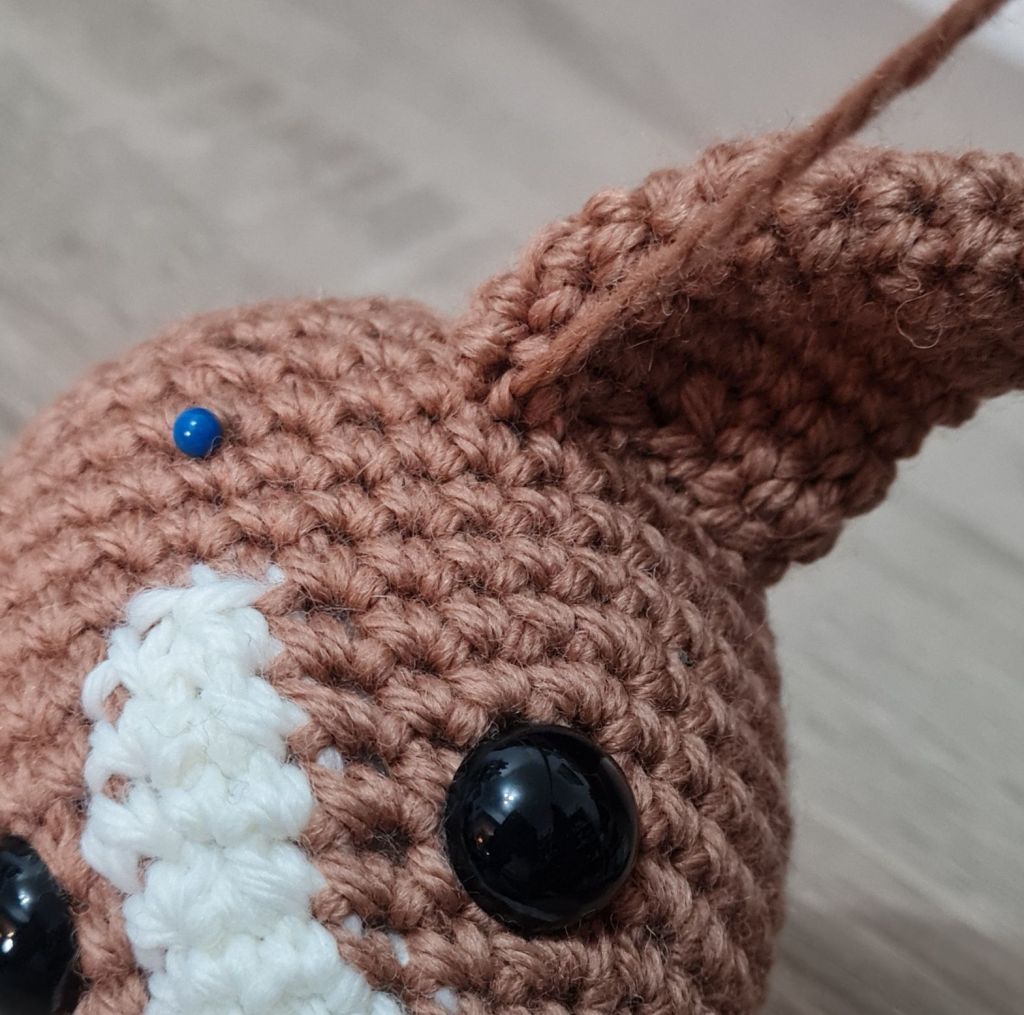
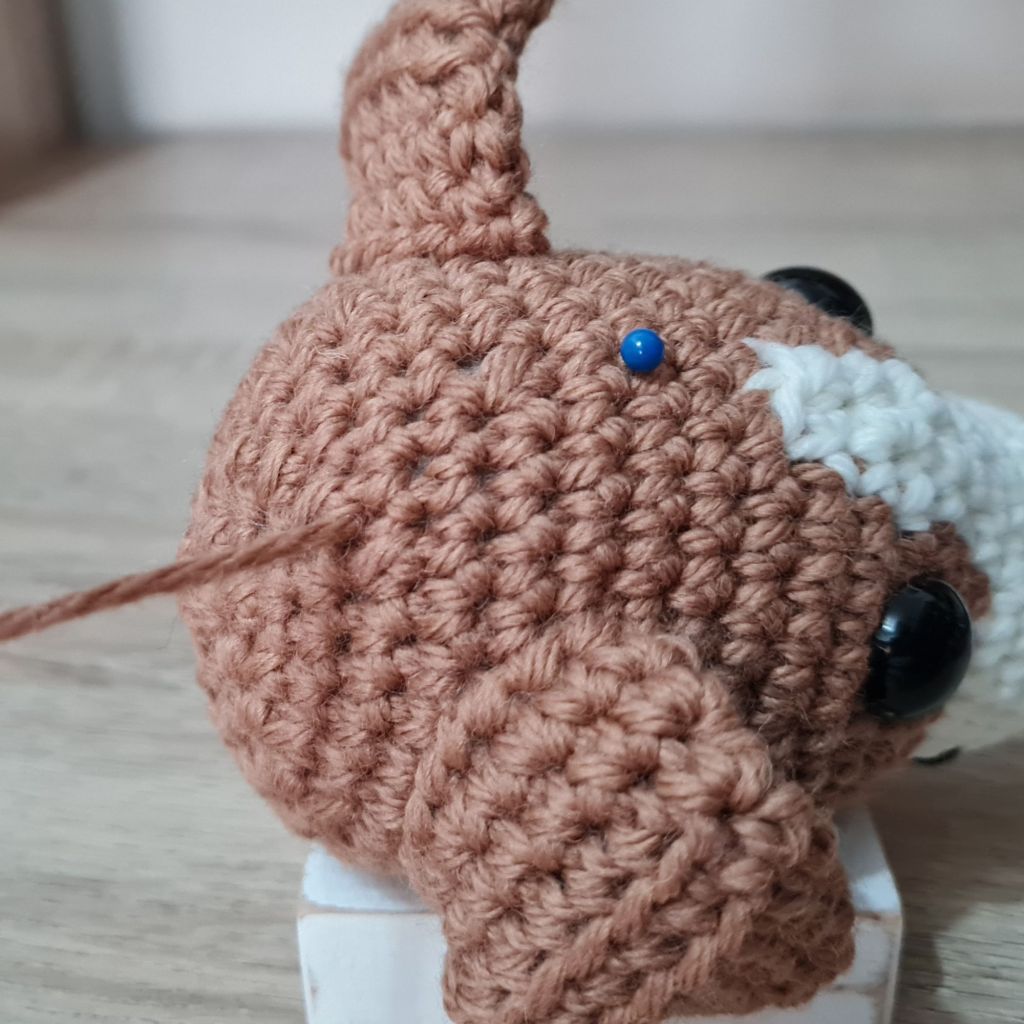
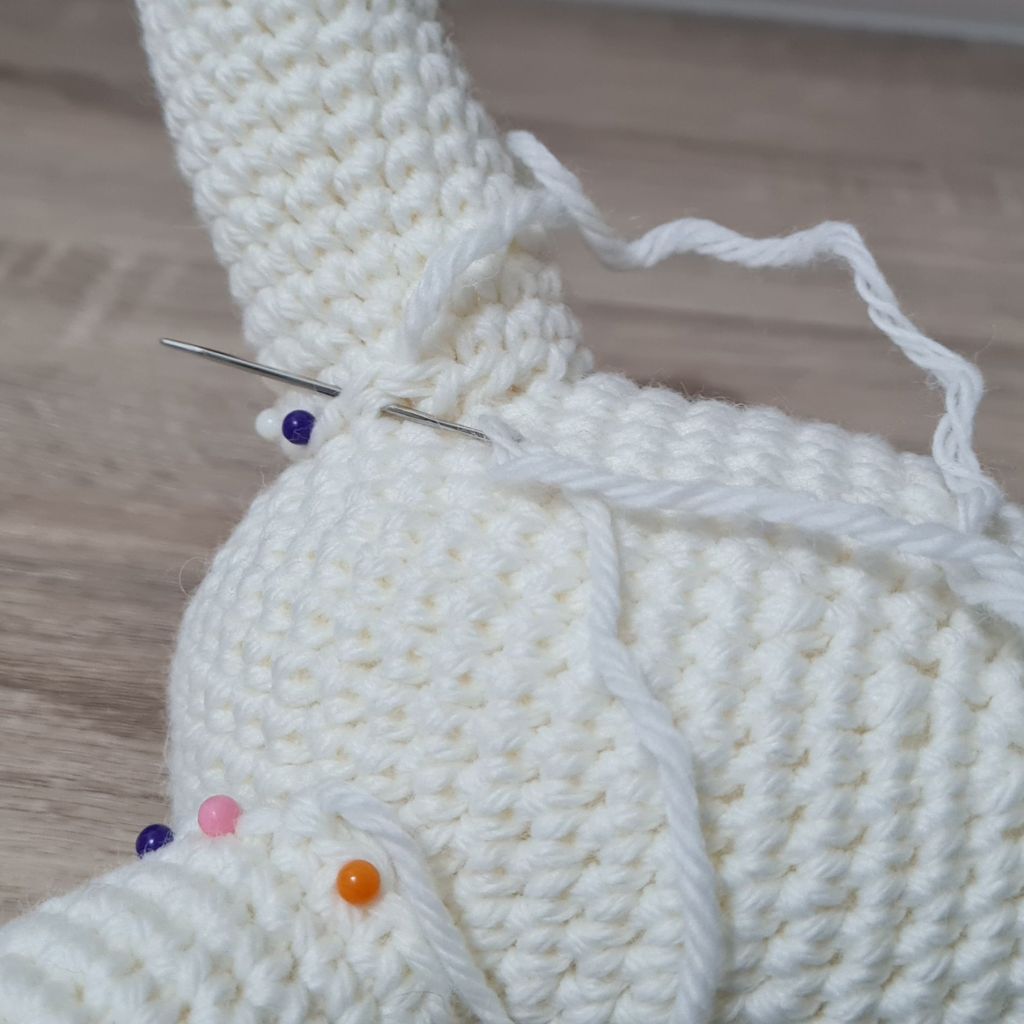
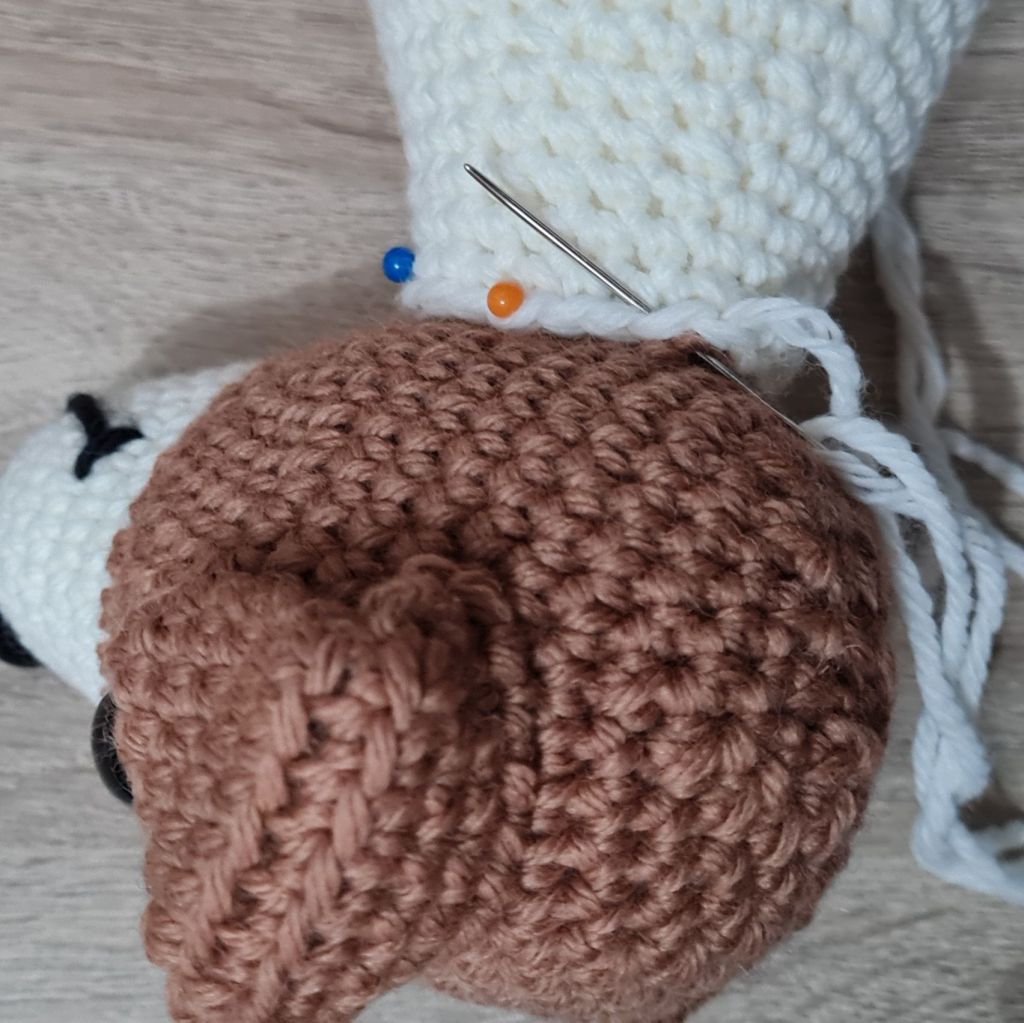
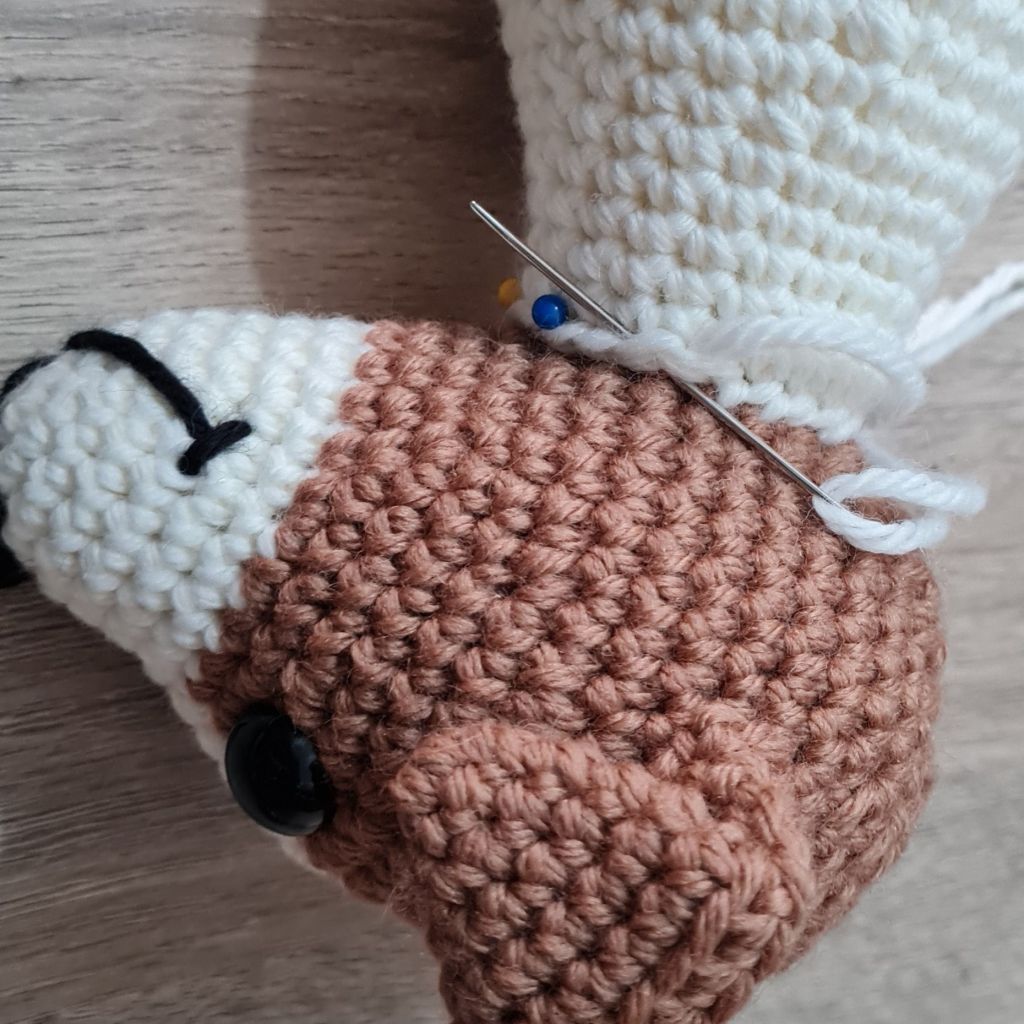
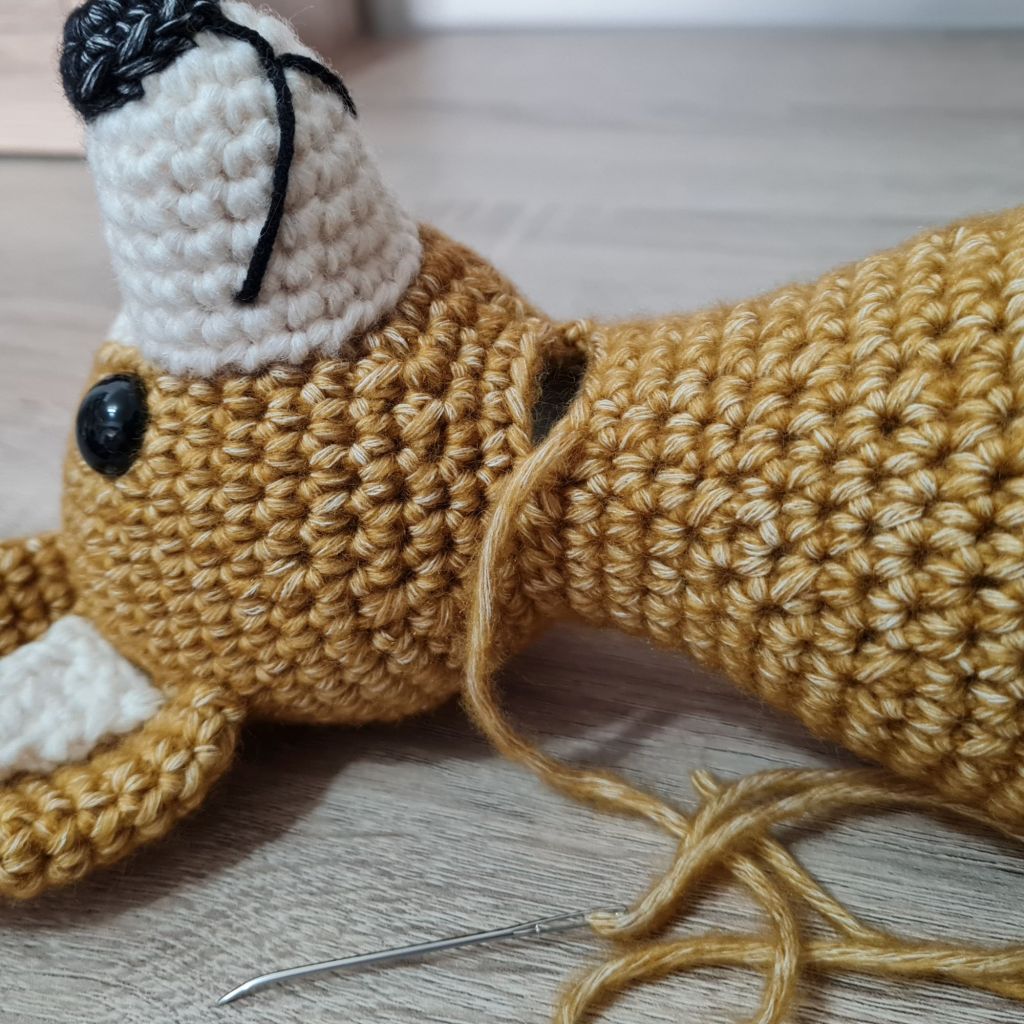
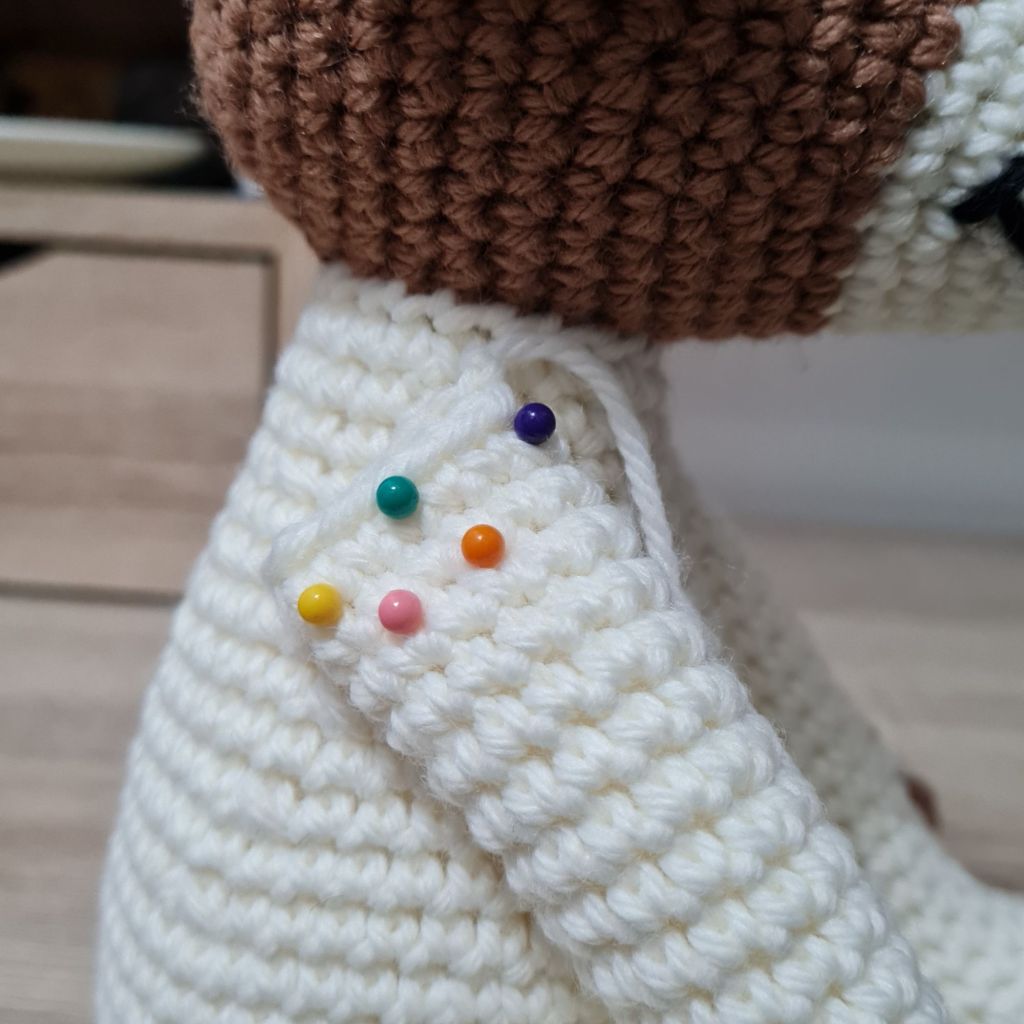
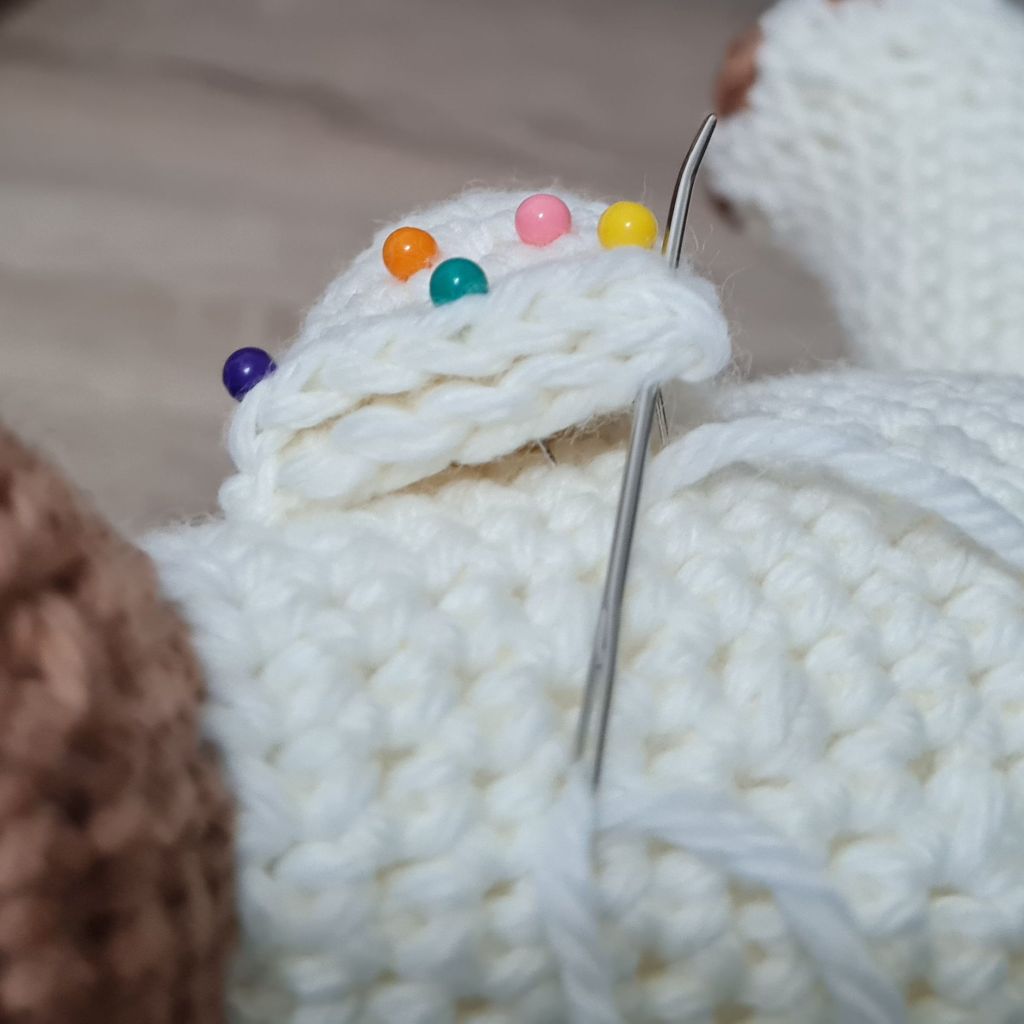
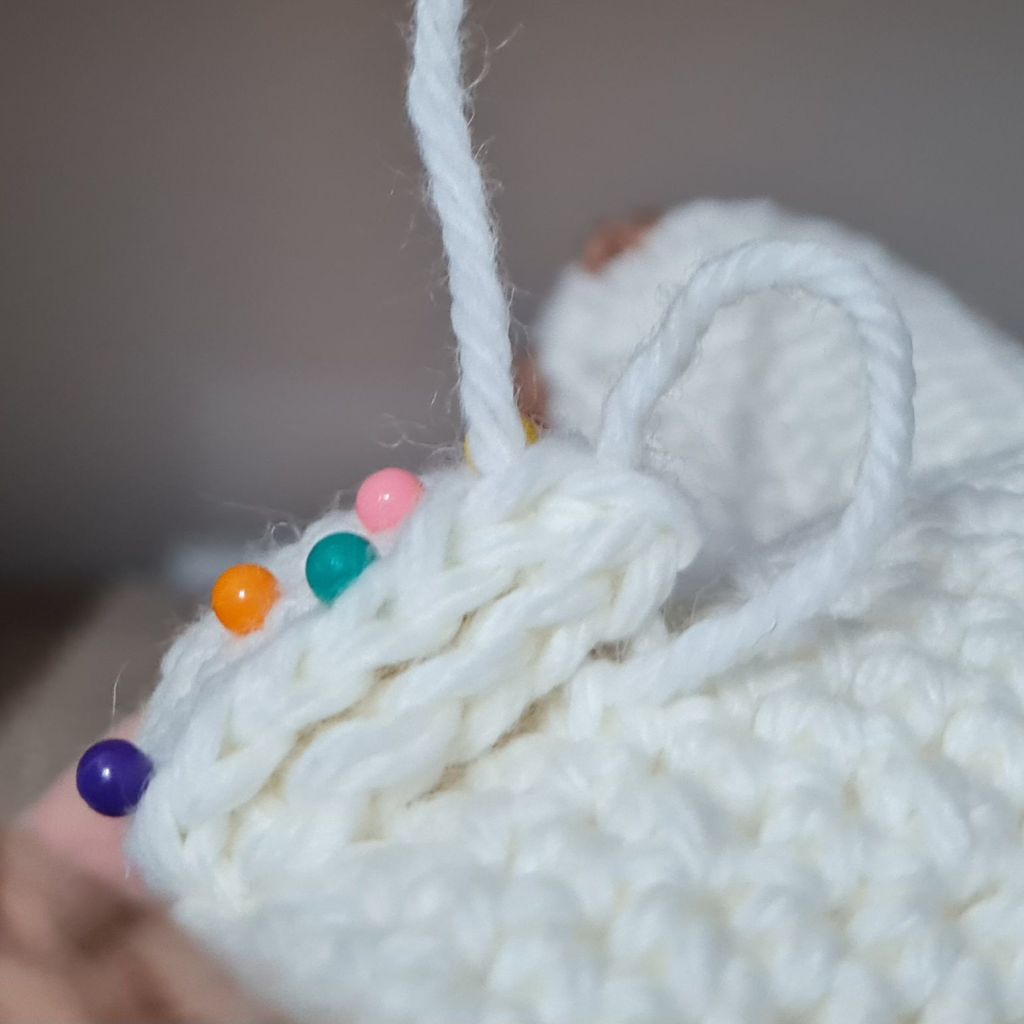
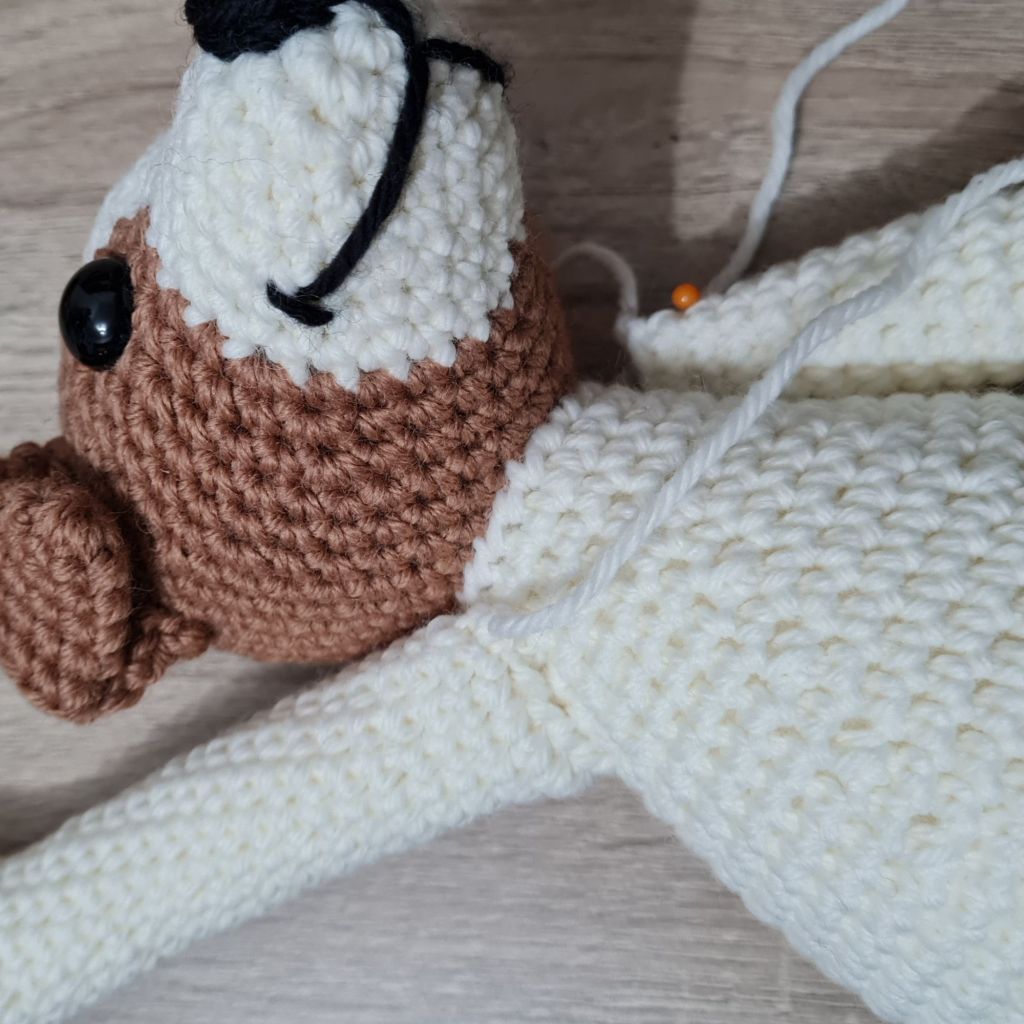
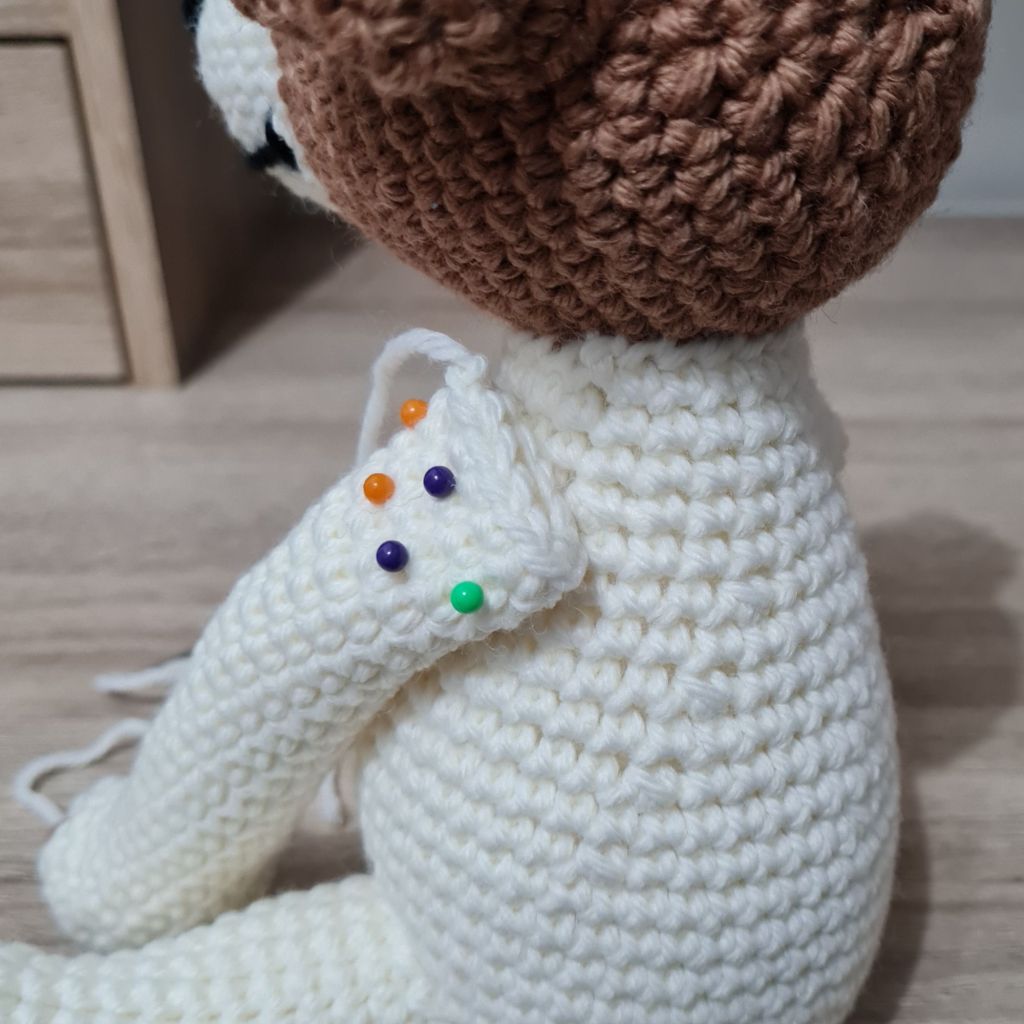
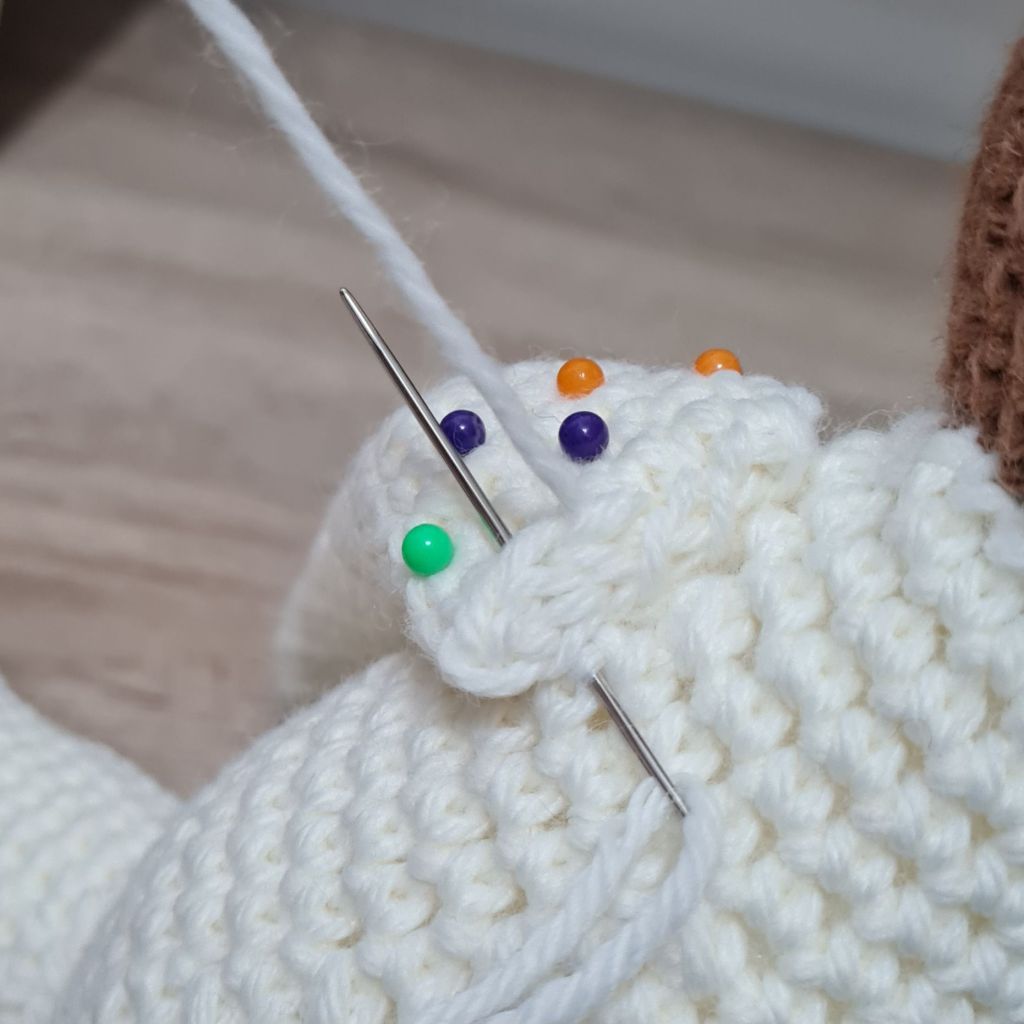
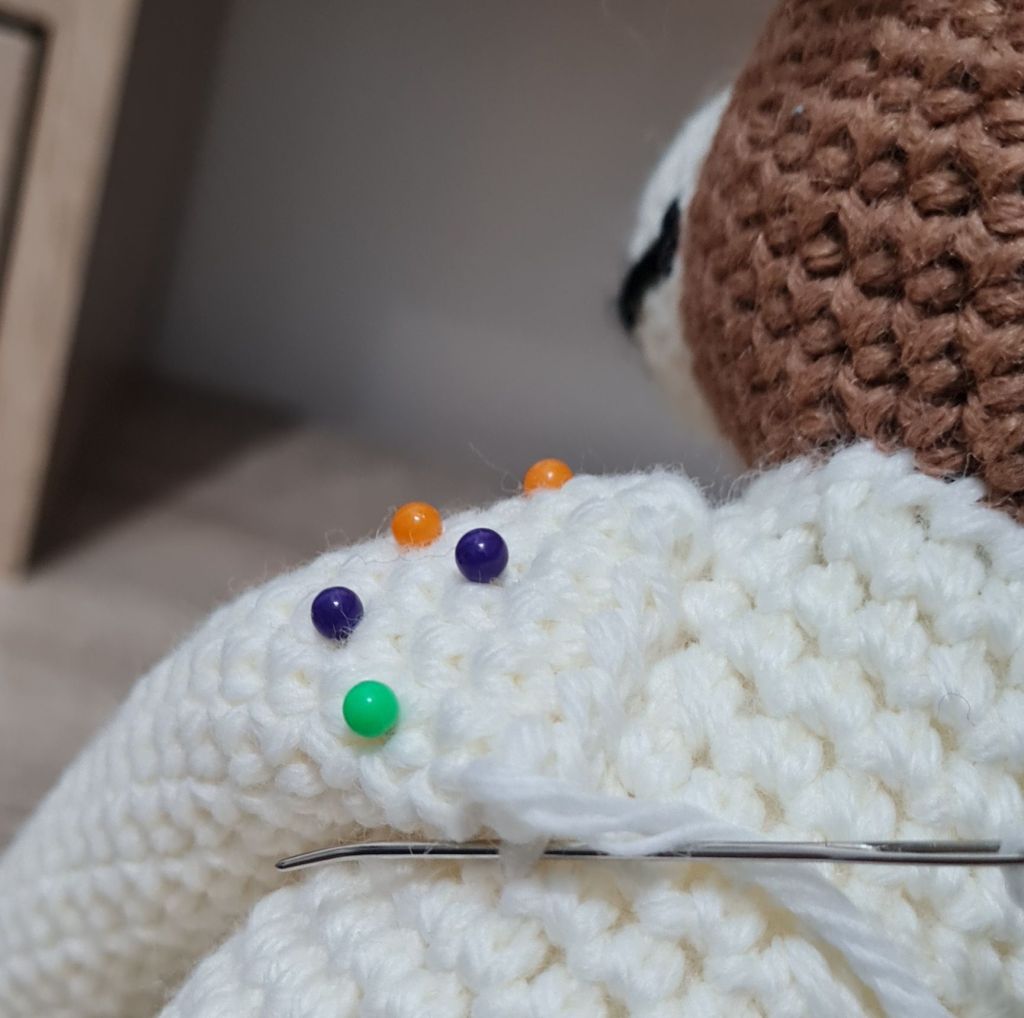
Positioning is very important and it’s worth taking extra time to make sure the piece is where you want it to be. I will usually pin the piece on, then check from all angles that it’s where it should be and level with the other pieces – it never is at first so the unpinning and re-pinning goes on for some time and I quite often use a small tape measure too… When I’m happy with where it’s pinned I will sew very slowly checking that the piece is still pinned correctly and hasn’t moved slightly after every stitch. Like I said, it does take me a long time but it’s worth it in the end because wonky pieces can be noticeable and it’s difficult to unpick and start over once you’ve finished.
I now have a slightly different technique for each of the different pieces that I sew on that works for me, so no longer dread the sewing – but I still allow lots of time to do it!
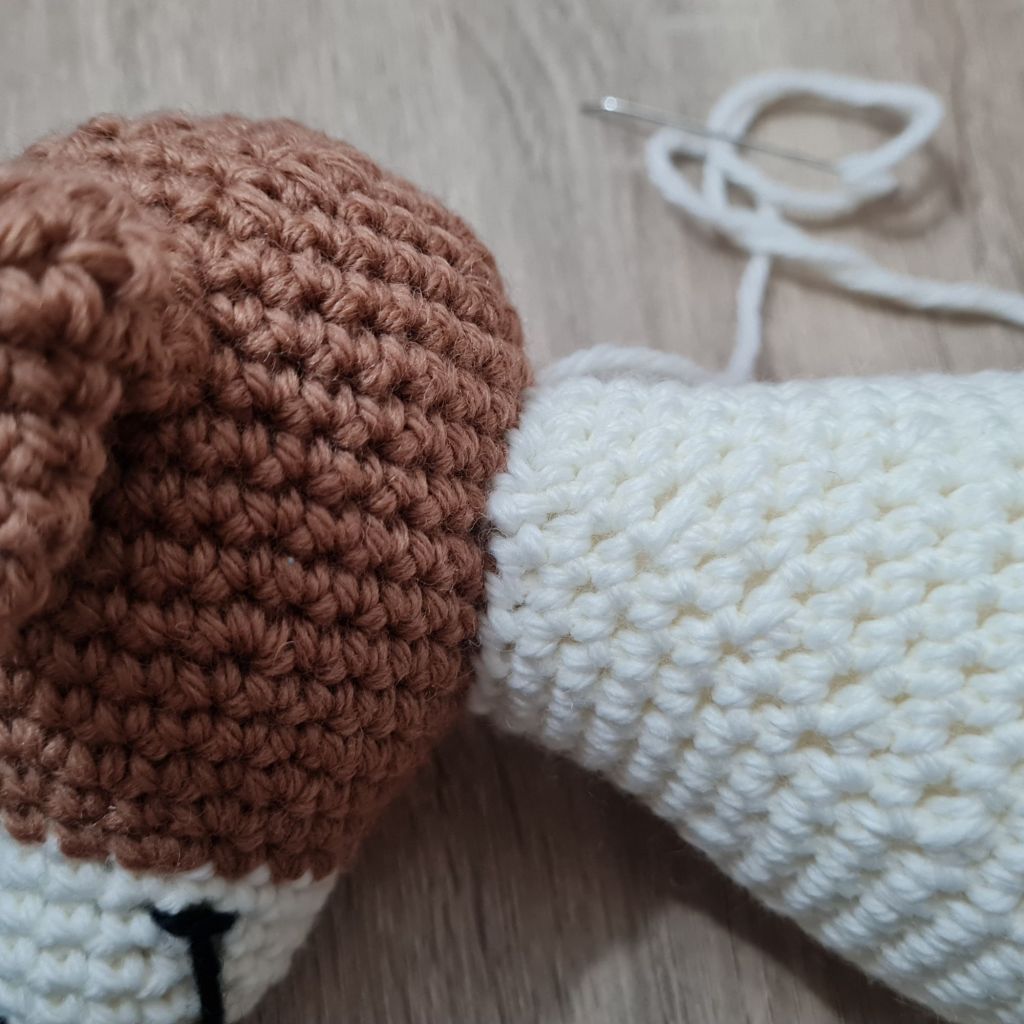
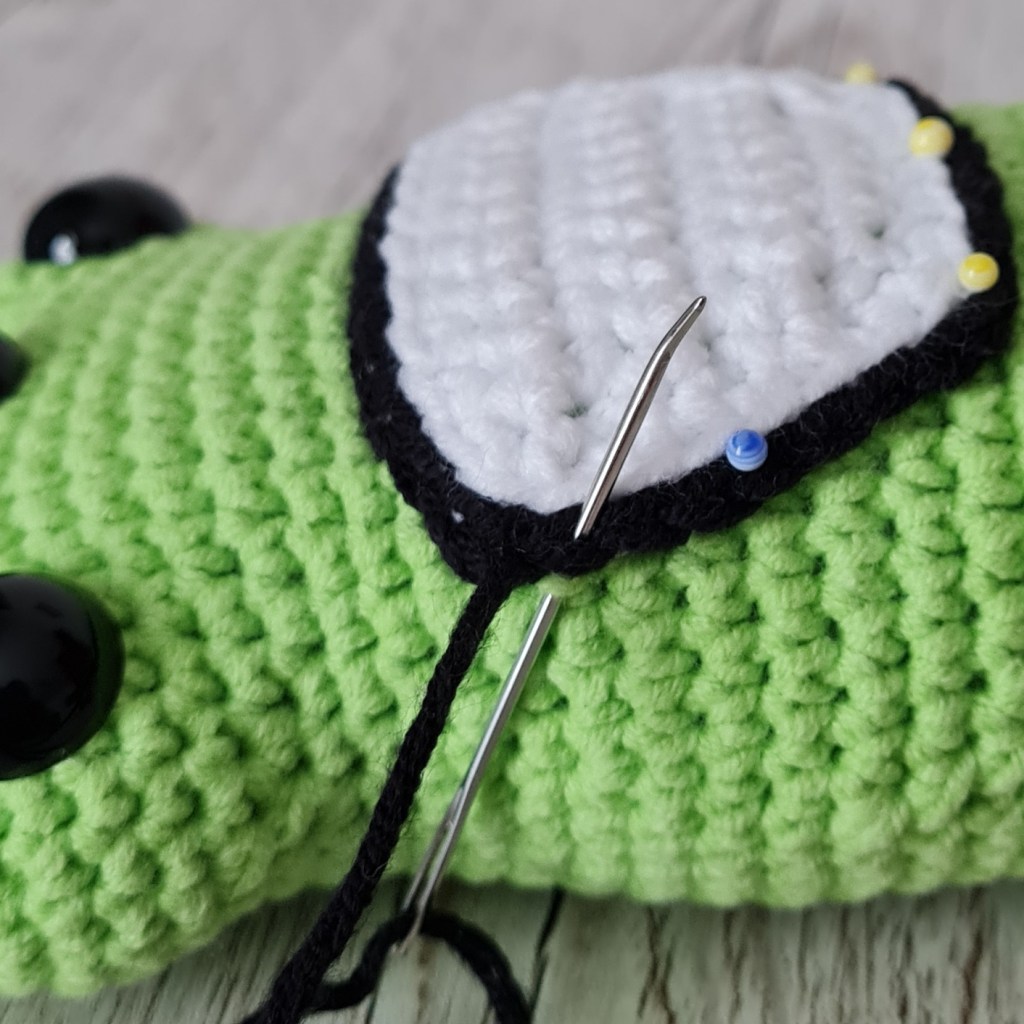
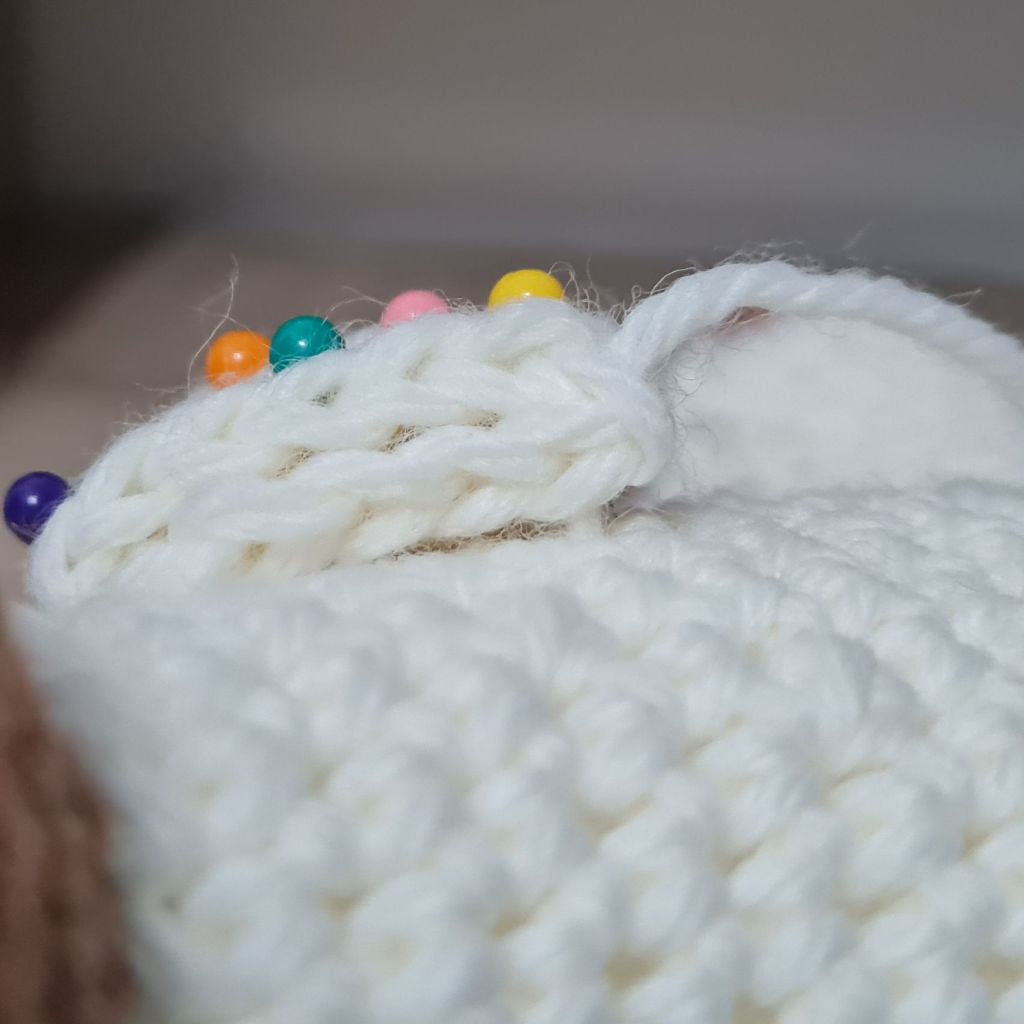
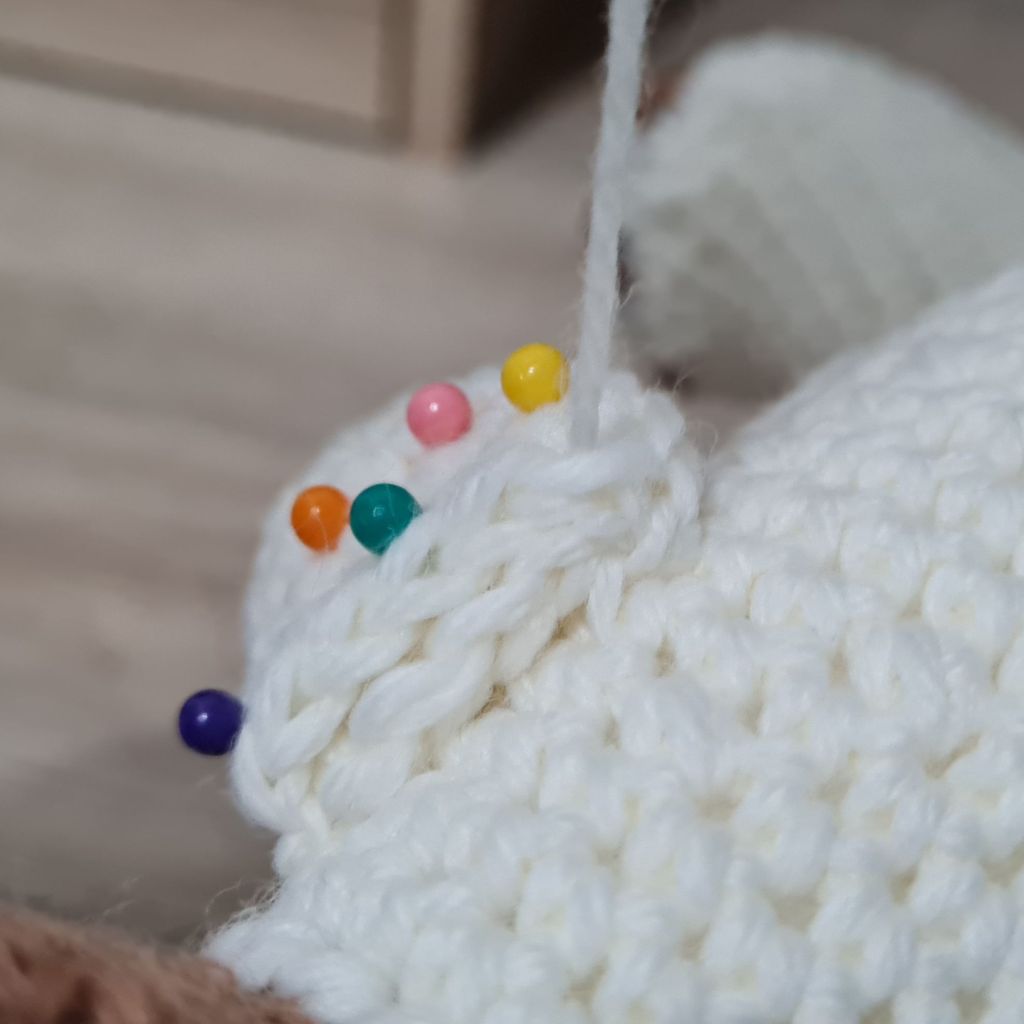
I use this method for sewing on pieces where the top loops will be flat against the other piece, like ears that stand up, closed heads, legs and some tails:

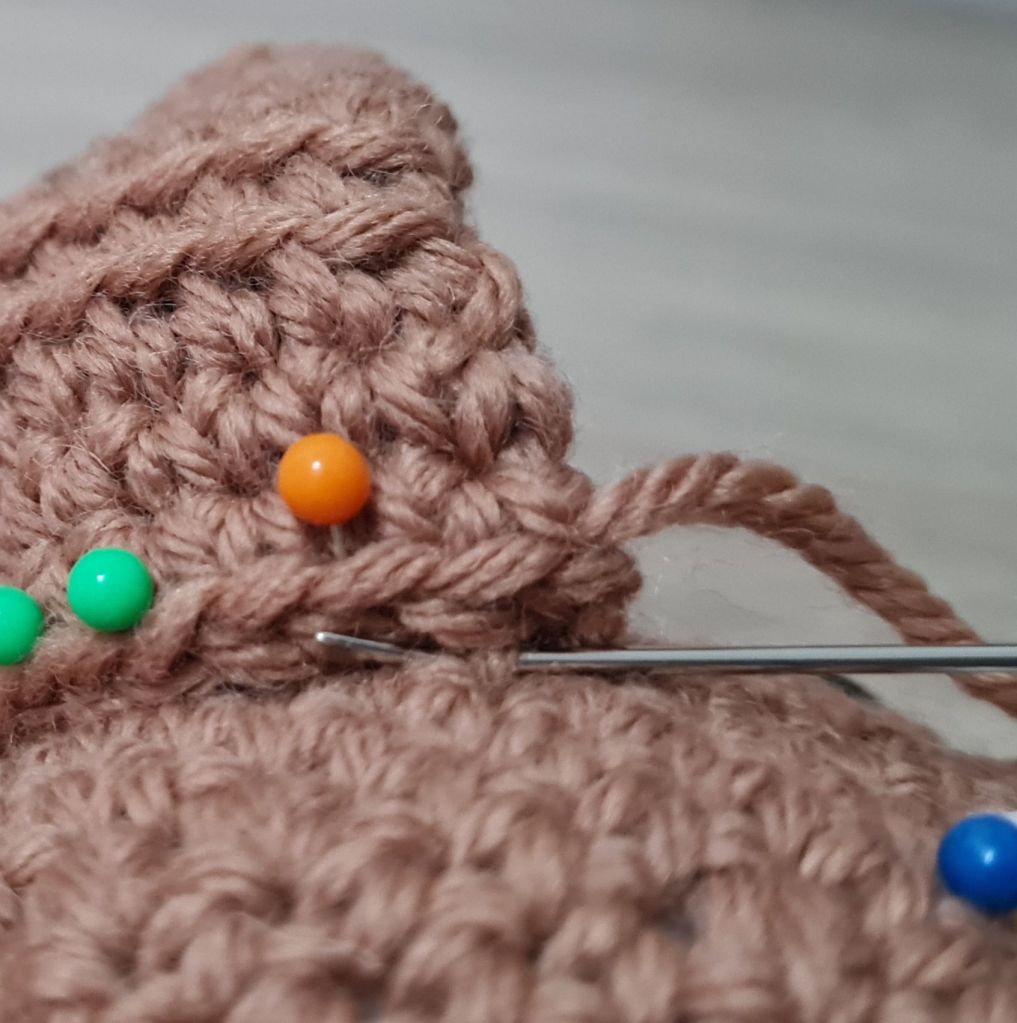
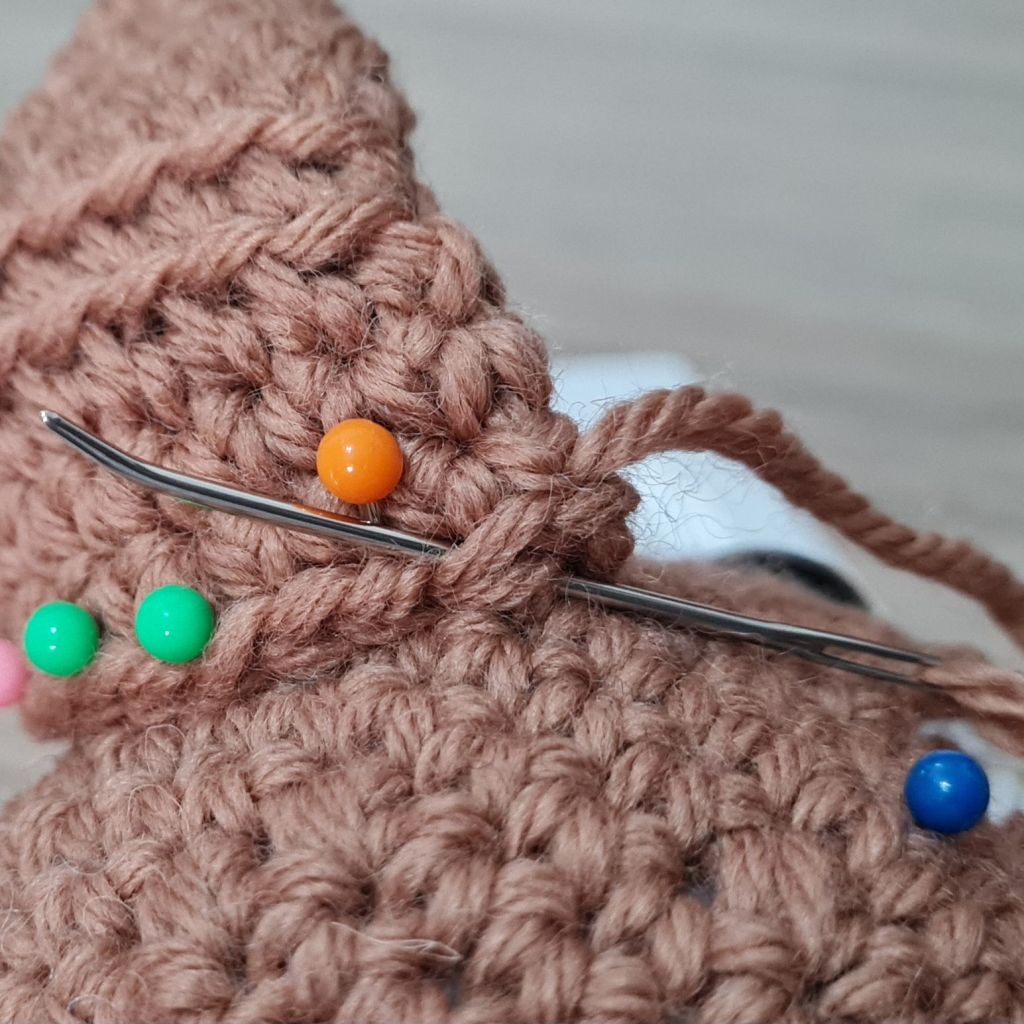
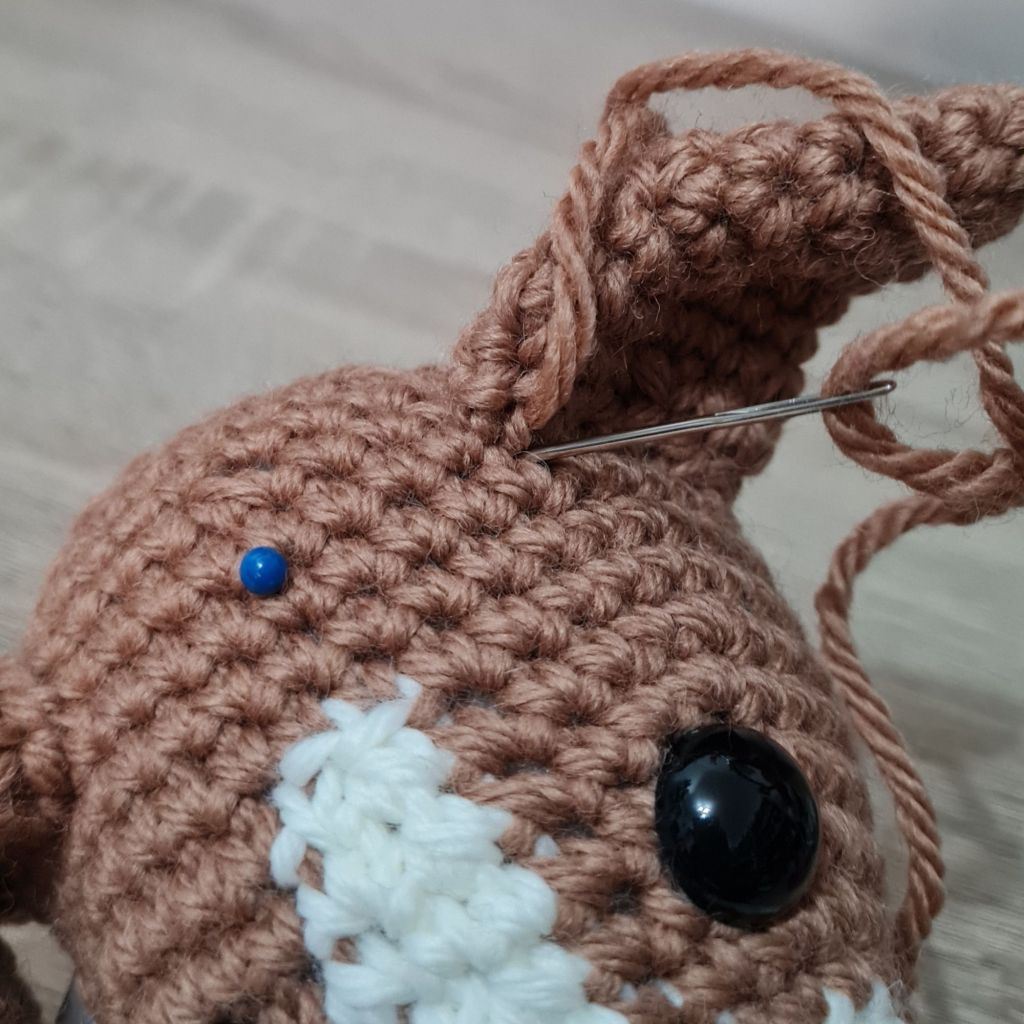
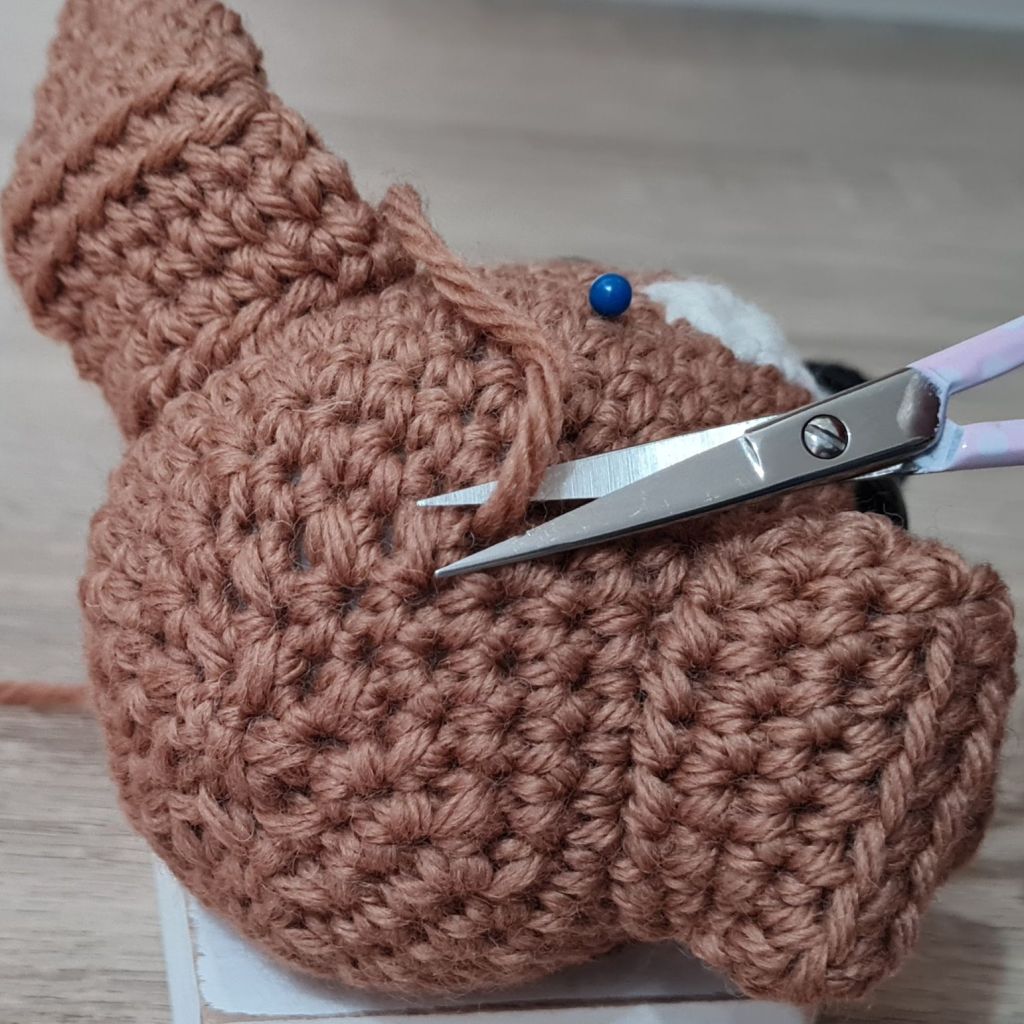
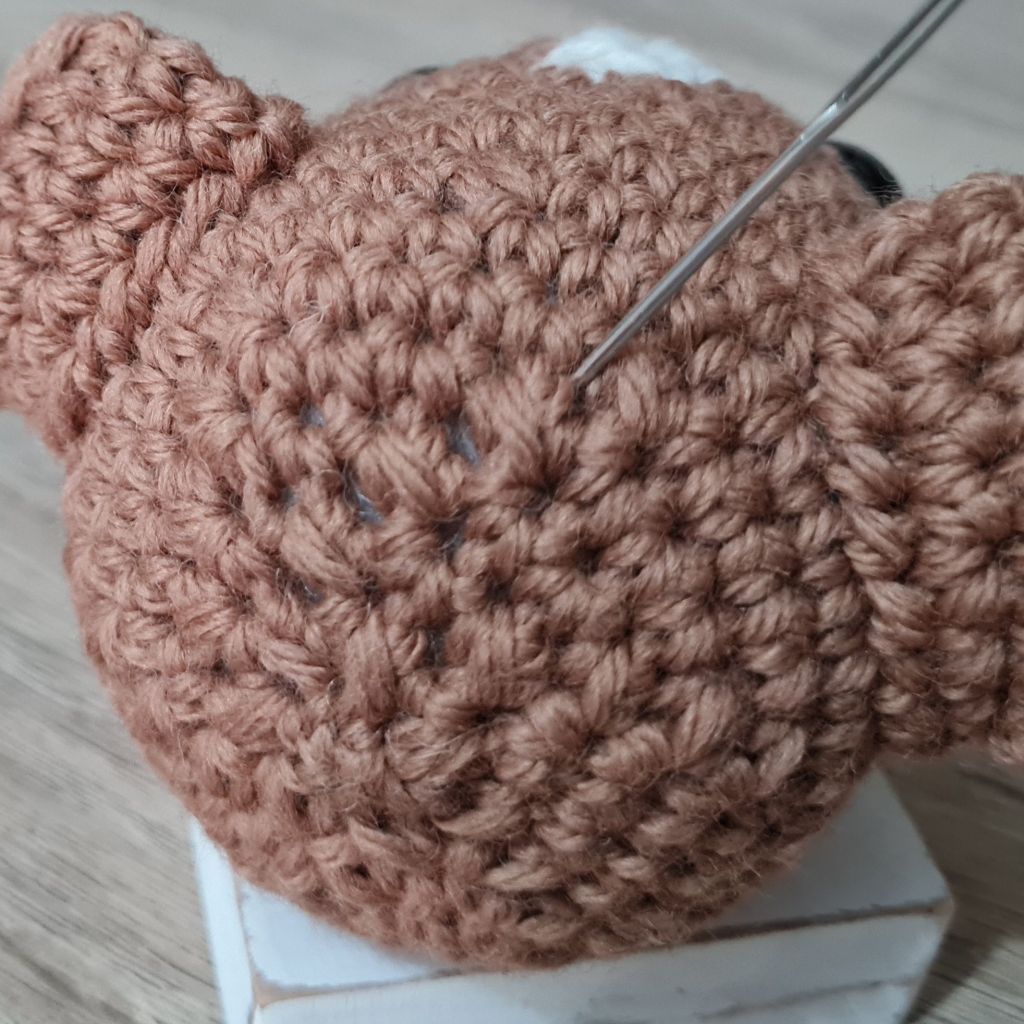
I use the same method for back legs, closed heads and some tails
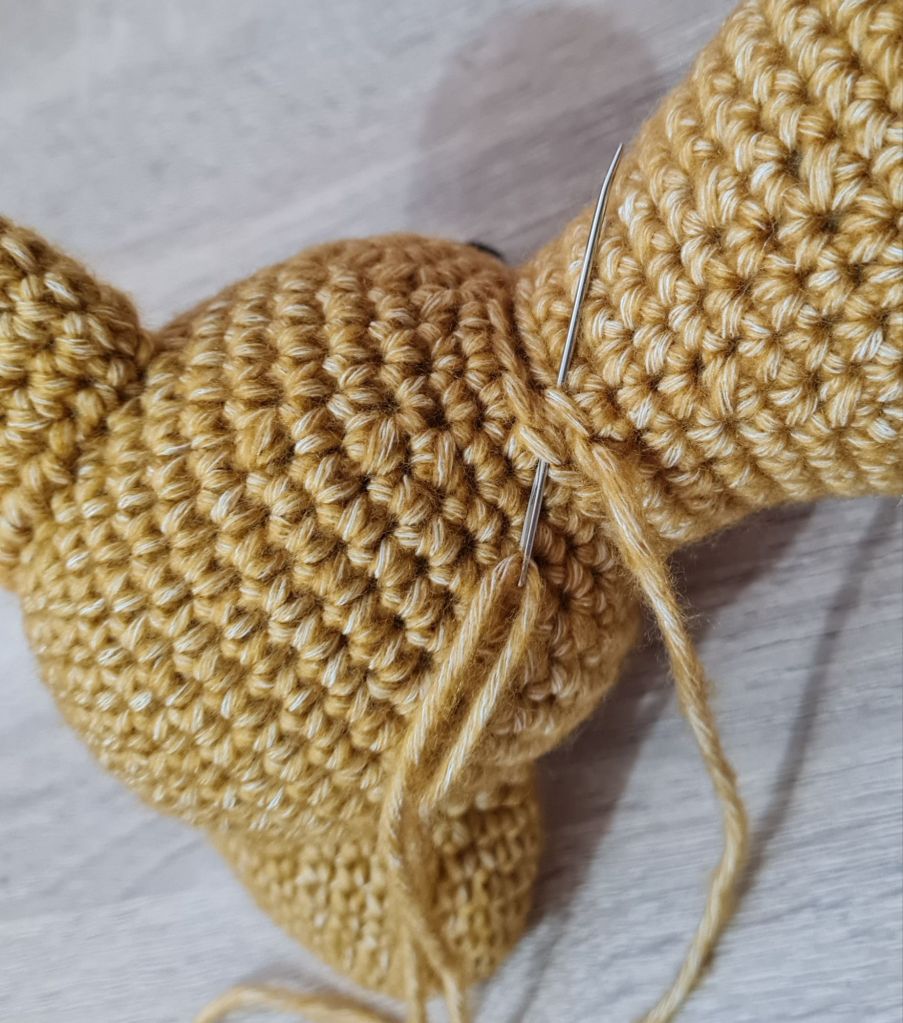
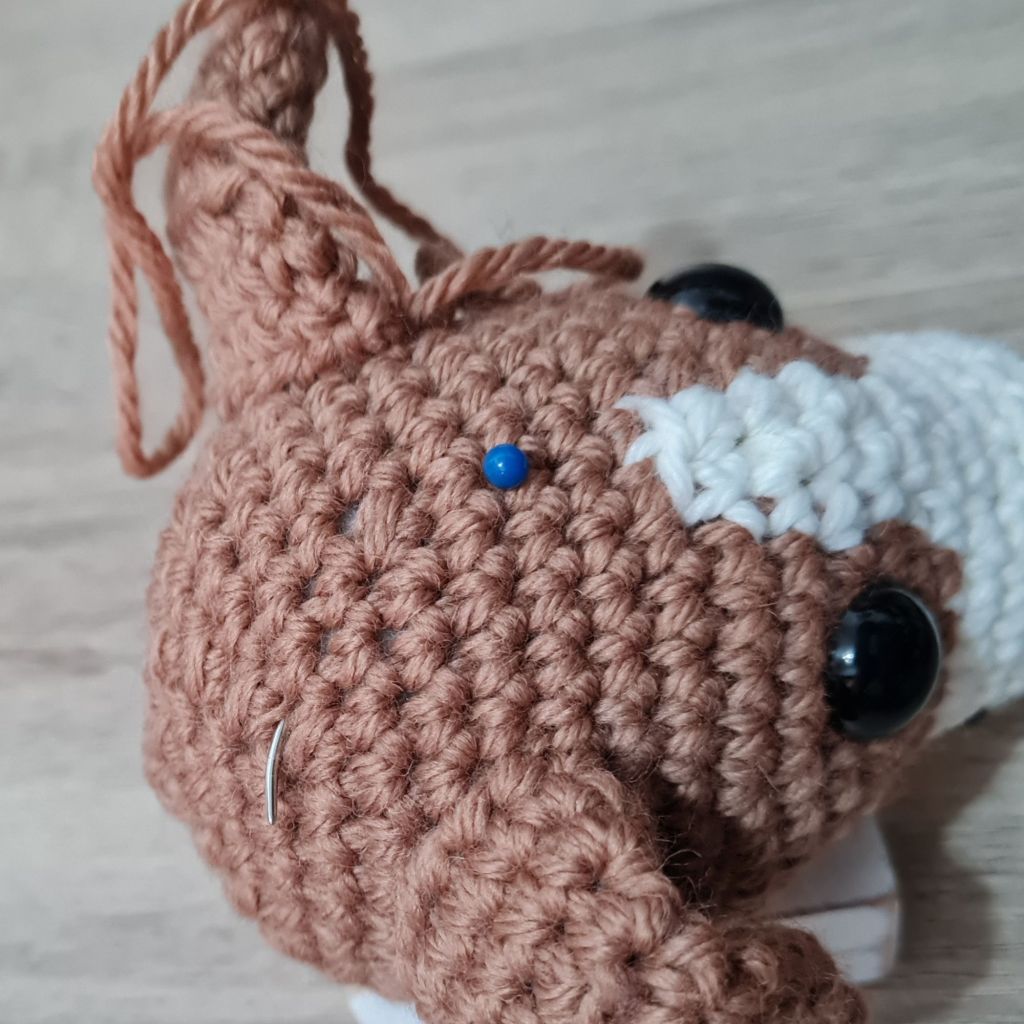
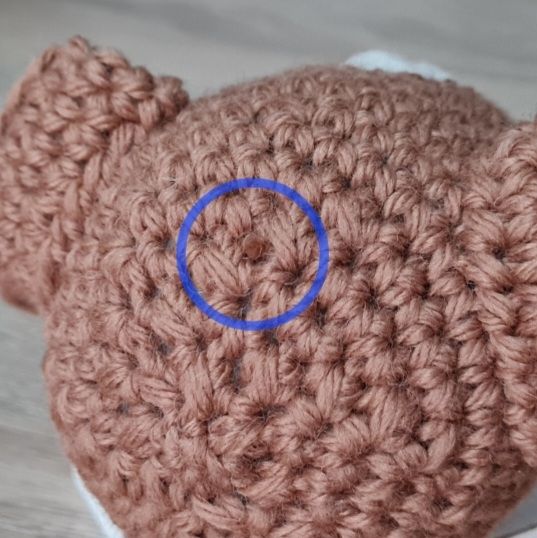
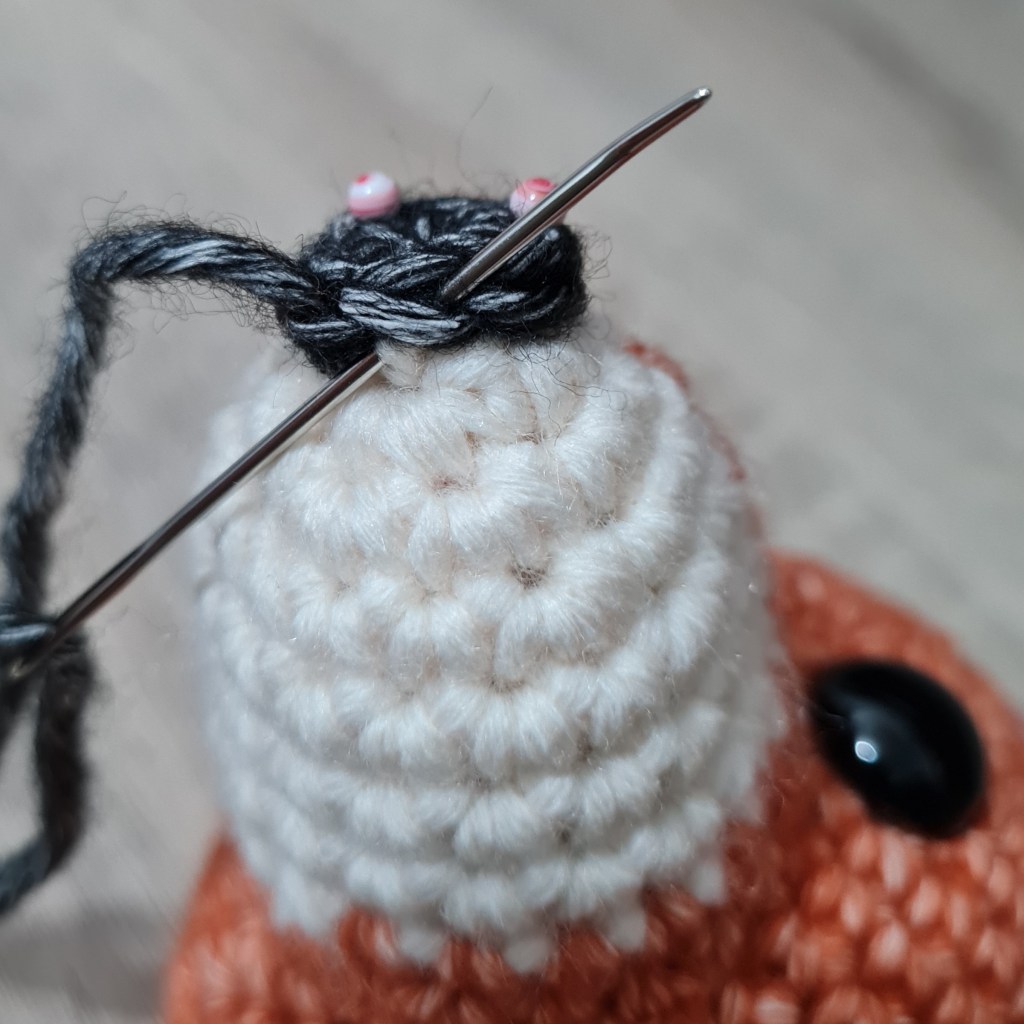
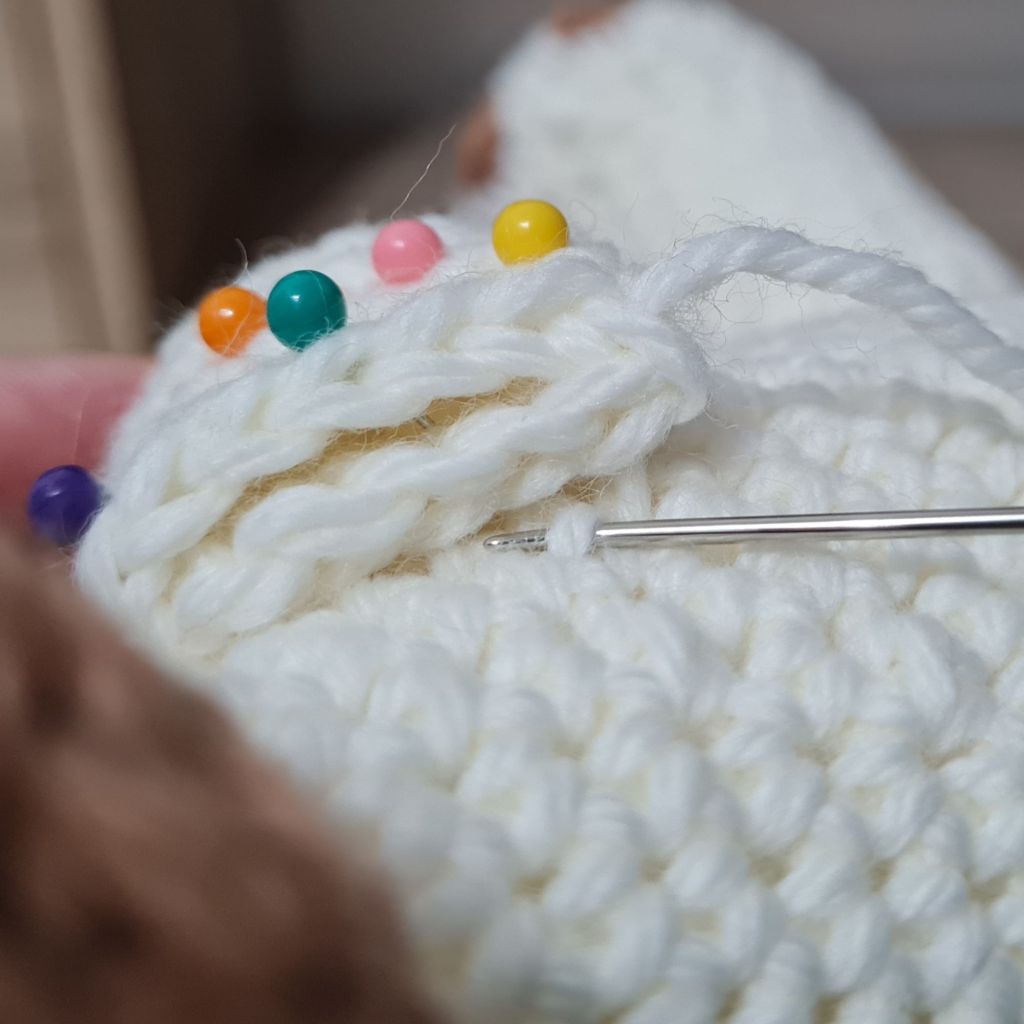
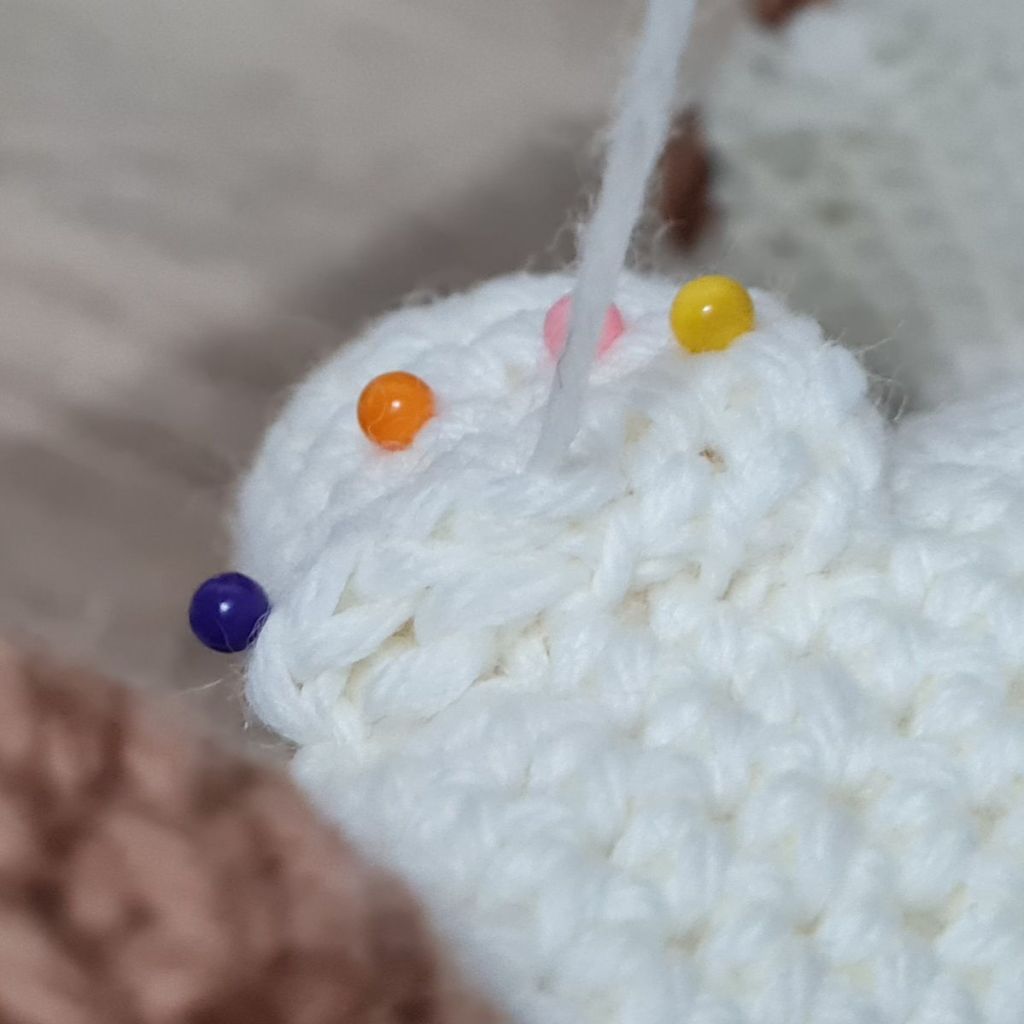
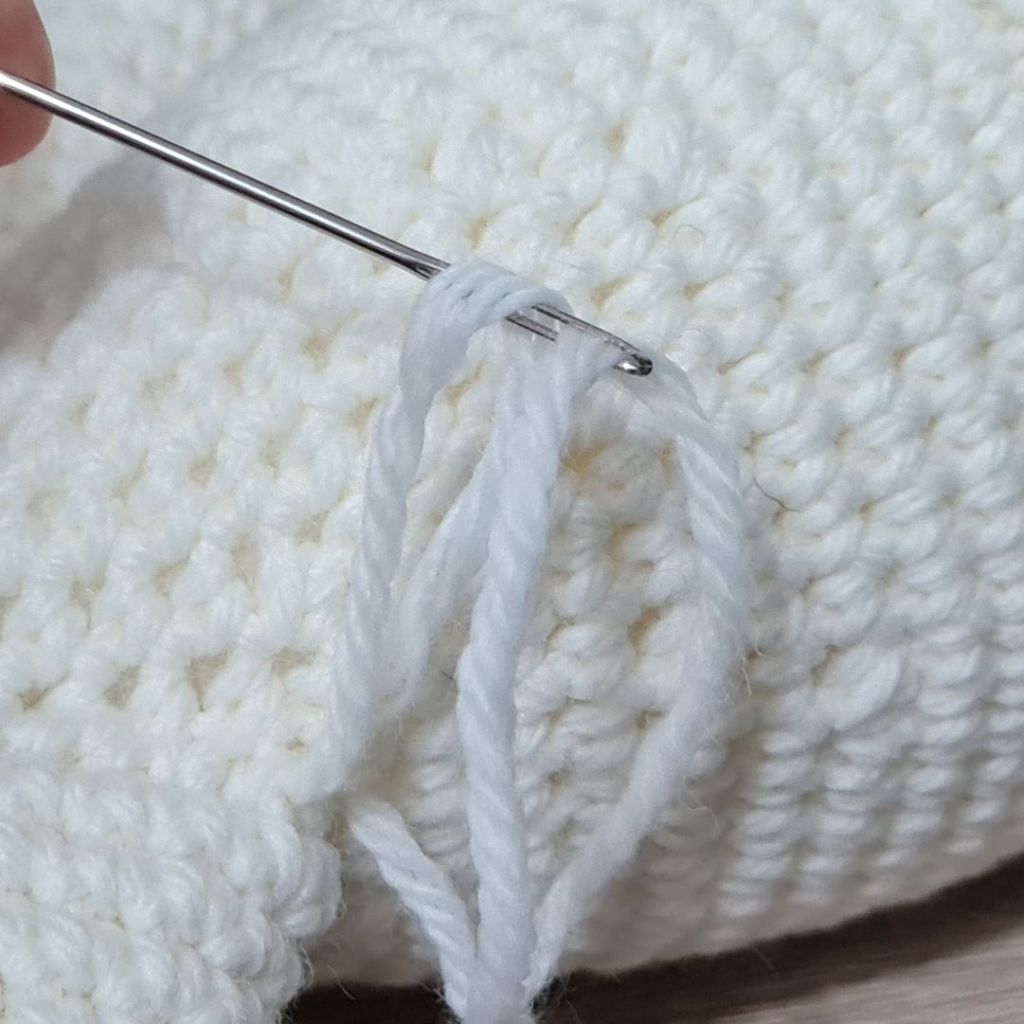
If I want the edge of a flat piece to be a little more defined, or neater, I will sew the piece on using the back loop only, going anti-clockwise around – using this method, the front loop is untouched and visible after the sewing. I use this method sometimes for noses, muzzles, mouths (insert the needle through a stitch on the piece it’s being sewn onto, pull up through the back loop only of the stitch on the flat piece, pull tight and repeat all around)
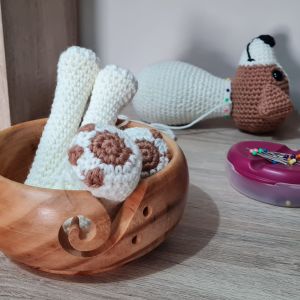
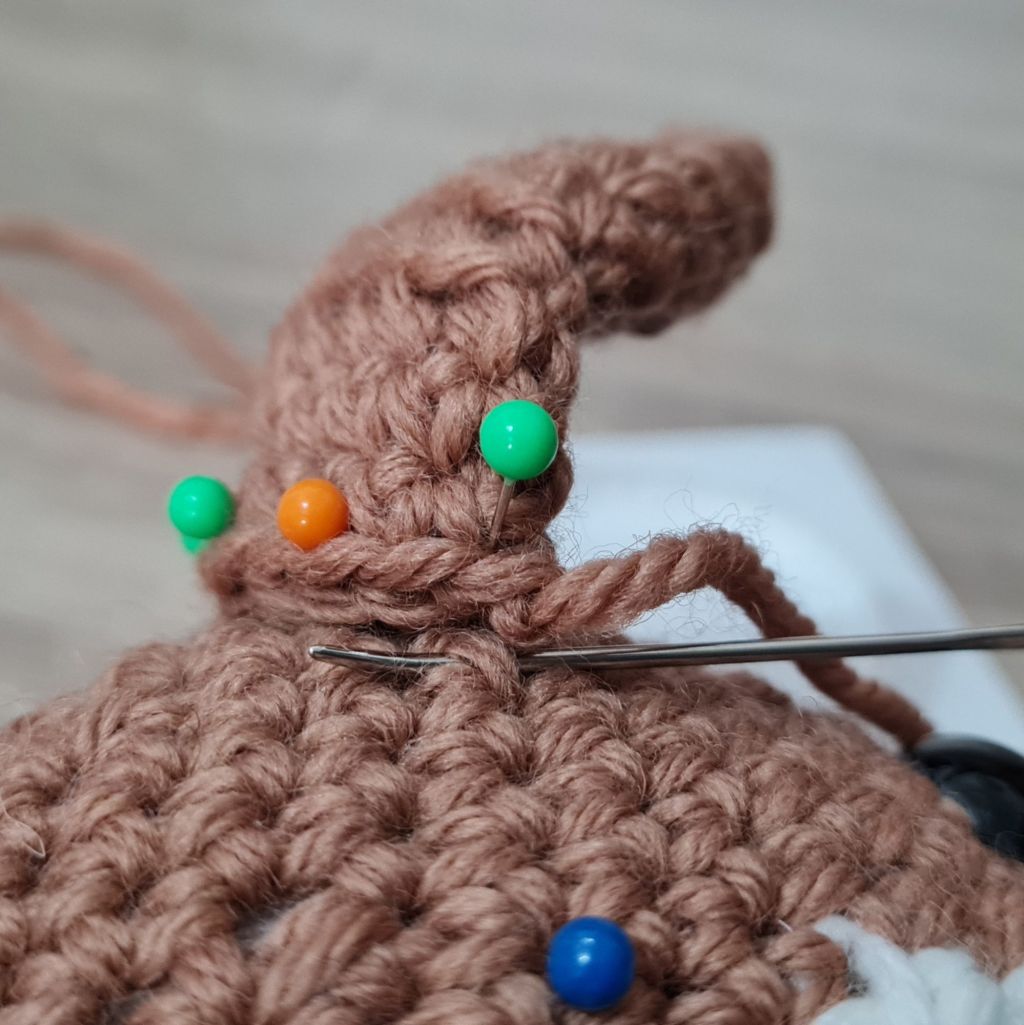
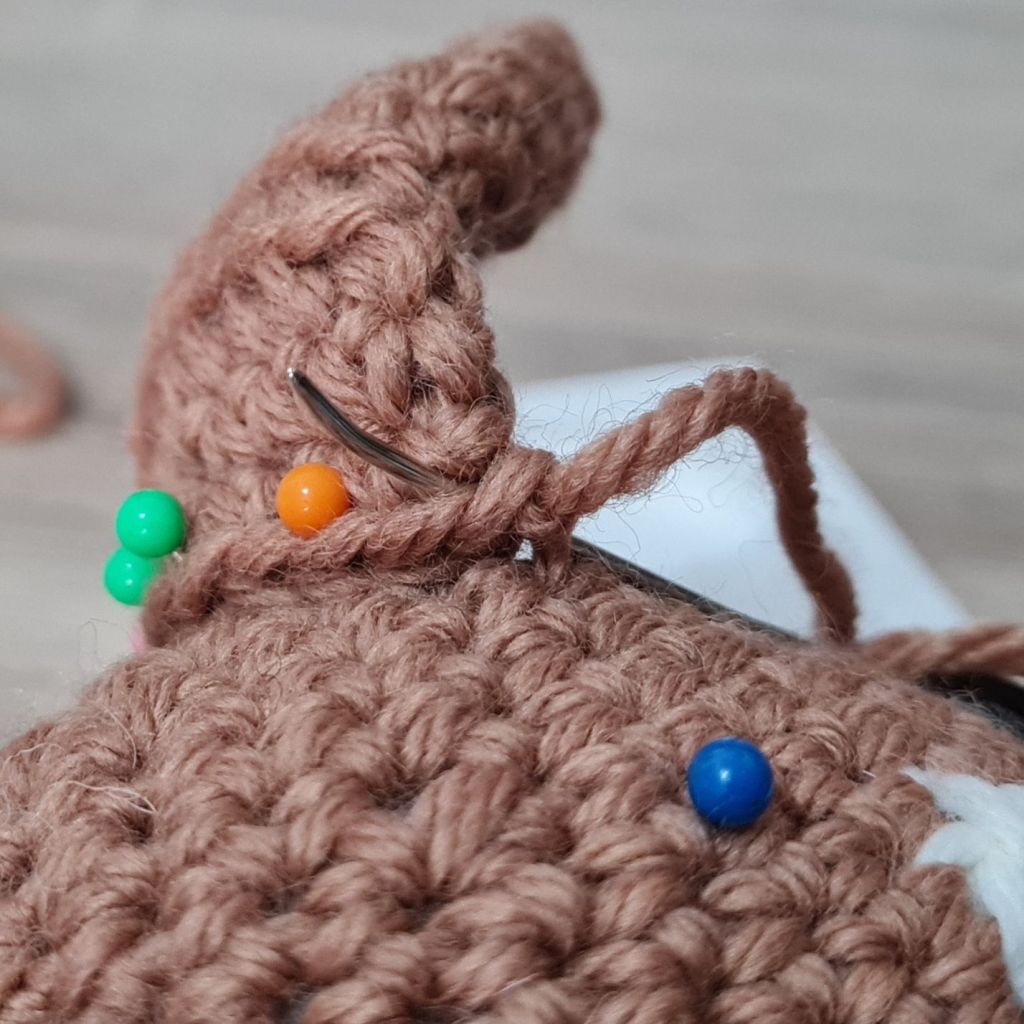
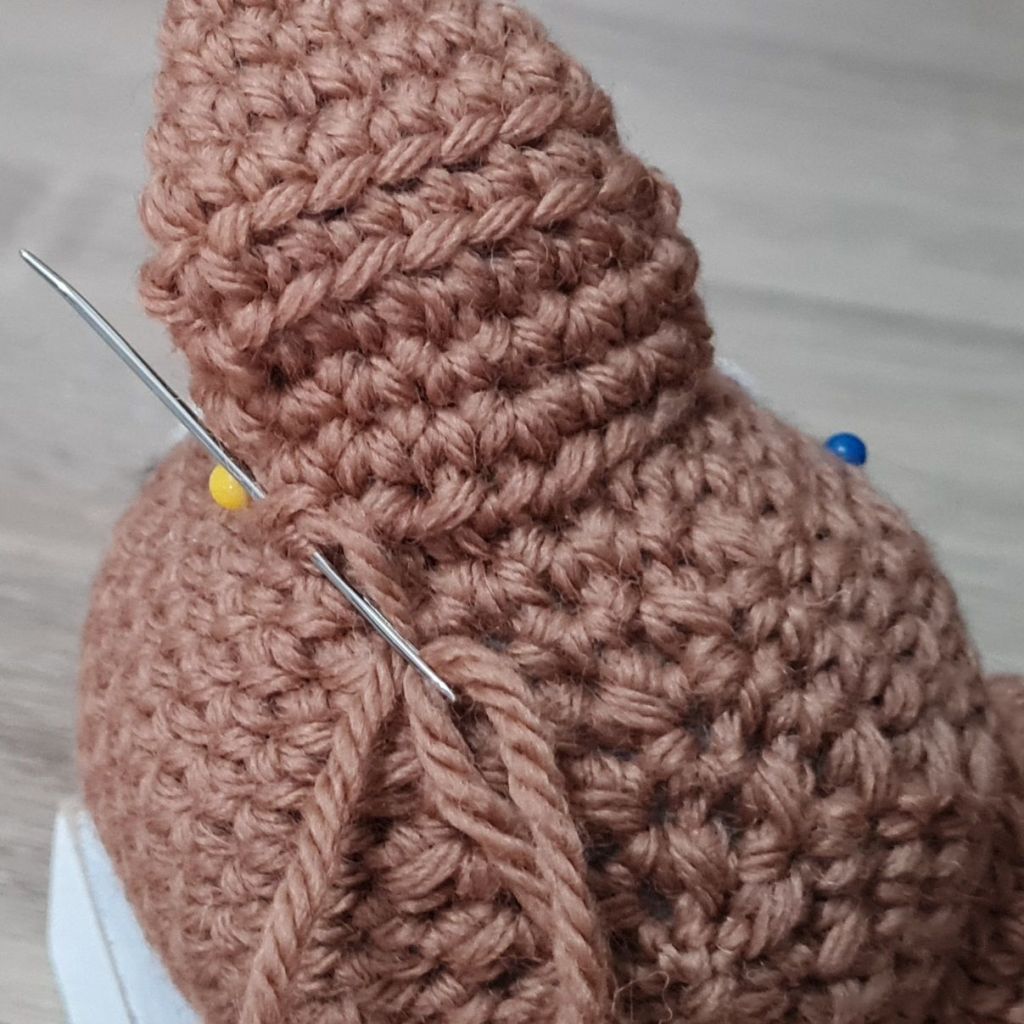
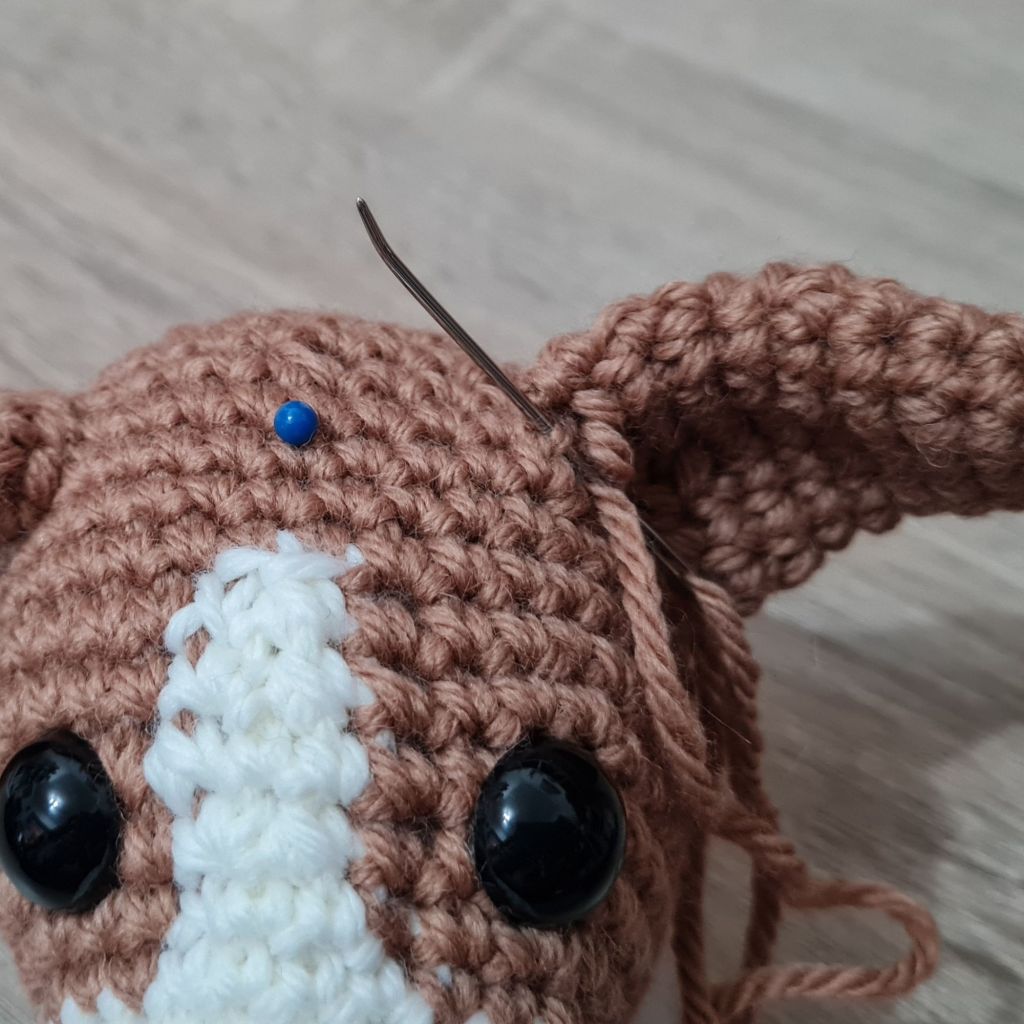
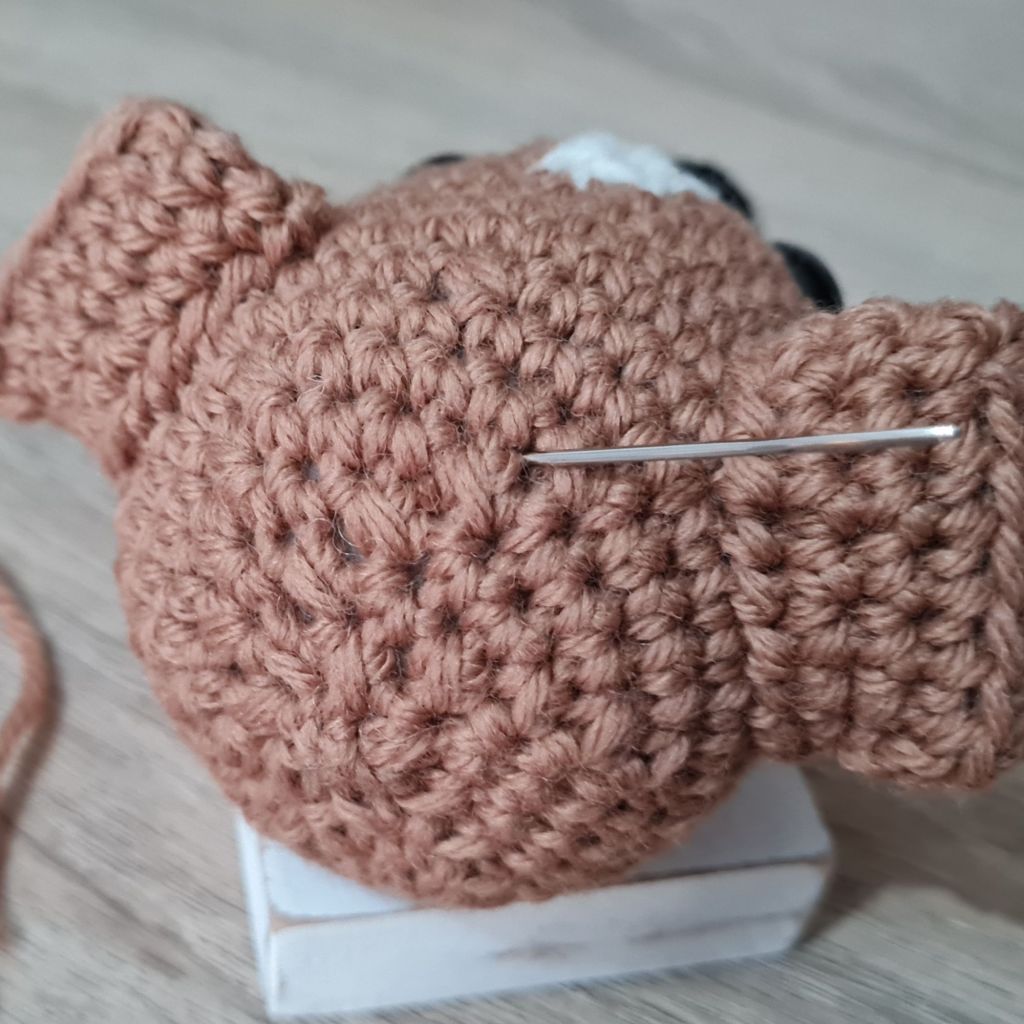
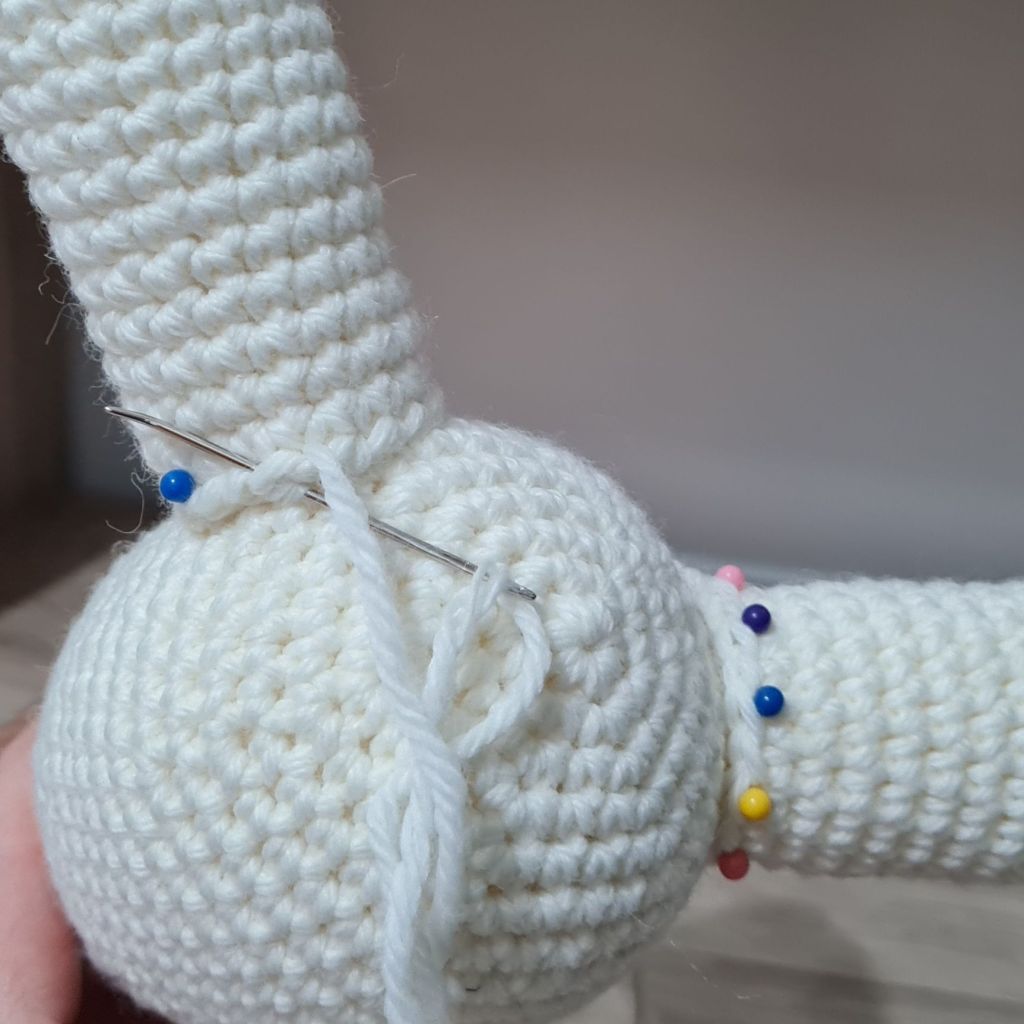
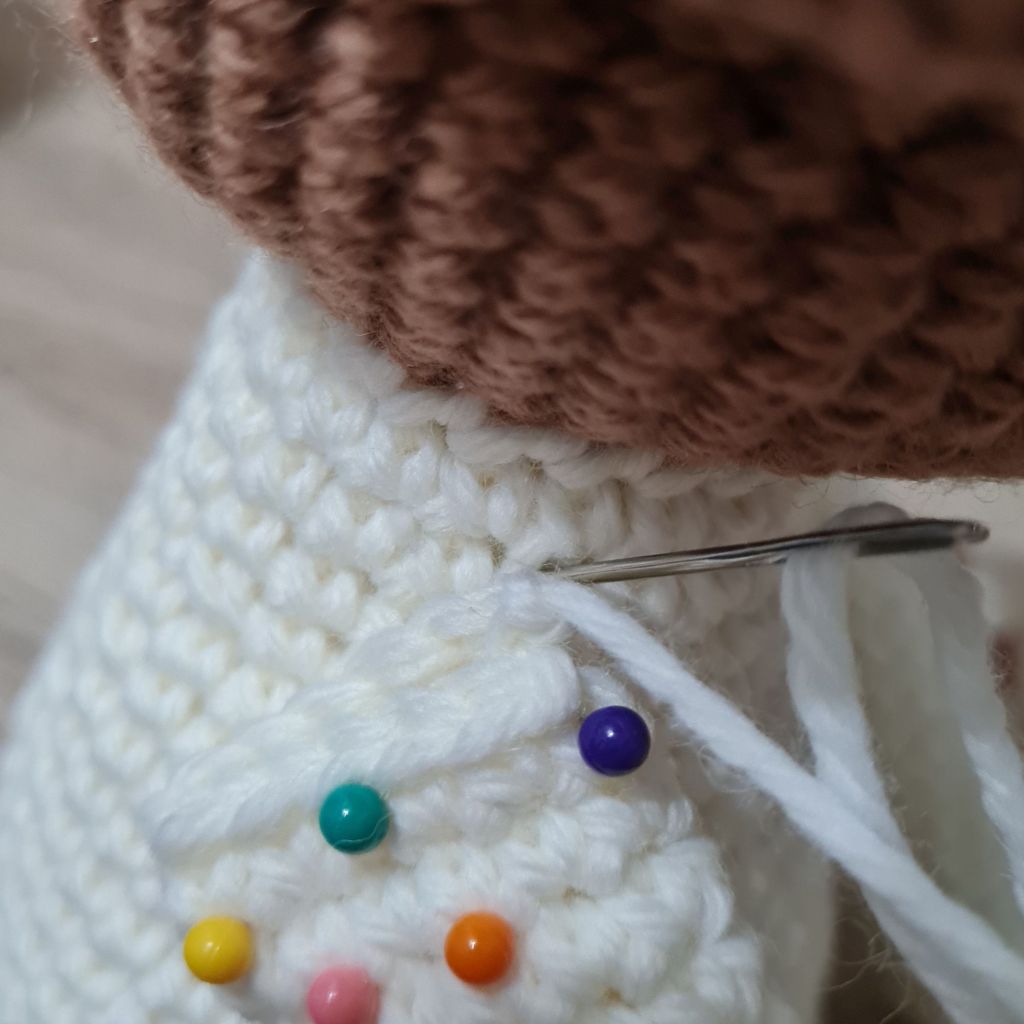
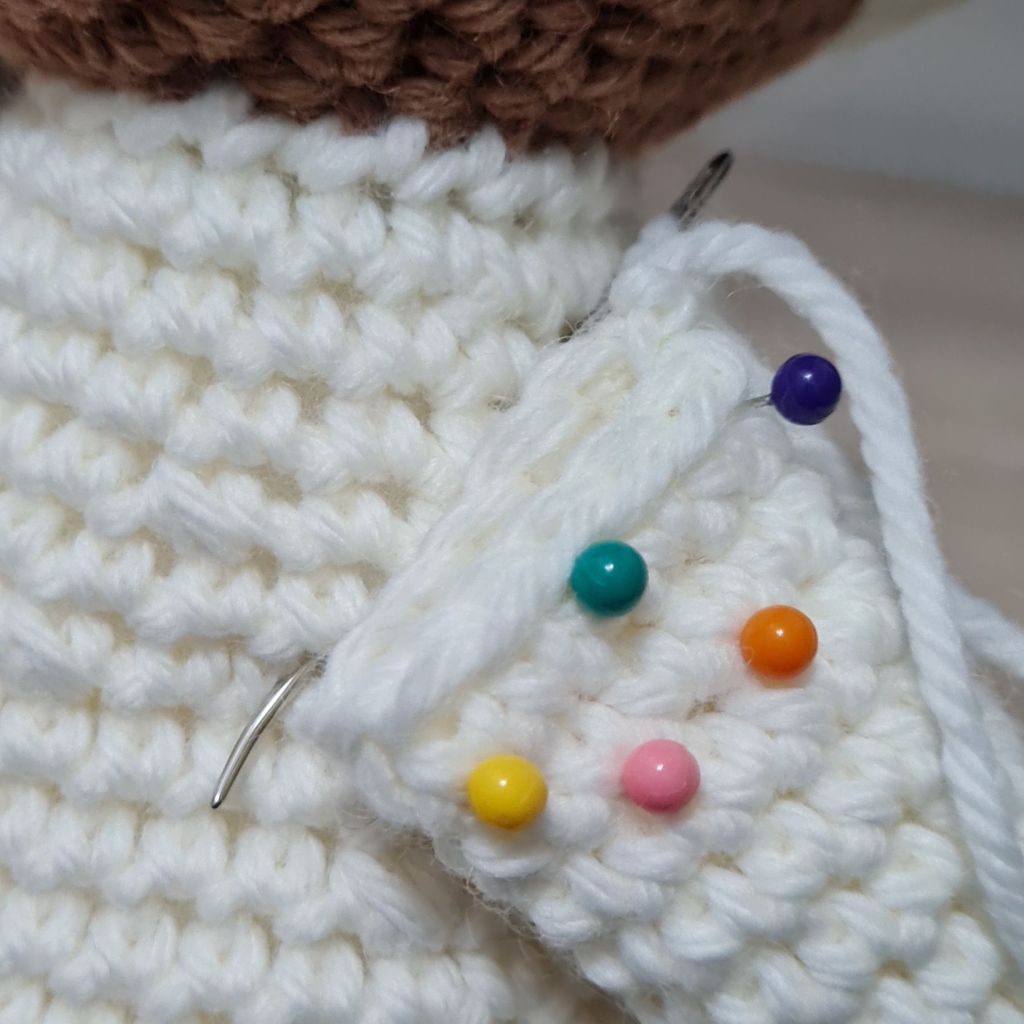
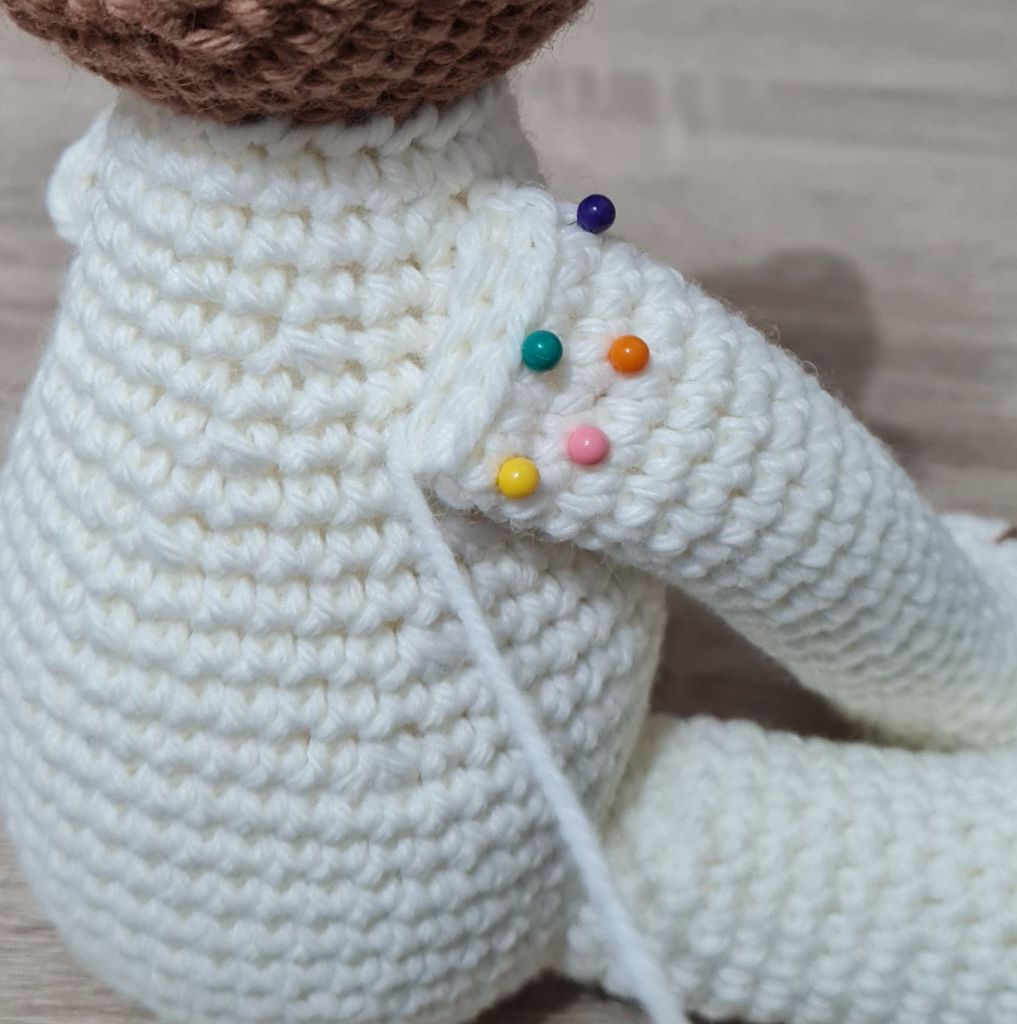
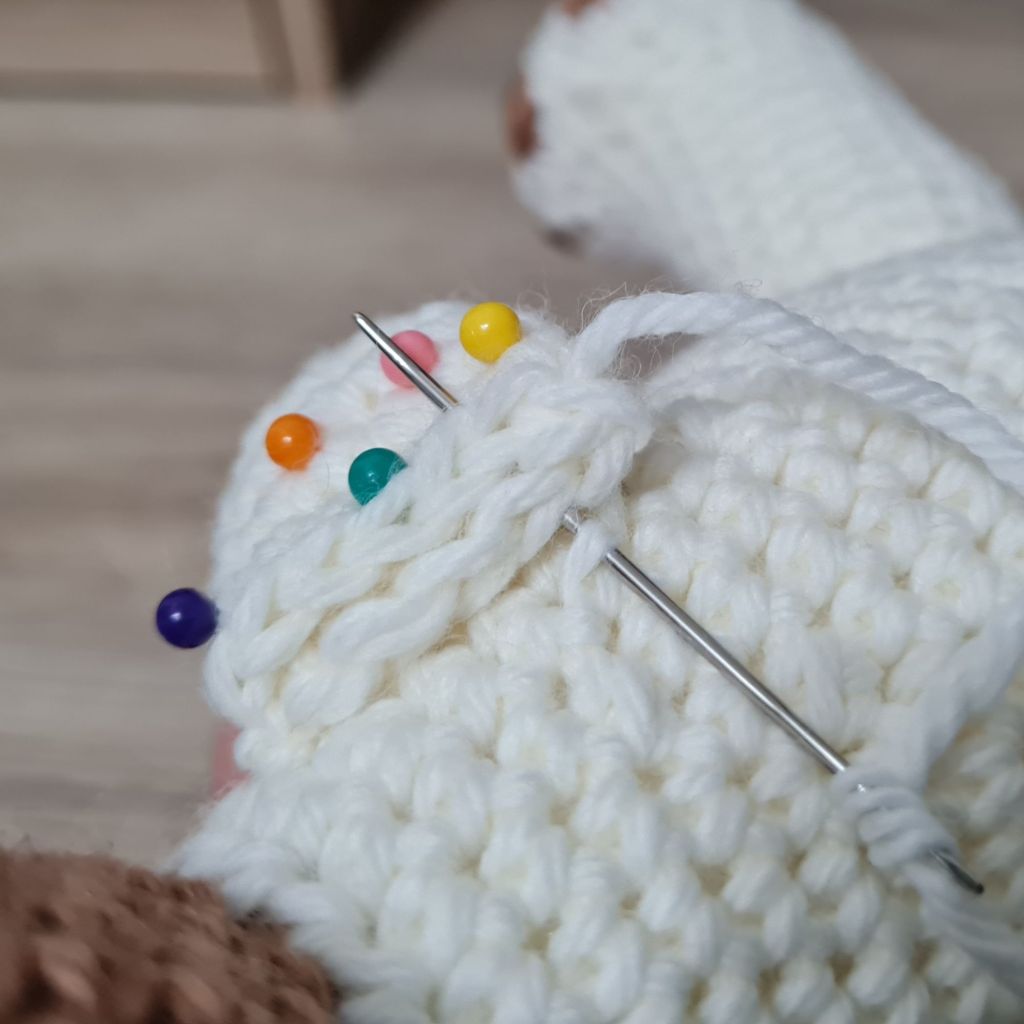
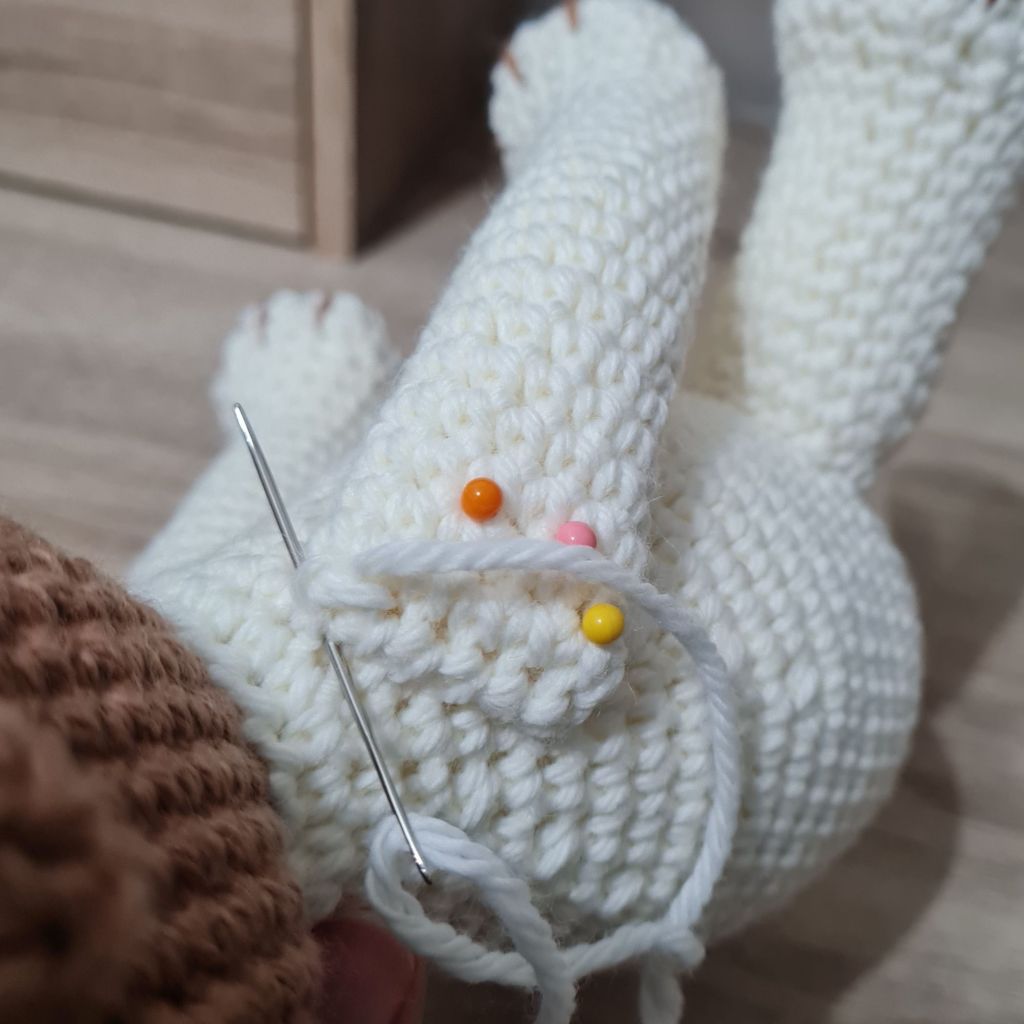
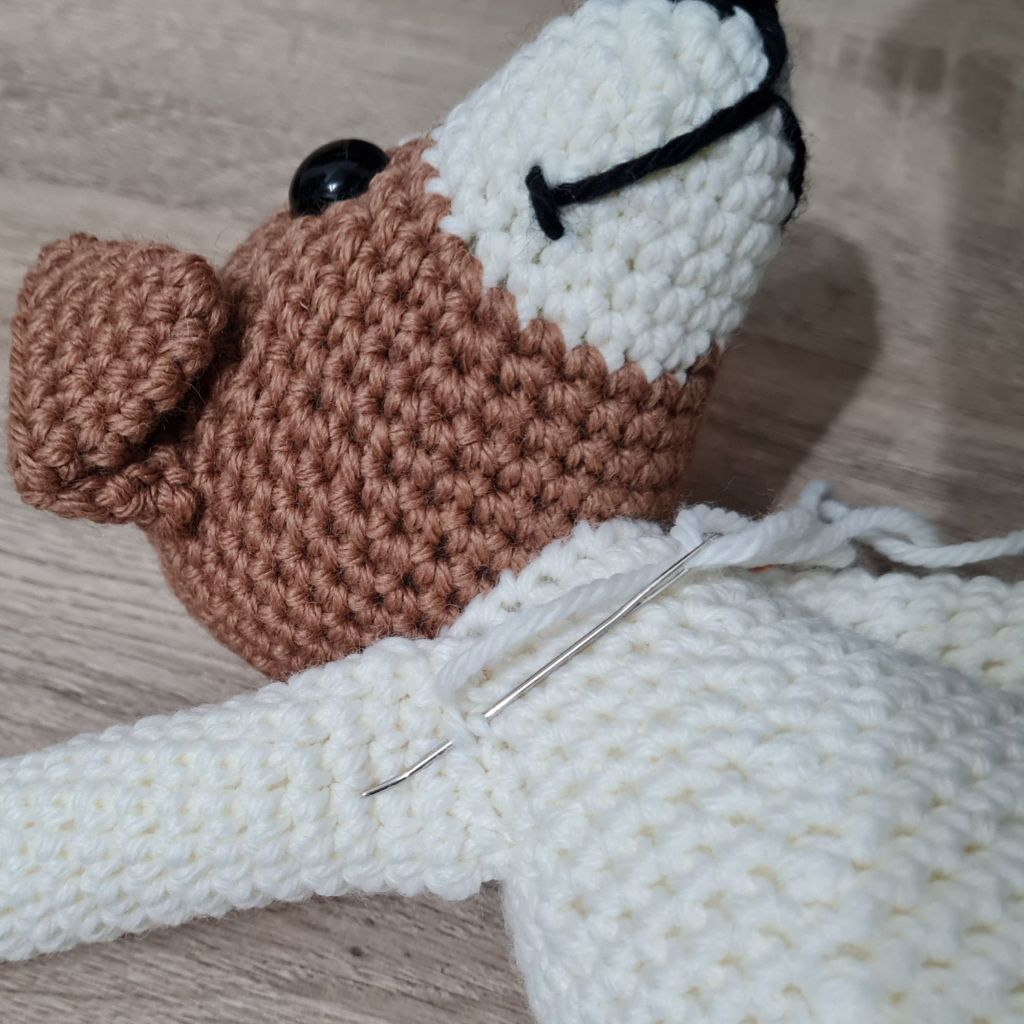
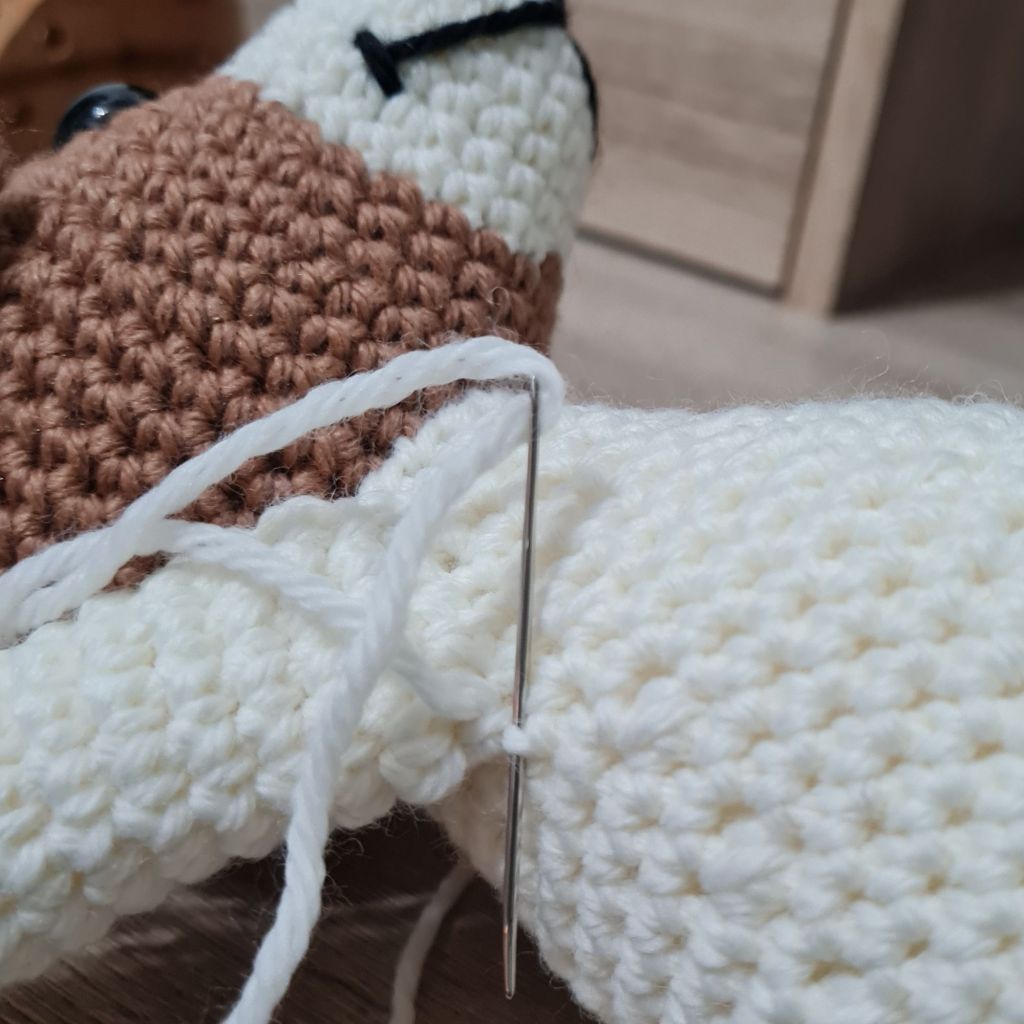
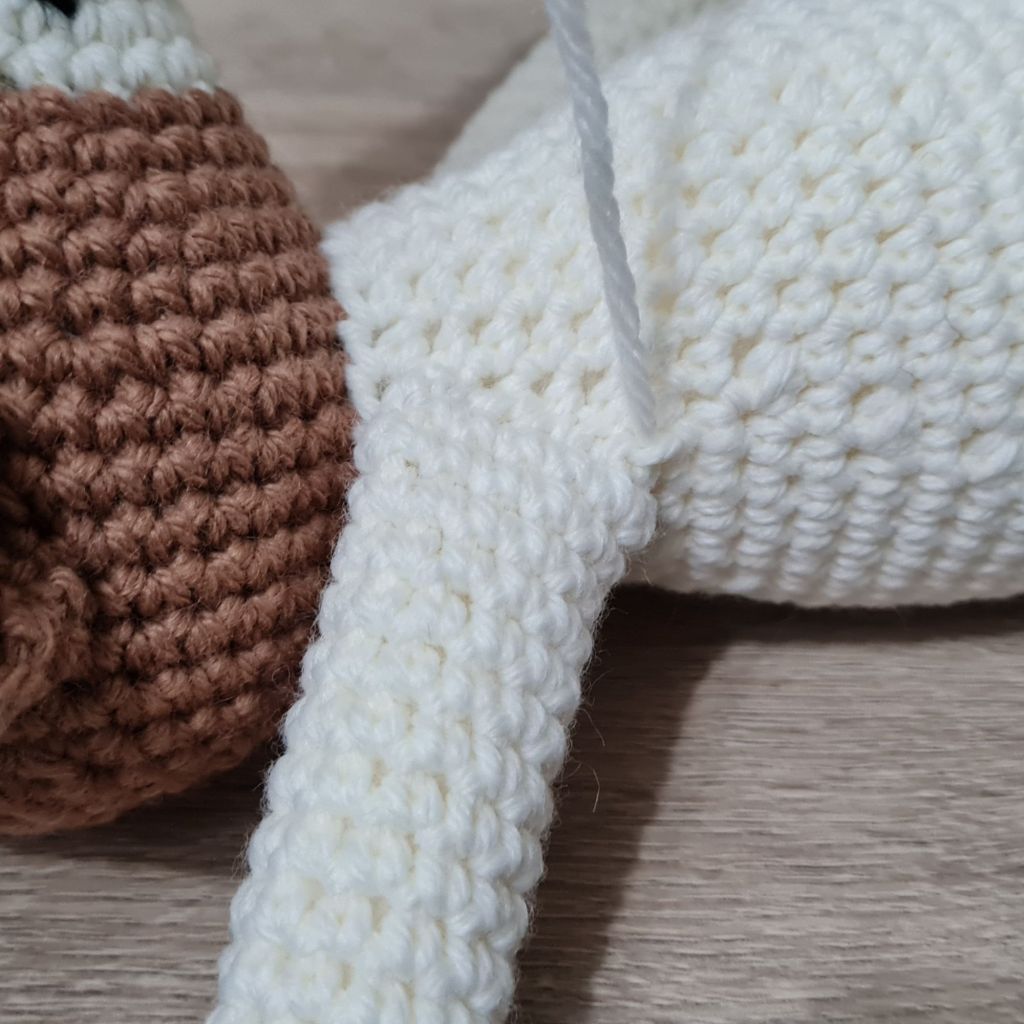
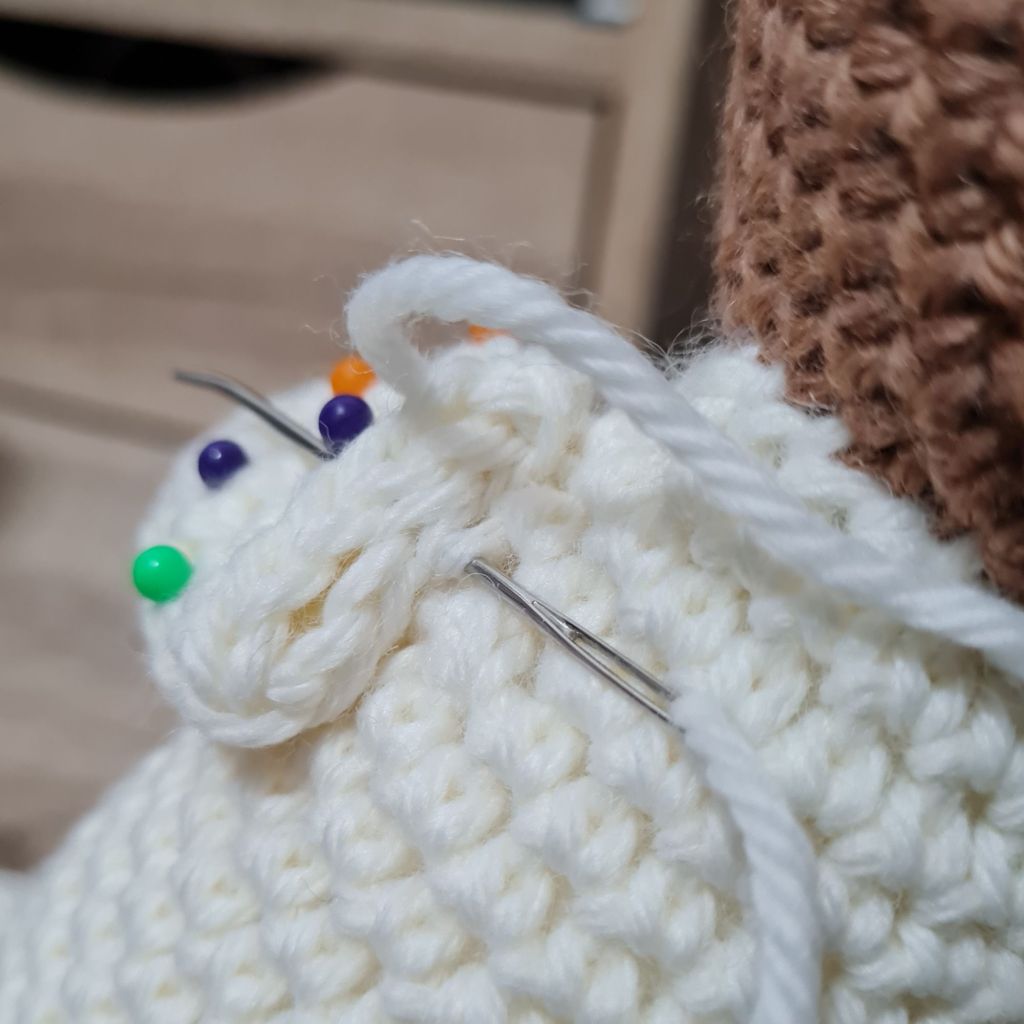
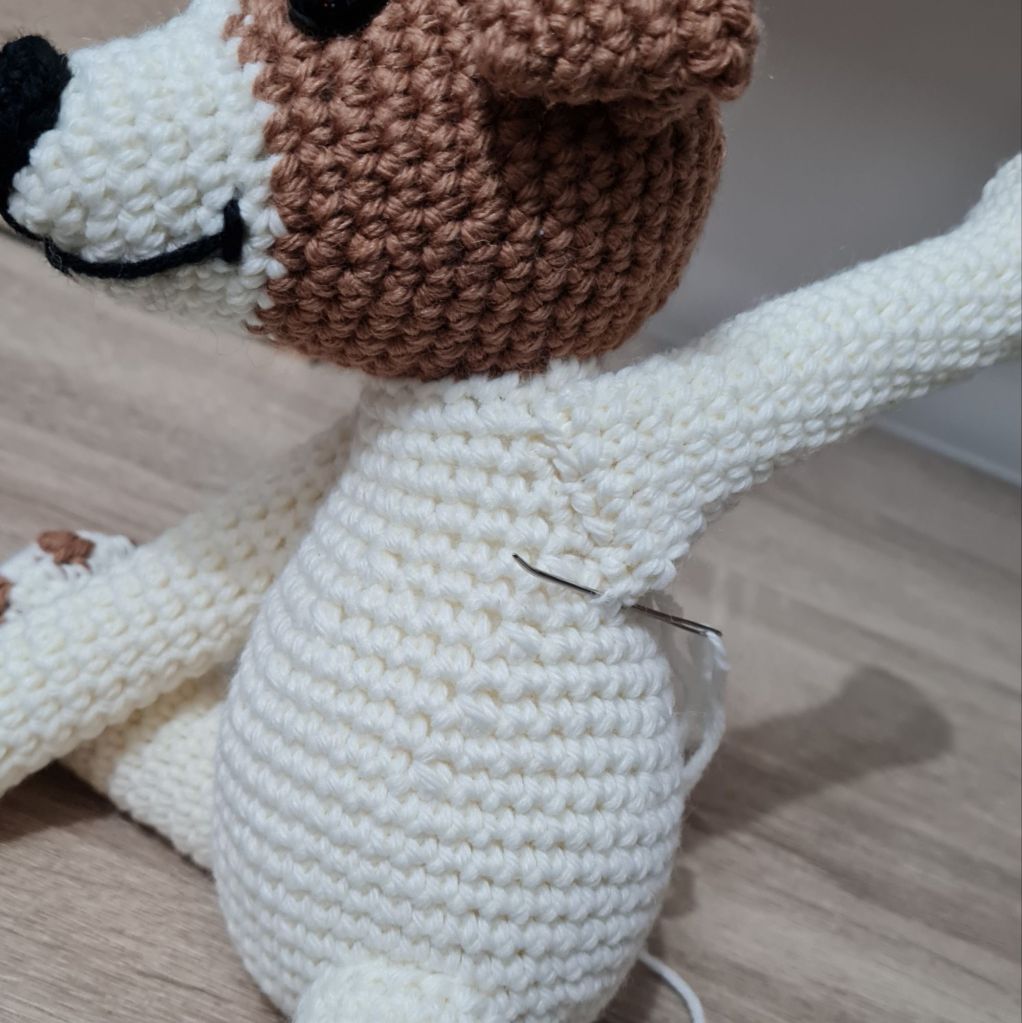
For a piece that is hanging down, like a front leg (or sometimes an ear), make sure you have left the the top few rounds un-stuffed and line up the loops on the front and back of the leg before pinning onto the body:

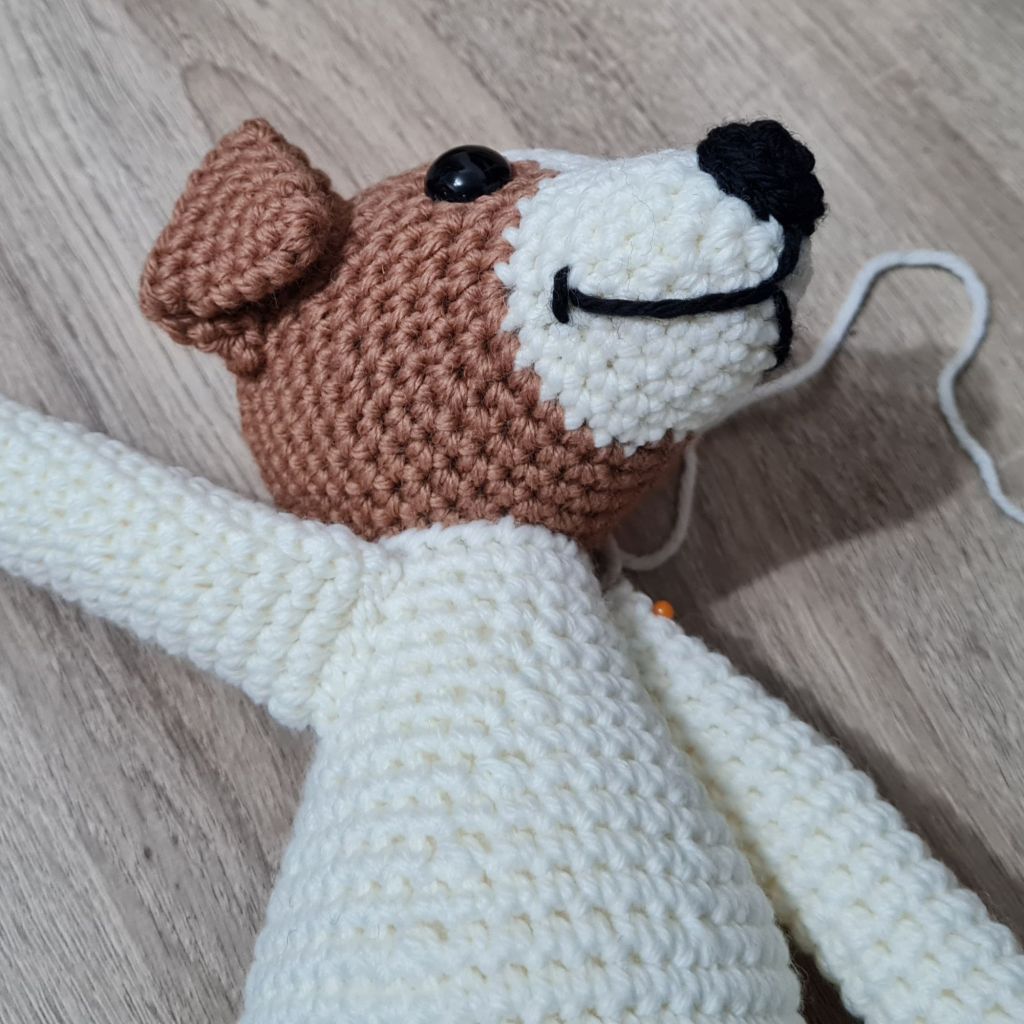

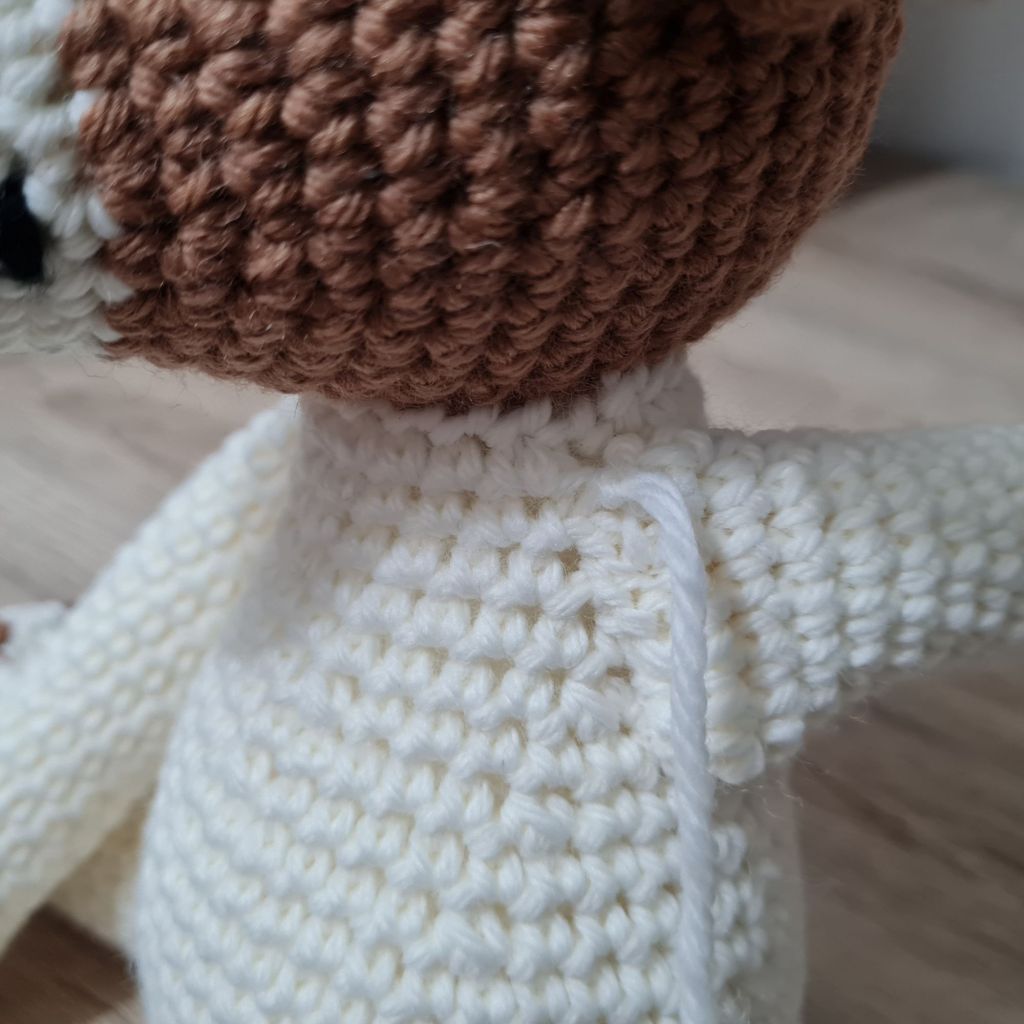
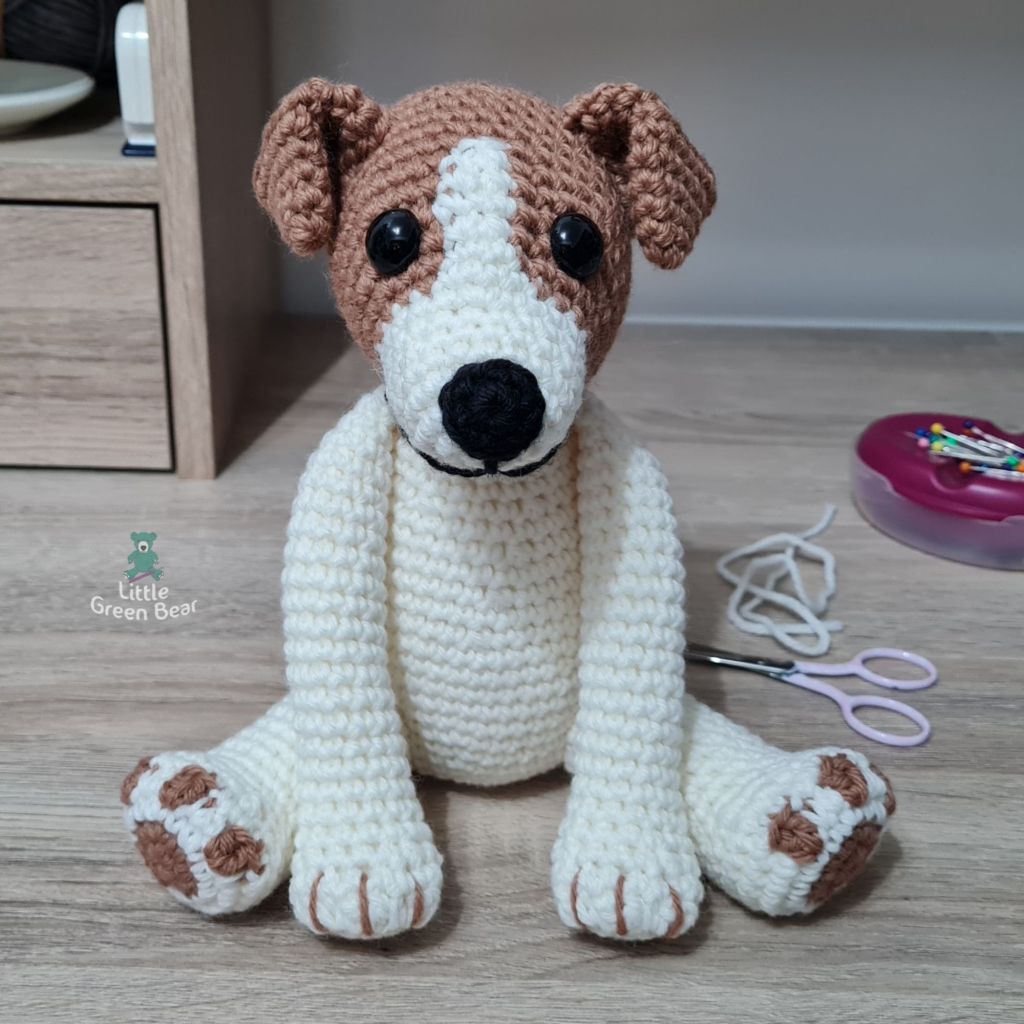
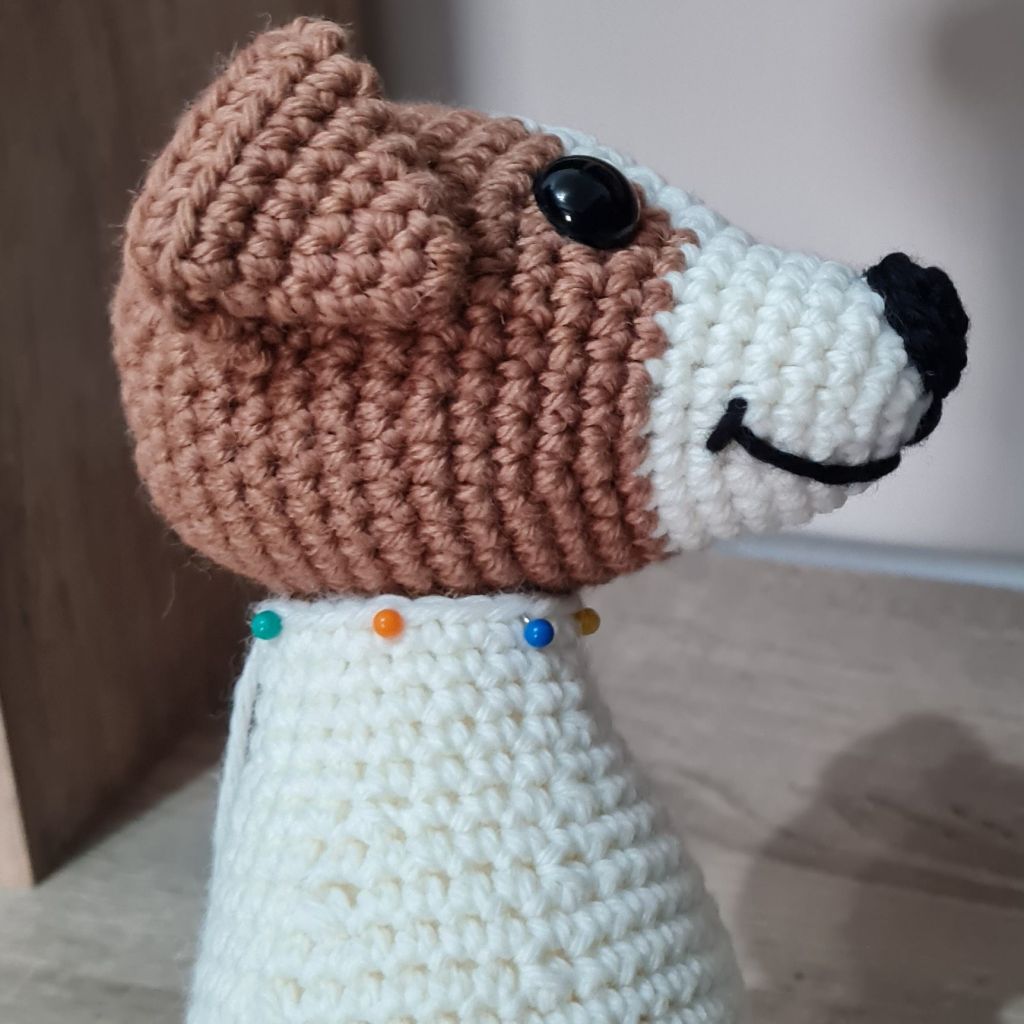
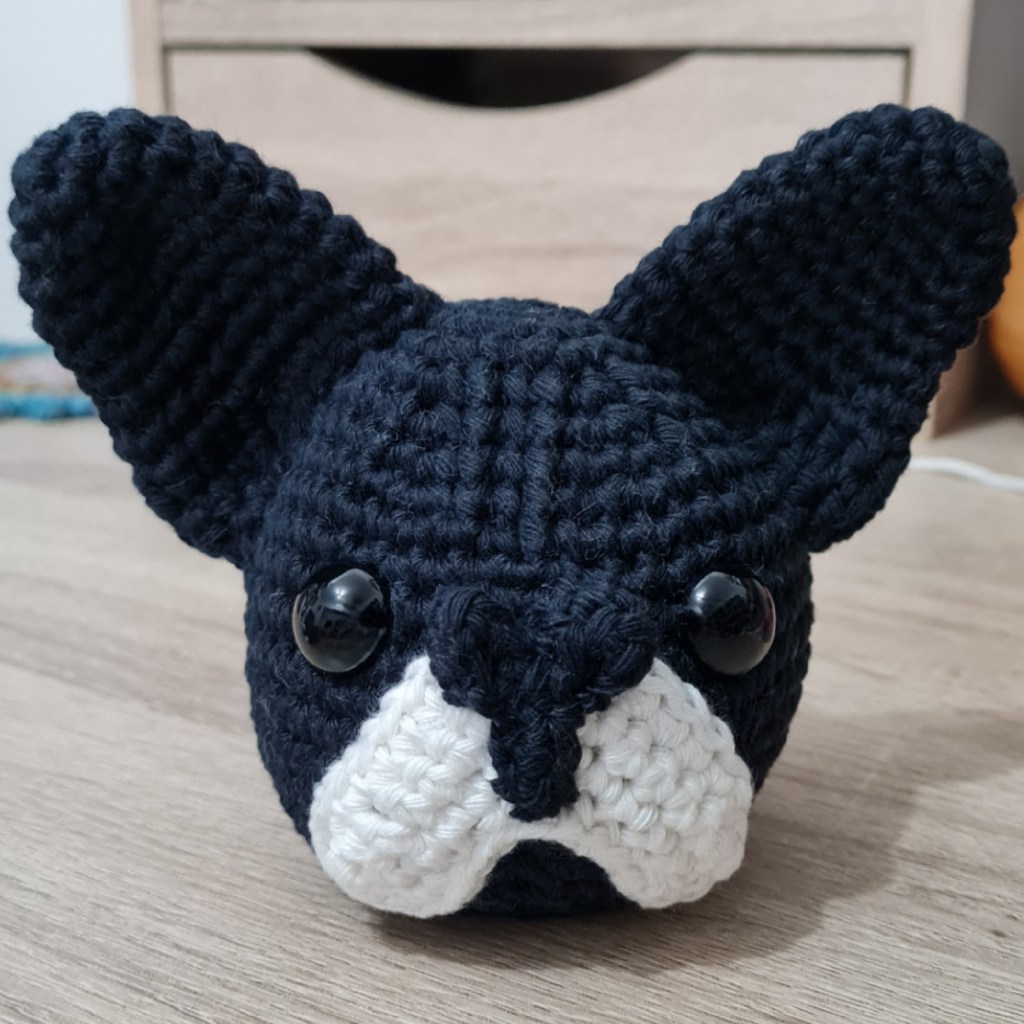
All finished!
