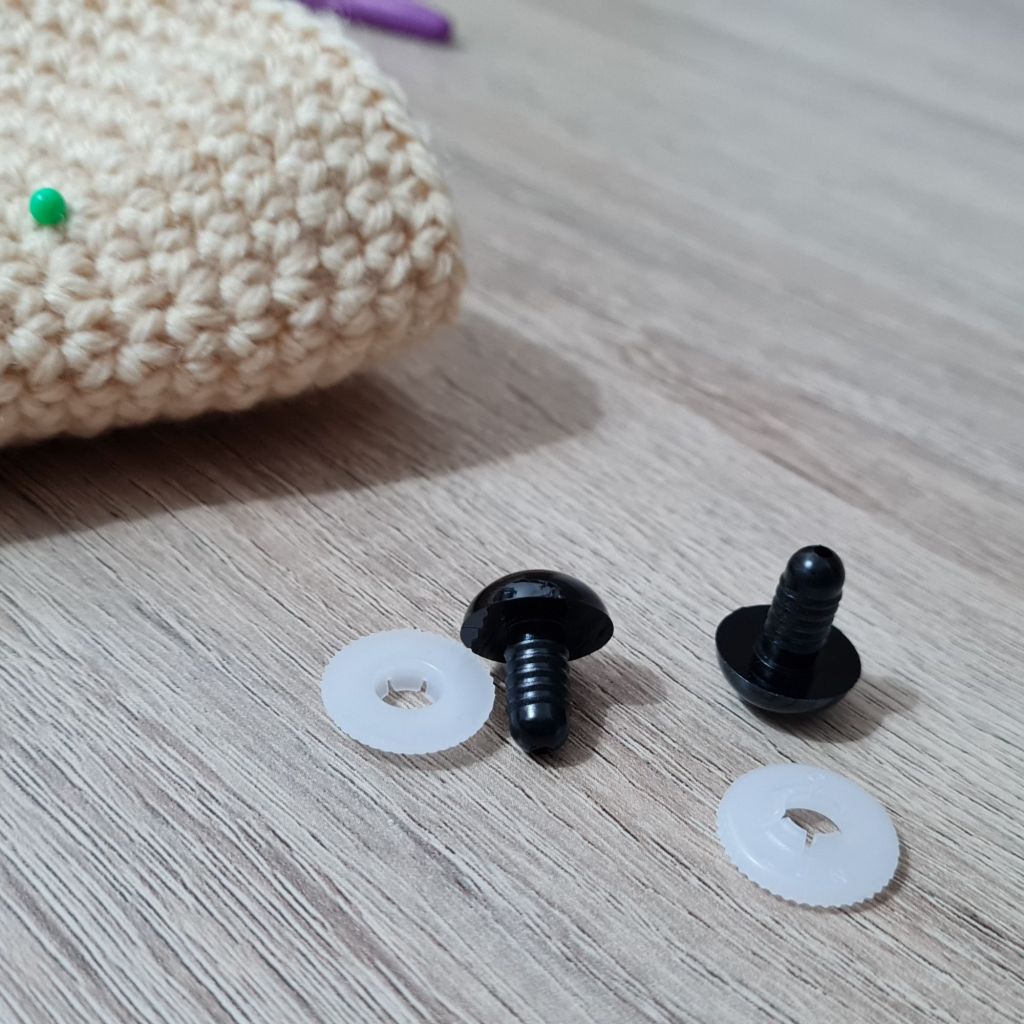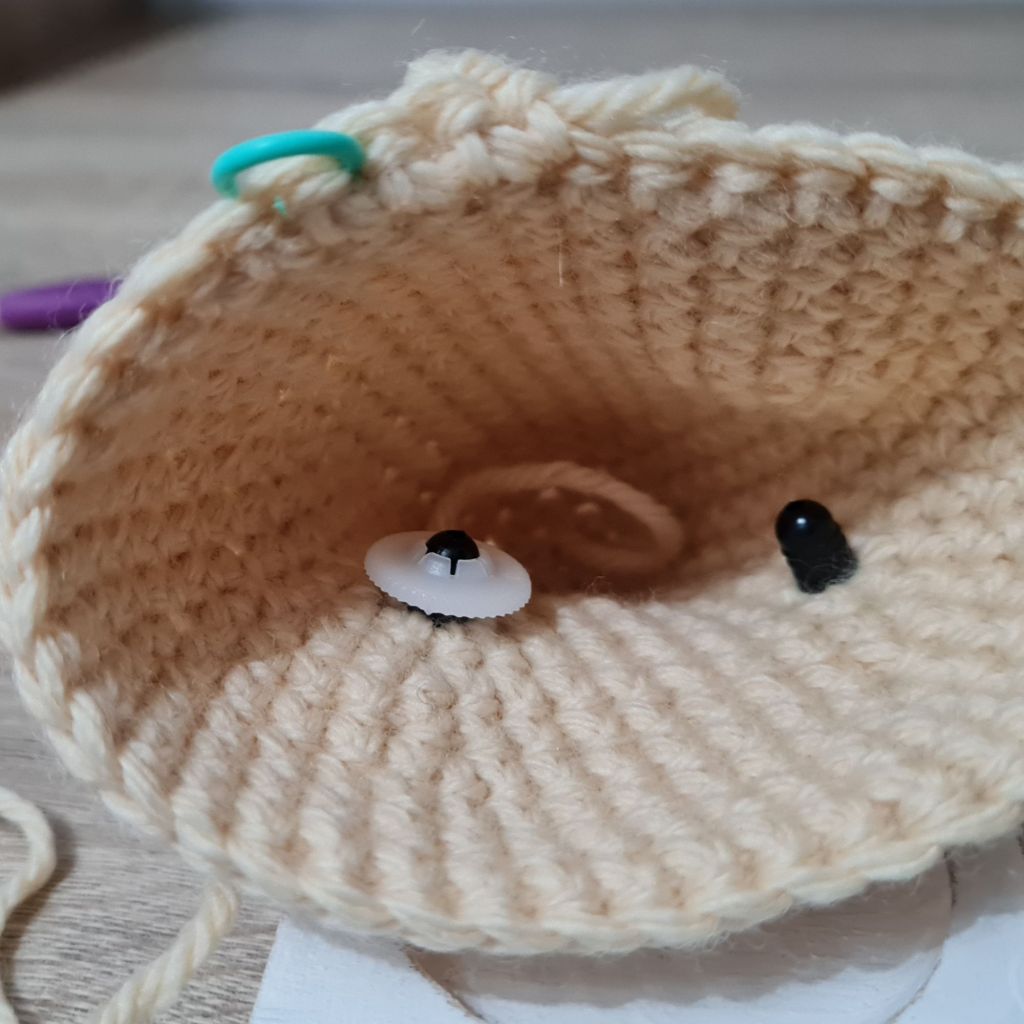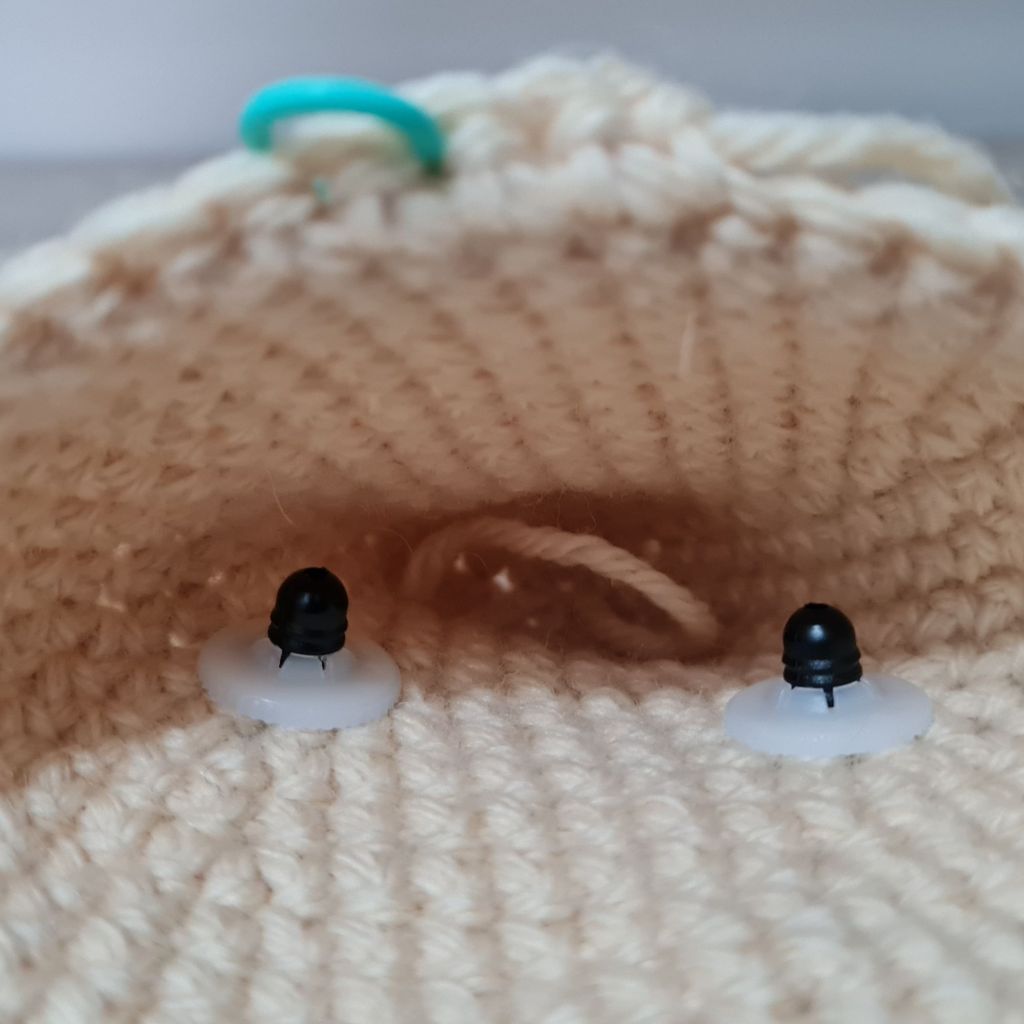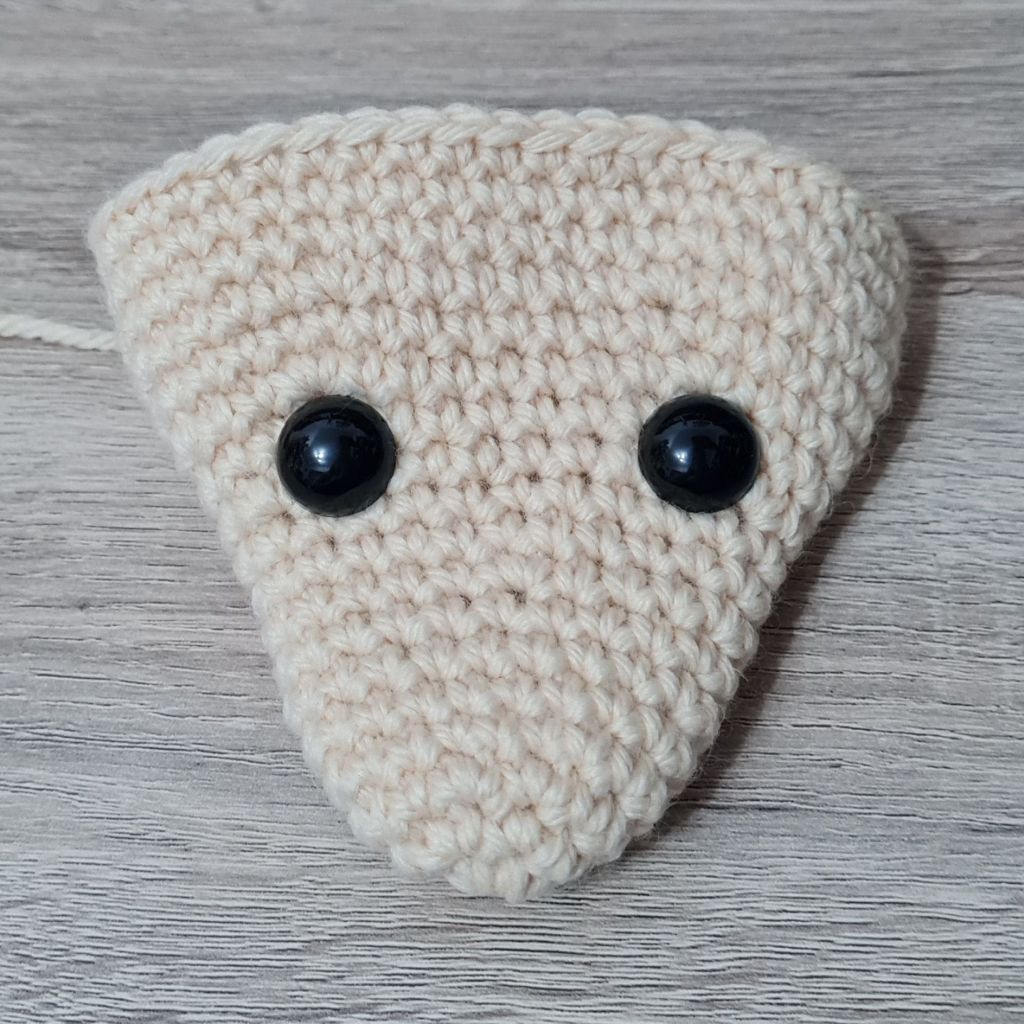
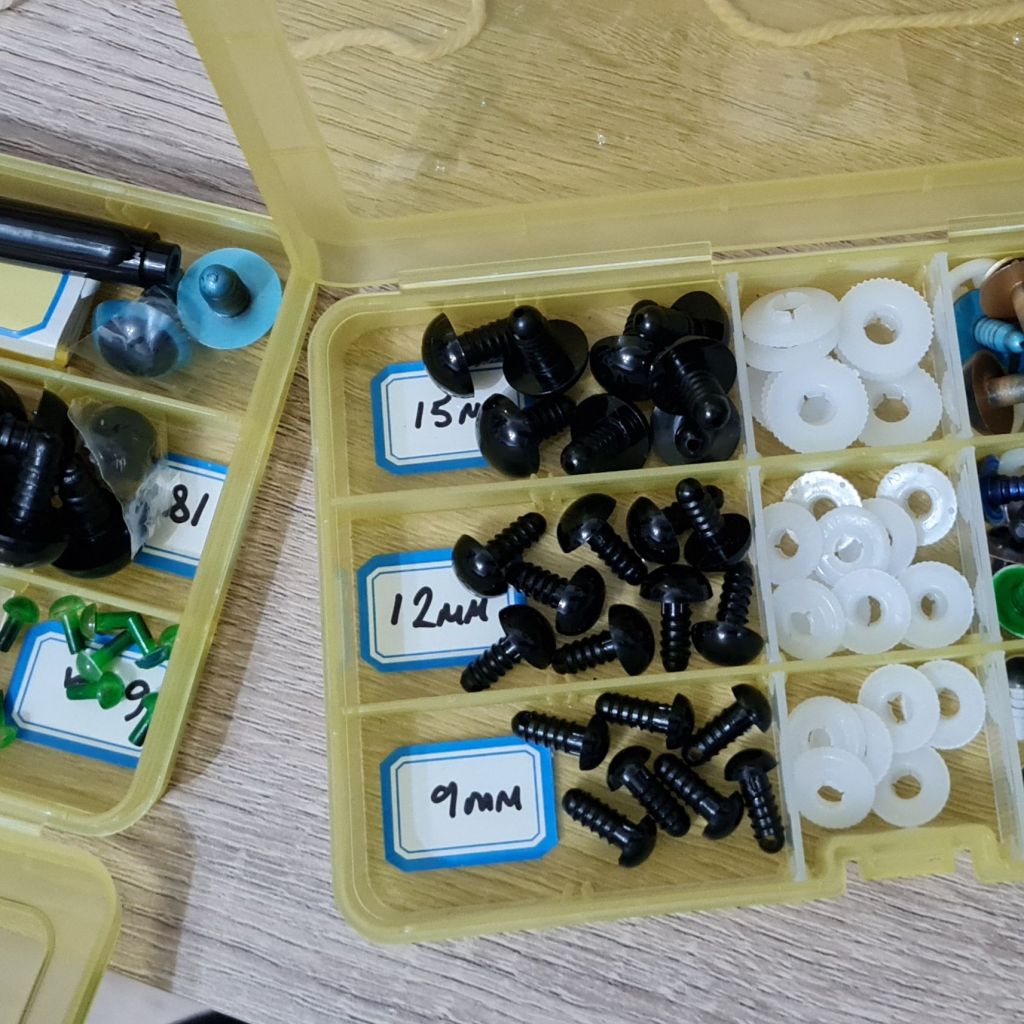
I use plastic safety eyes (screw type) with a washer to secure them – I usually use Trimits Solid Black Eyes, but have found some really nice coloured or cat type eyes from Cello Express – Safety eyes are not suitable for children under 3 years old or for pets.
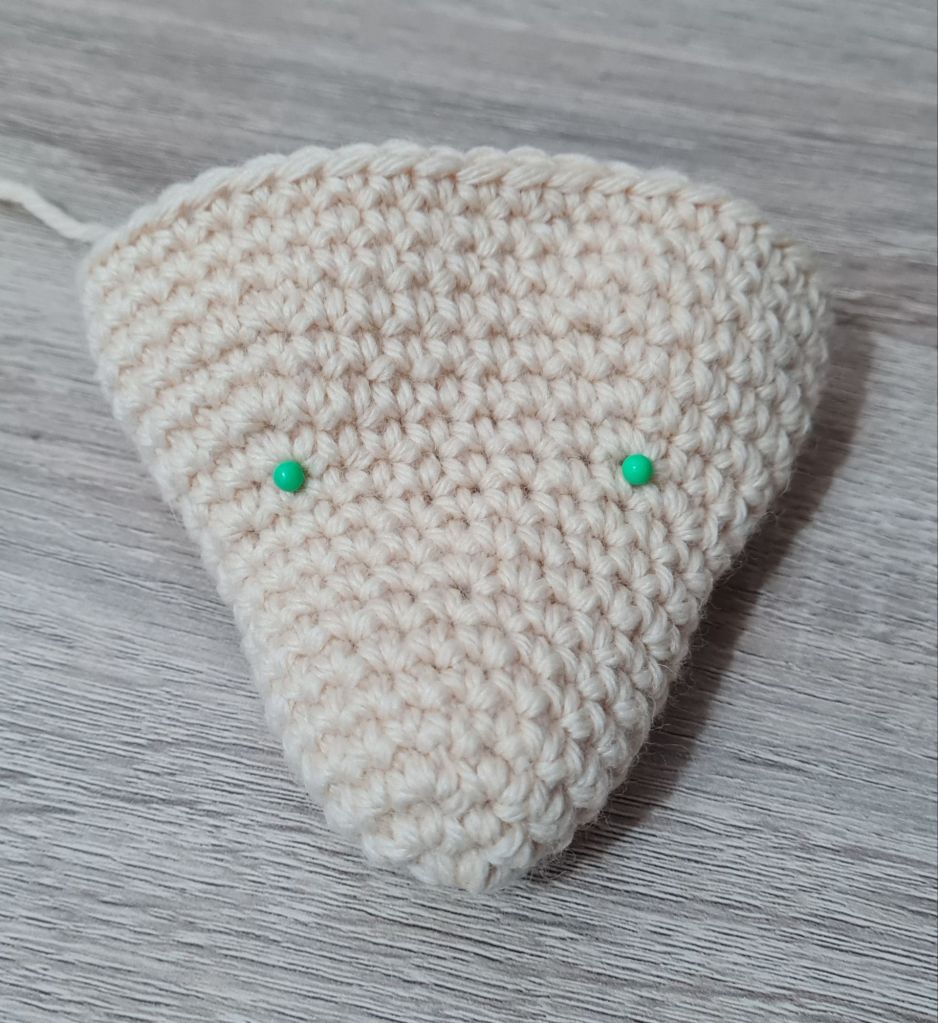
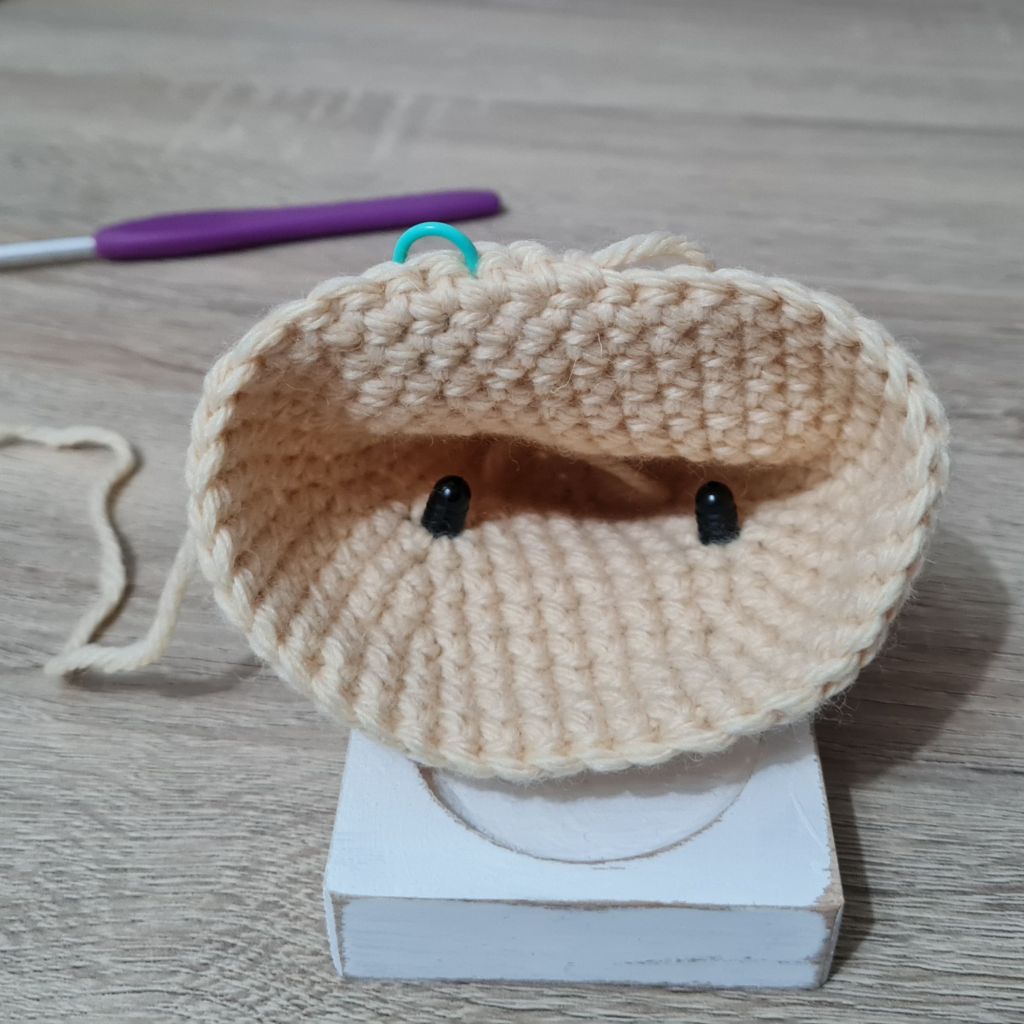
The pattern will usually tell you which rounds to put your eyes between, and sometimes how many stitches there should be between them.
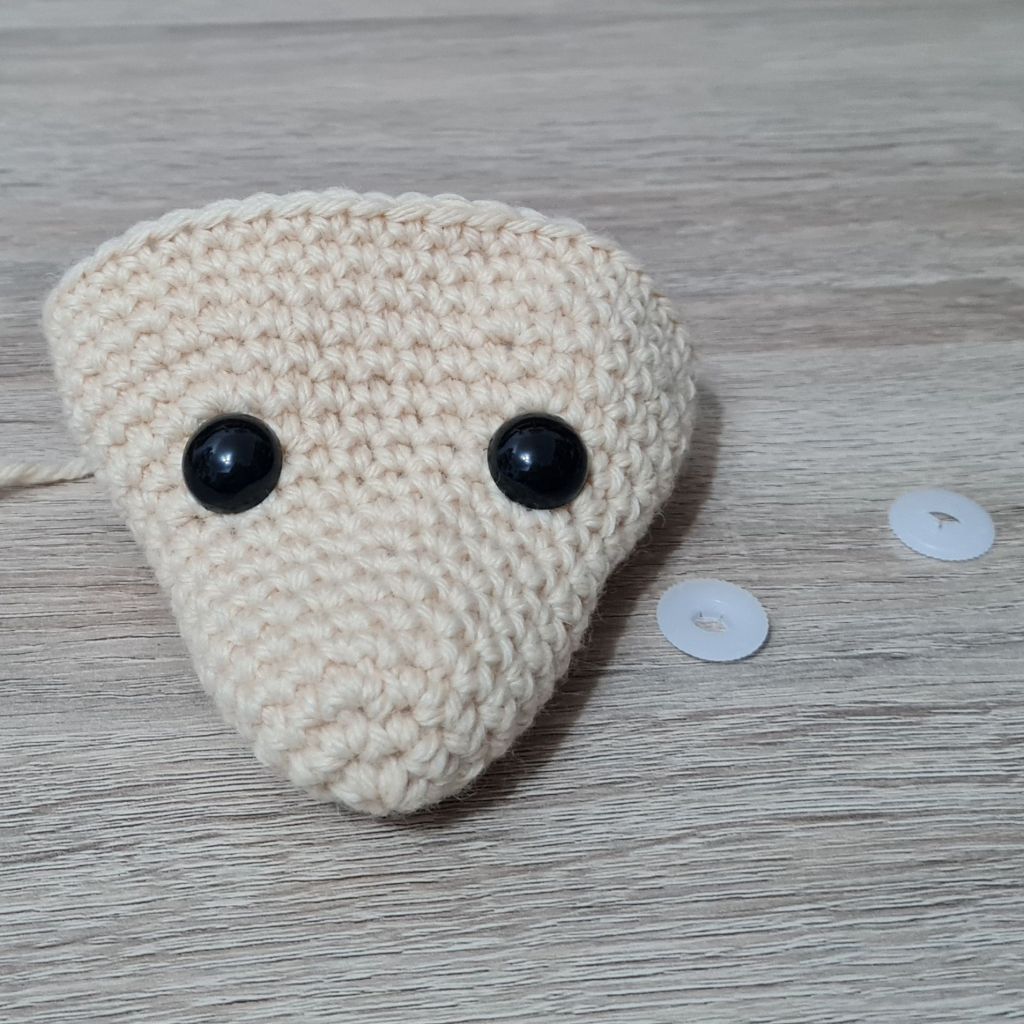
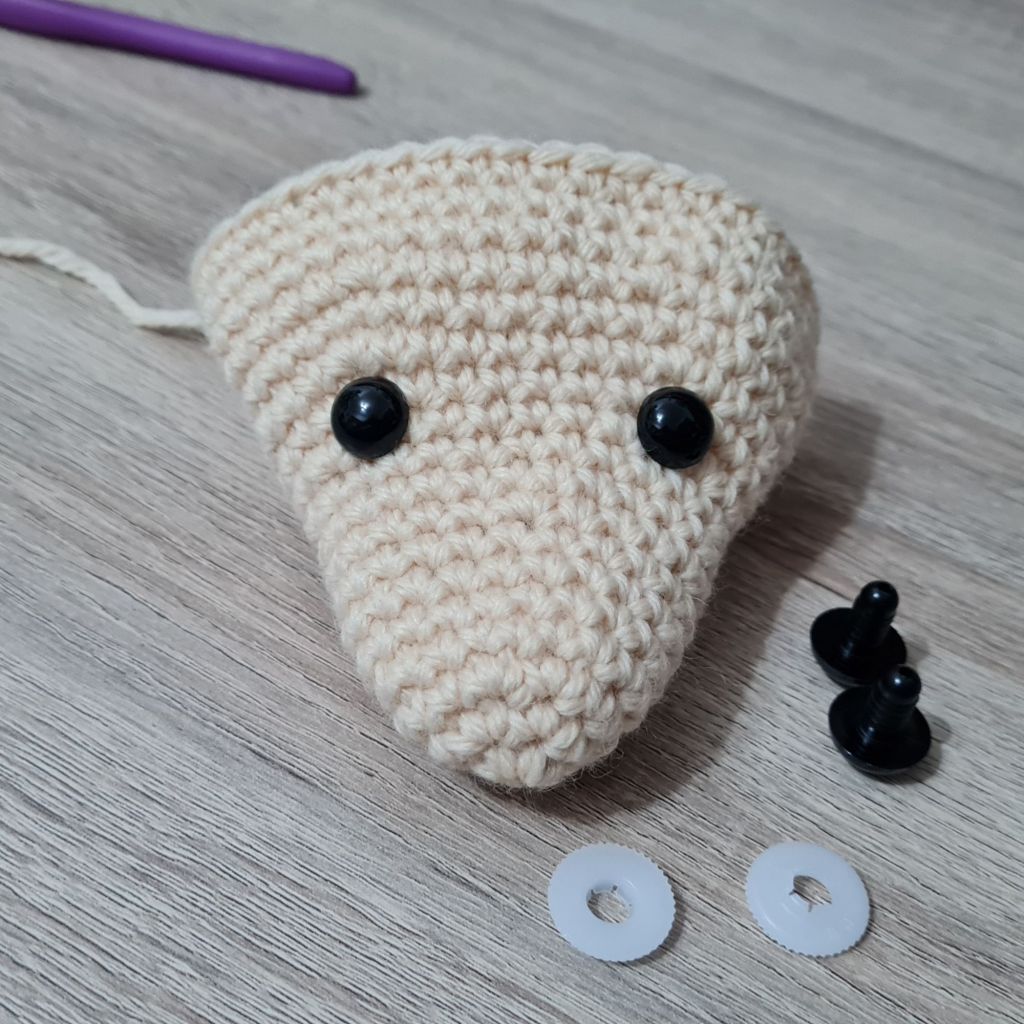
If you’re not sure, it can be helpful to stuff the head first and then pin the nose or muzzle (if there is one) into place. You can then insert your safety eyes and move them around to see how they look, or try different sizes or colours if you want to. When you’re happy with them, remove the stuffing and secure your safety eyes with the washers – it’s worth taking the extra time for eye placement because it can make a big difference to how your finished toy looks.