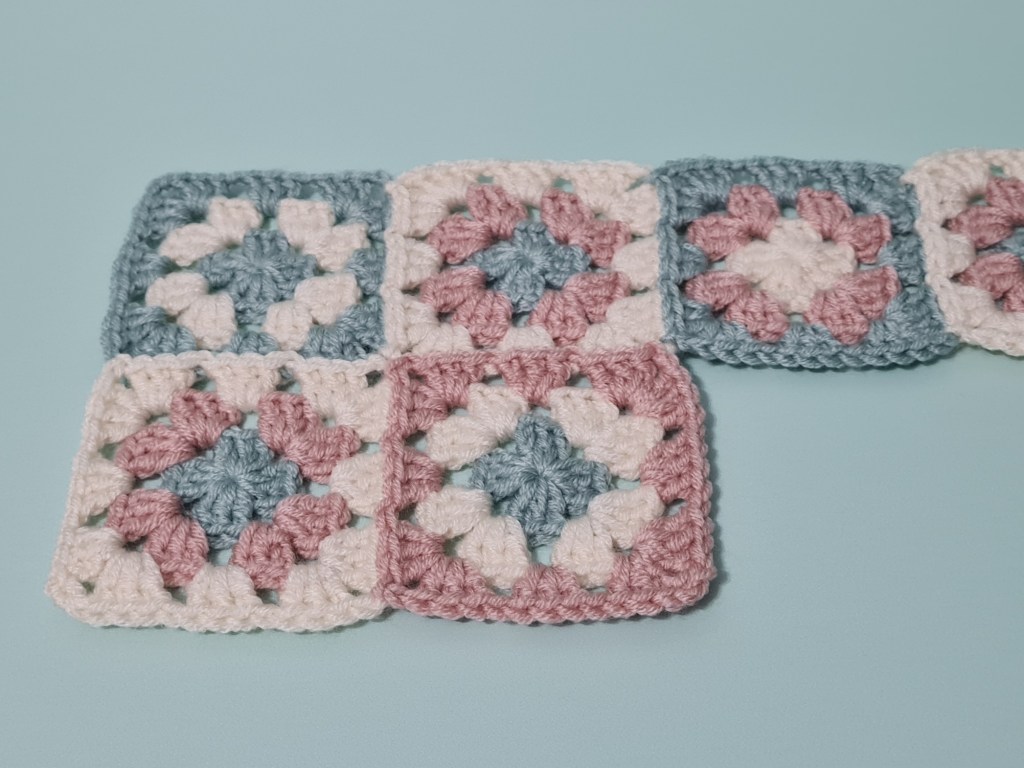
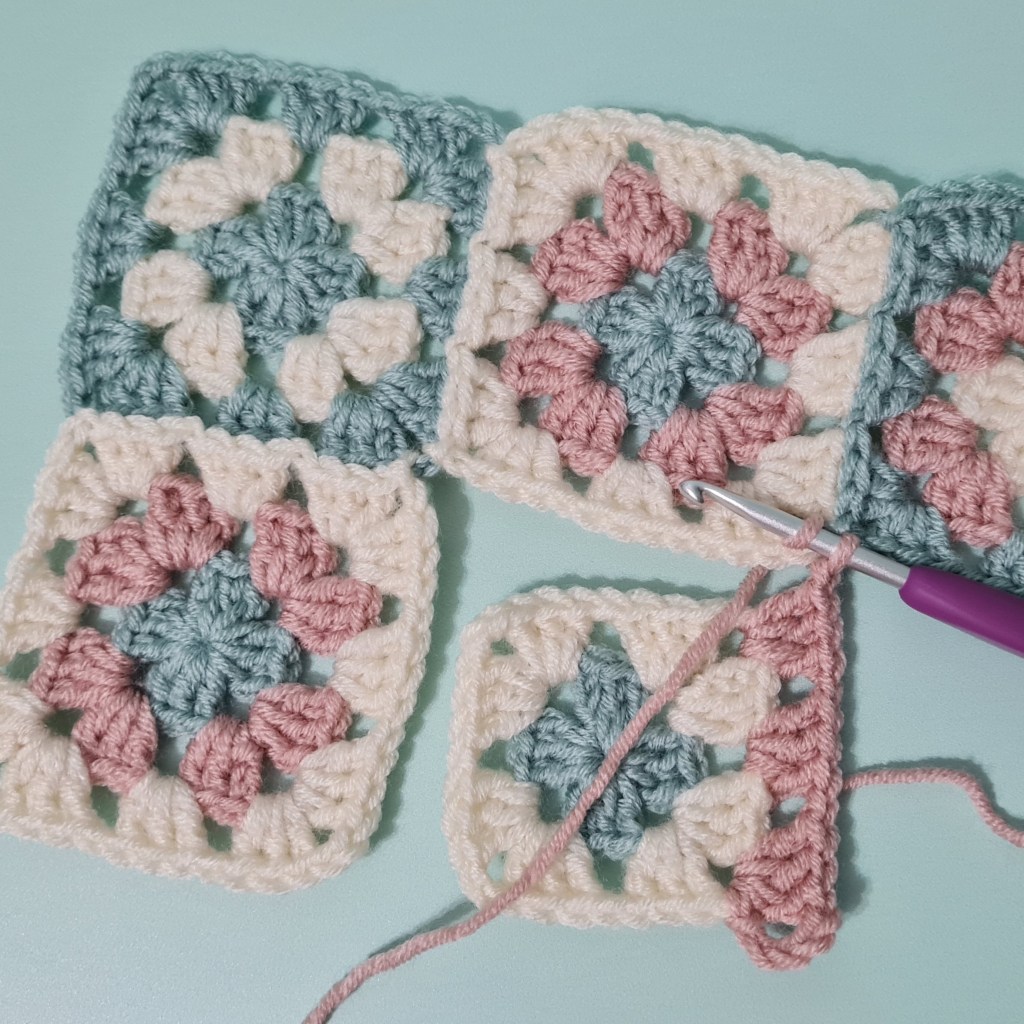
Join As You Go (JAYG) method is a quick and easy way to join your blanket pieces together. In the pictures below I’ve used JAYG to join 3-round granny squares together. You make the join on the last round of each square and will either be joining the square along 1 side or 2 sides, depending on the position of the square. For the 3-round granny squares below, the 1 side join will have 4 joins and the 2 sides join will have 8 joins:
JAYG (1 side – 4 joins):
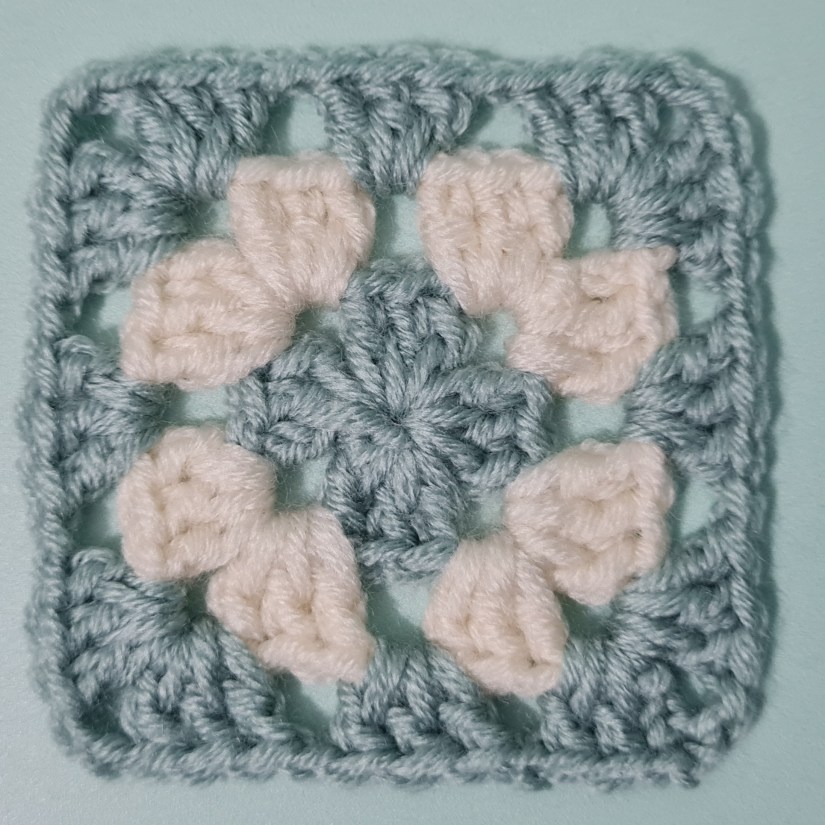
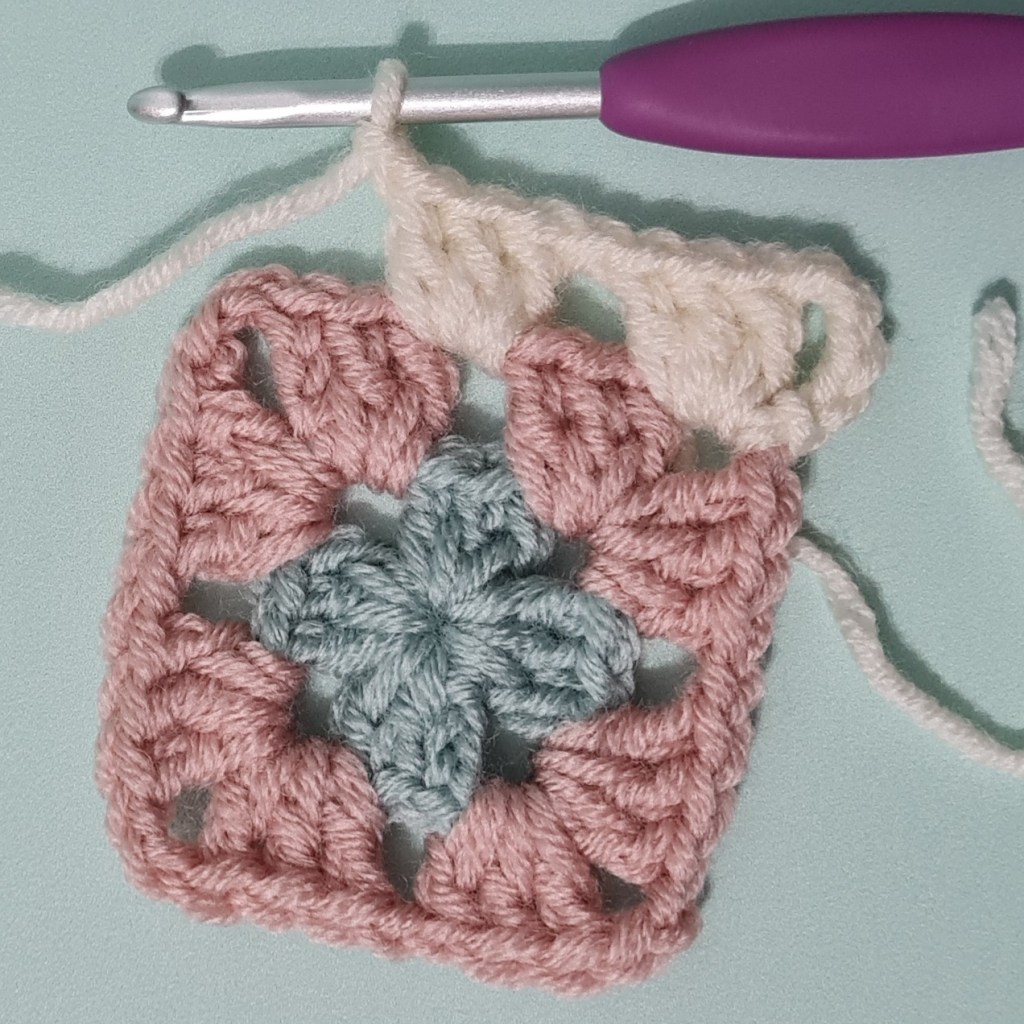
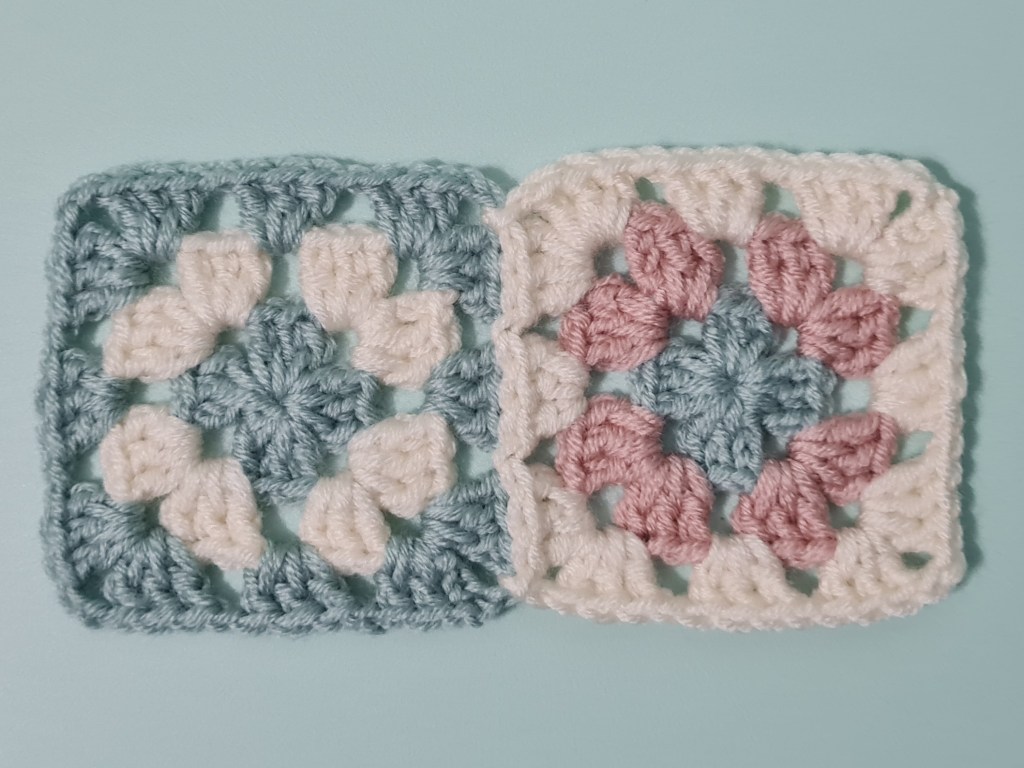
1. The first granny square of the blanket will be the top, left square; make this square whole
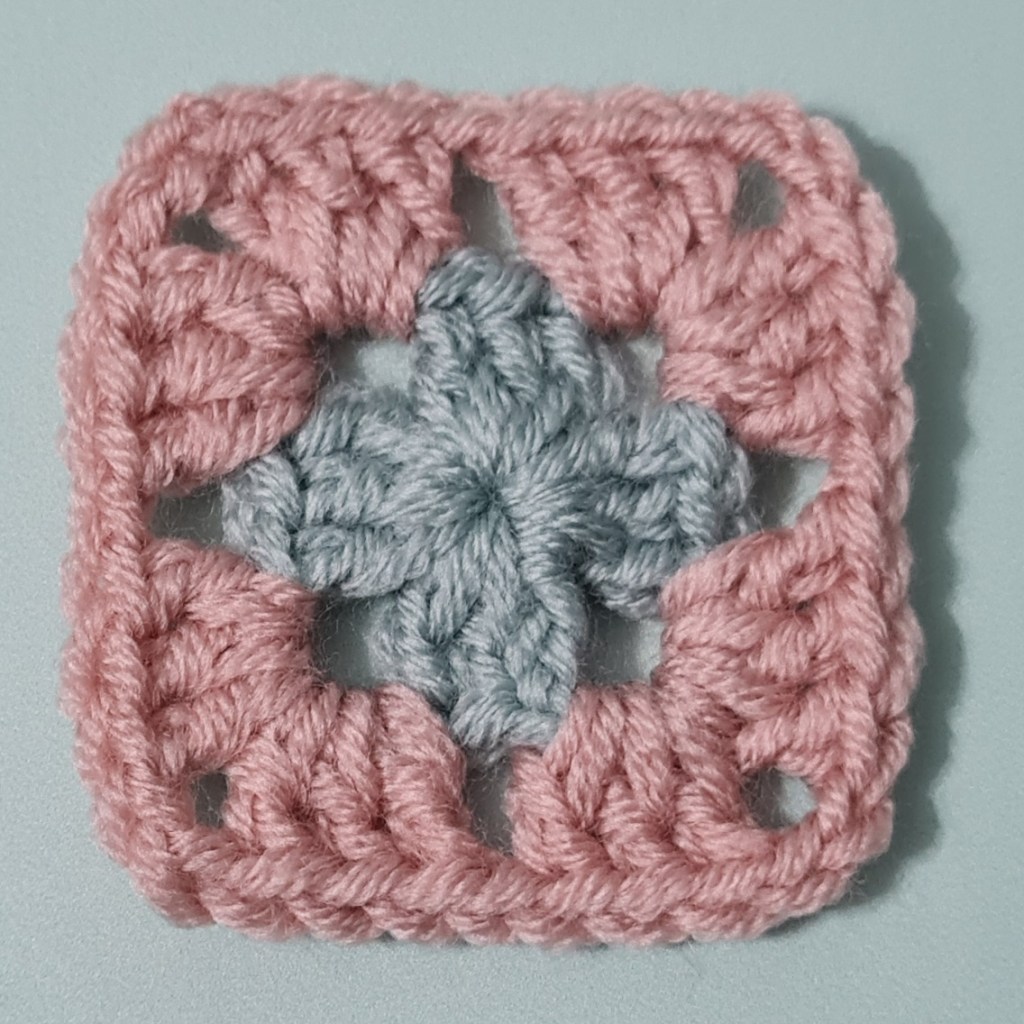
2. For the second square (and all squares along row 1), make rounds 1 and 2 as normal…
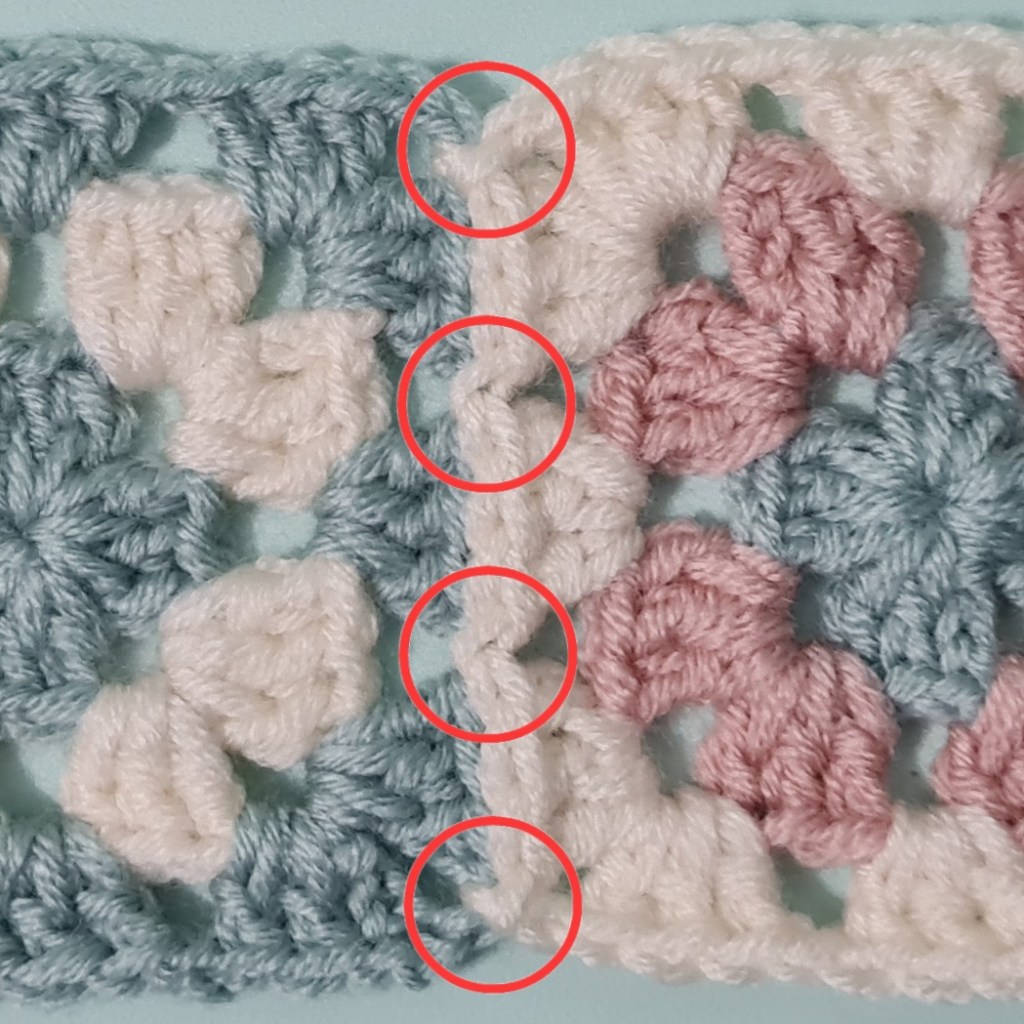
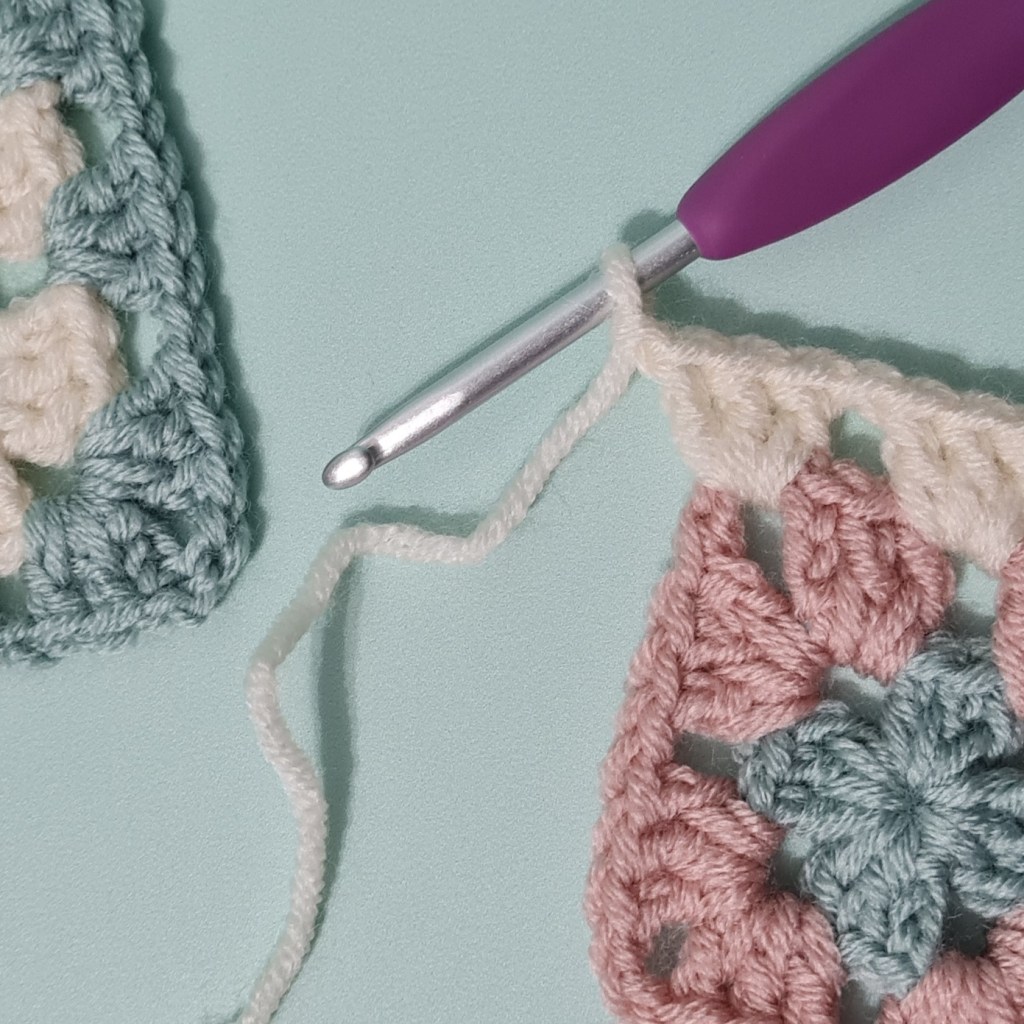
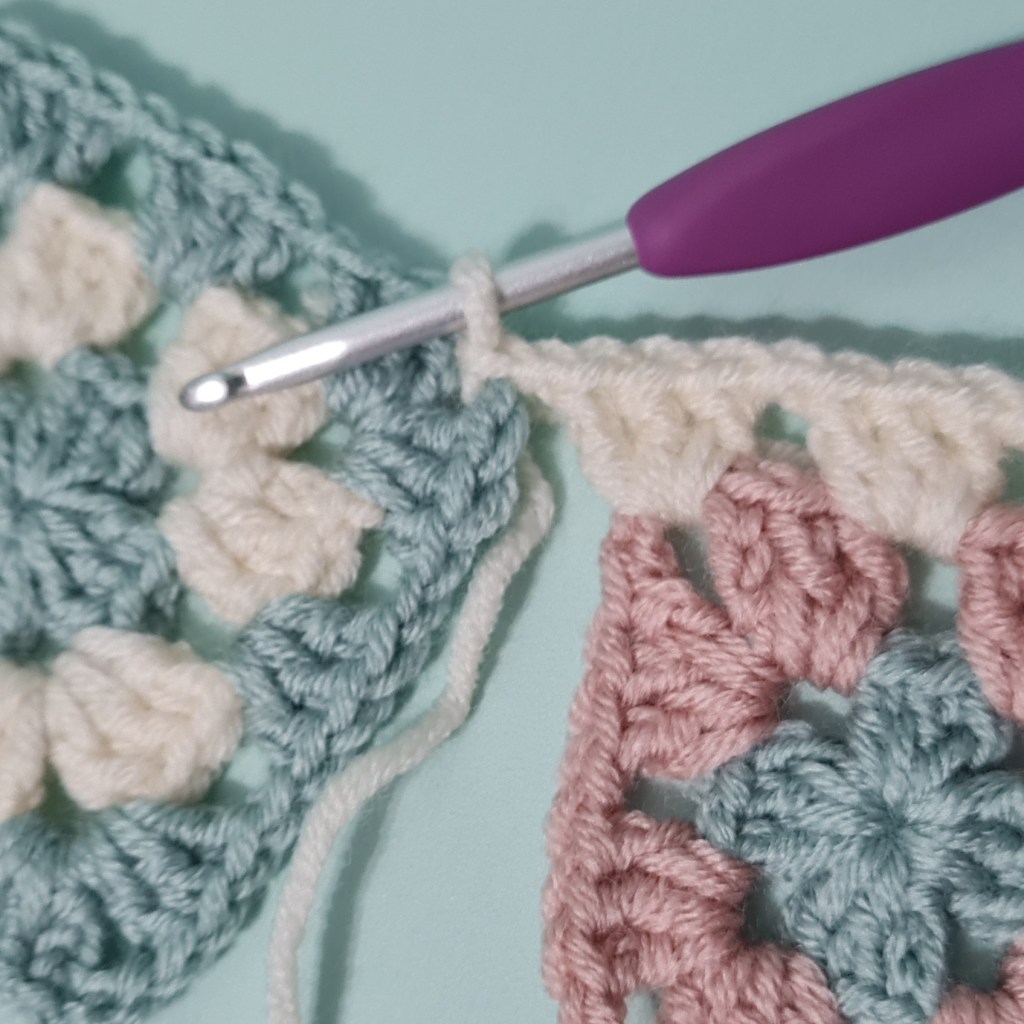
3. Start round 3 and do the first side as normal (I start the join on the second or third side of the square)…
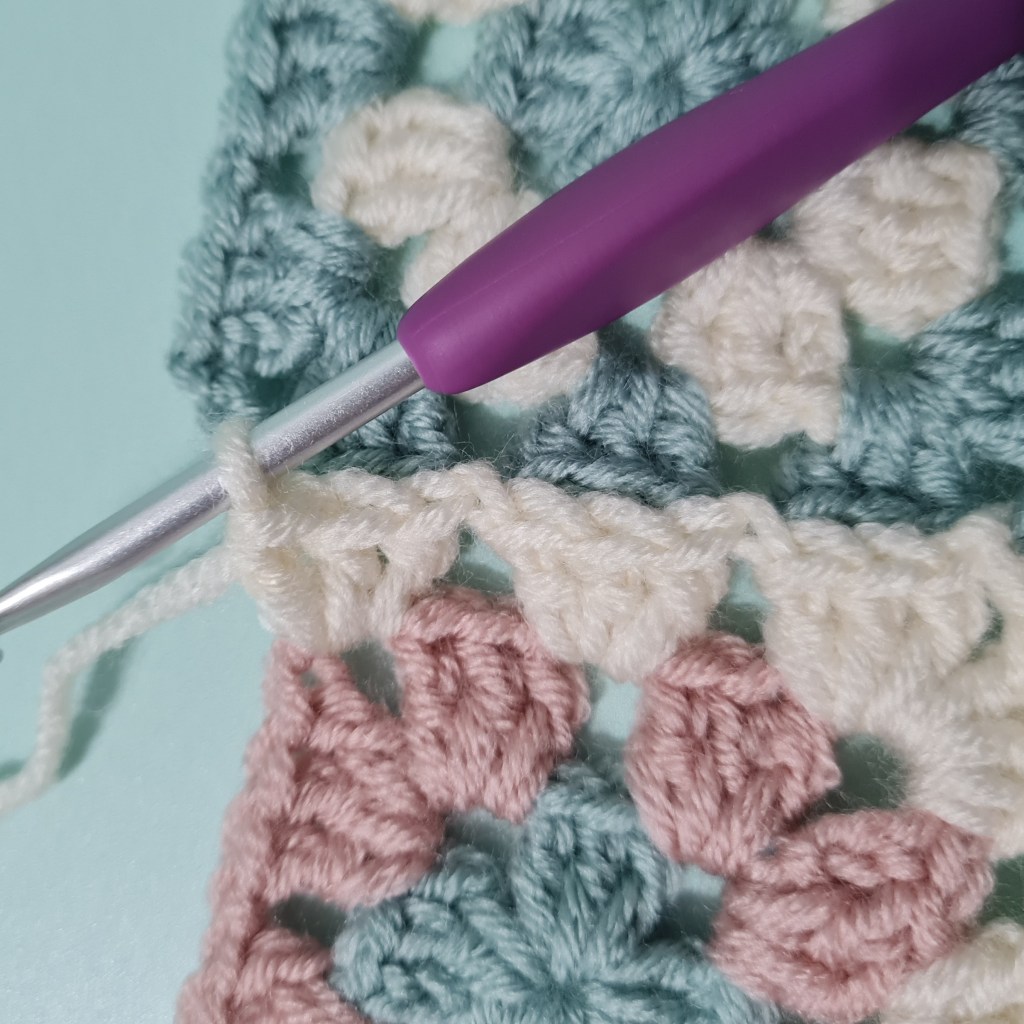
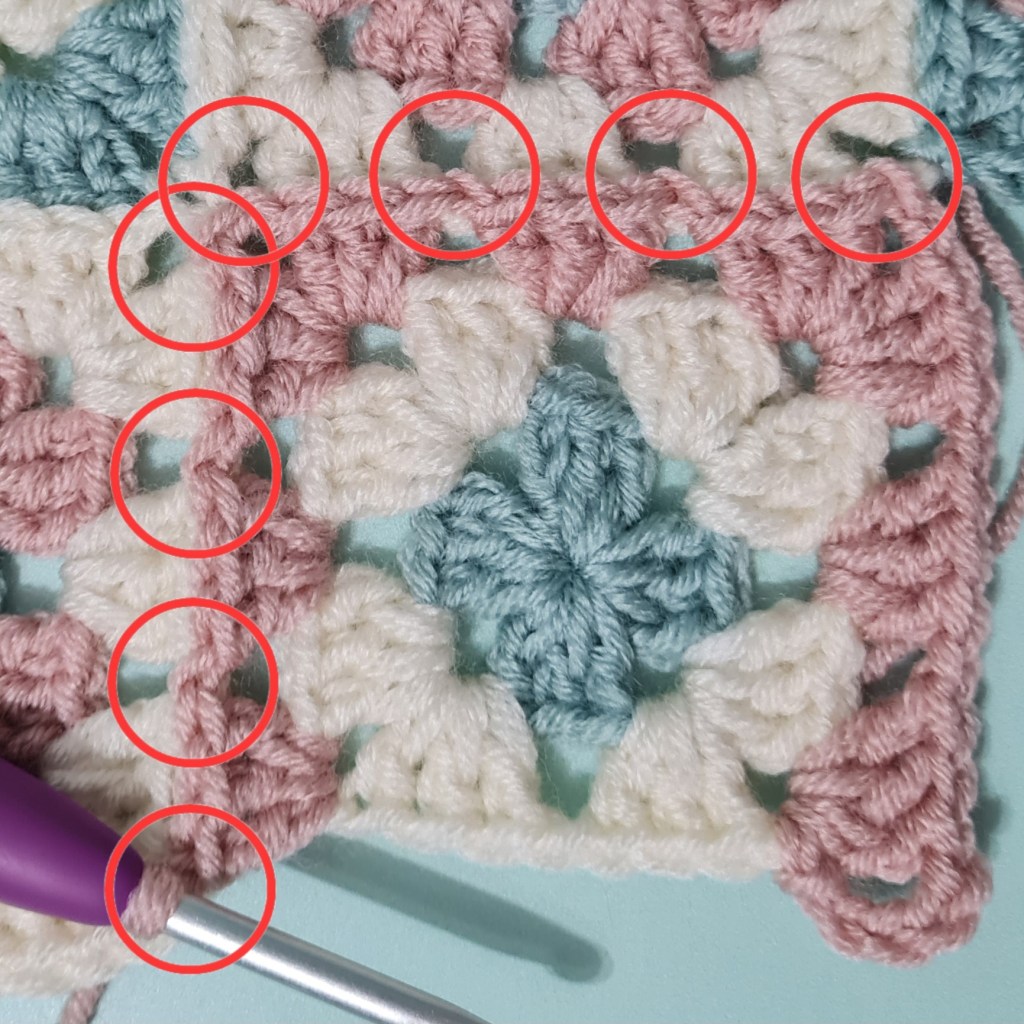
4. at the end of the first side, do the 3 stitches in the corner space and ch1 – instead of the second ch, do a joining slip stitch into the first square:
5. Insert your hook into the first square corner space (from front to back)…
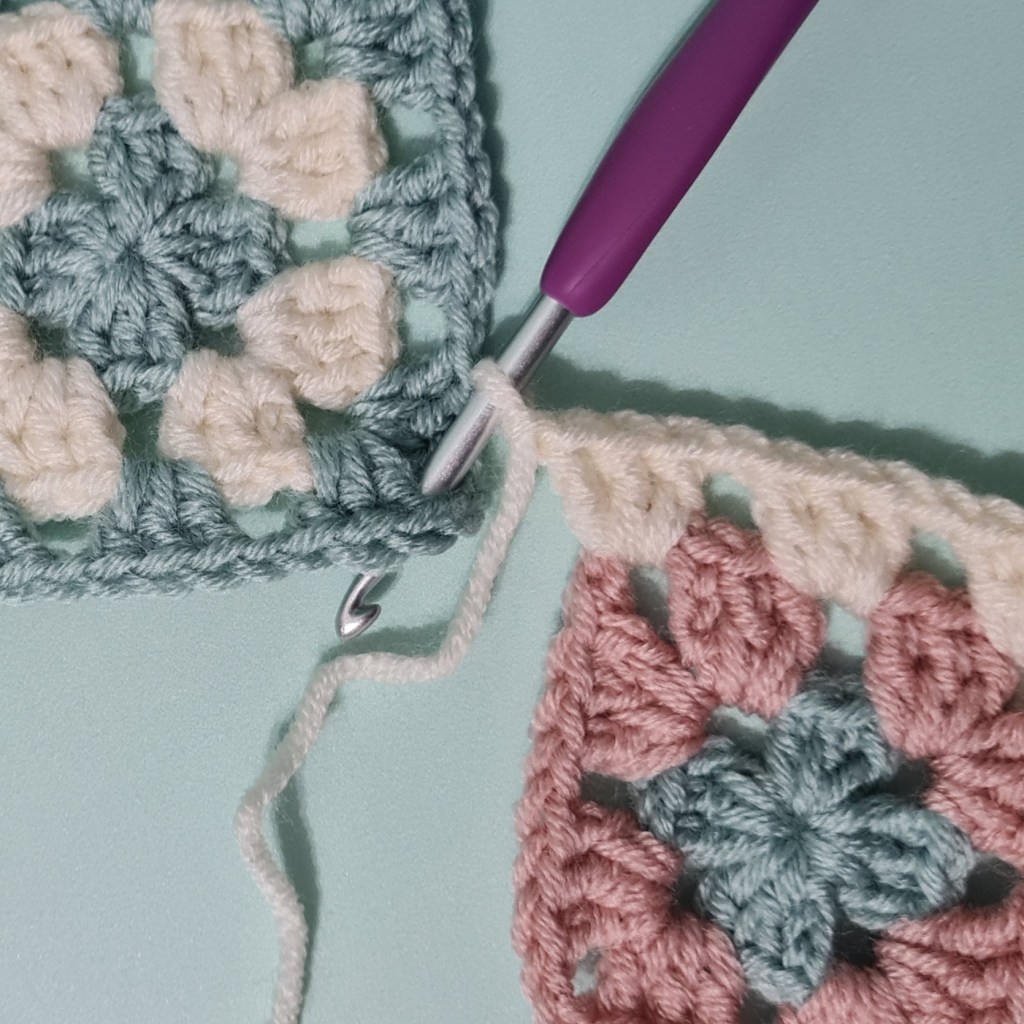
6. Yarn over and pull back through
7. Pull through the loop on the hook making a joining sl st
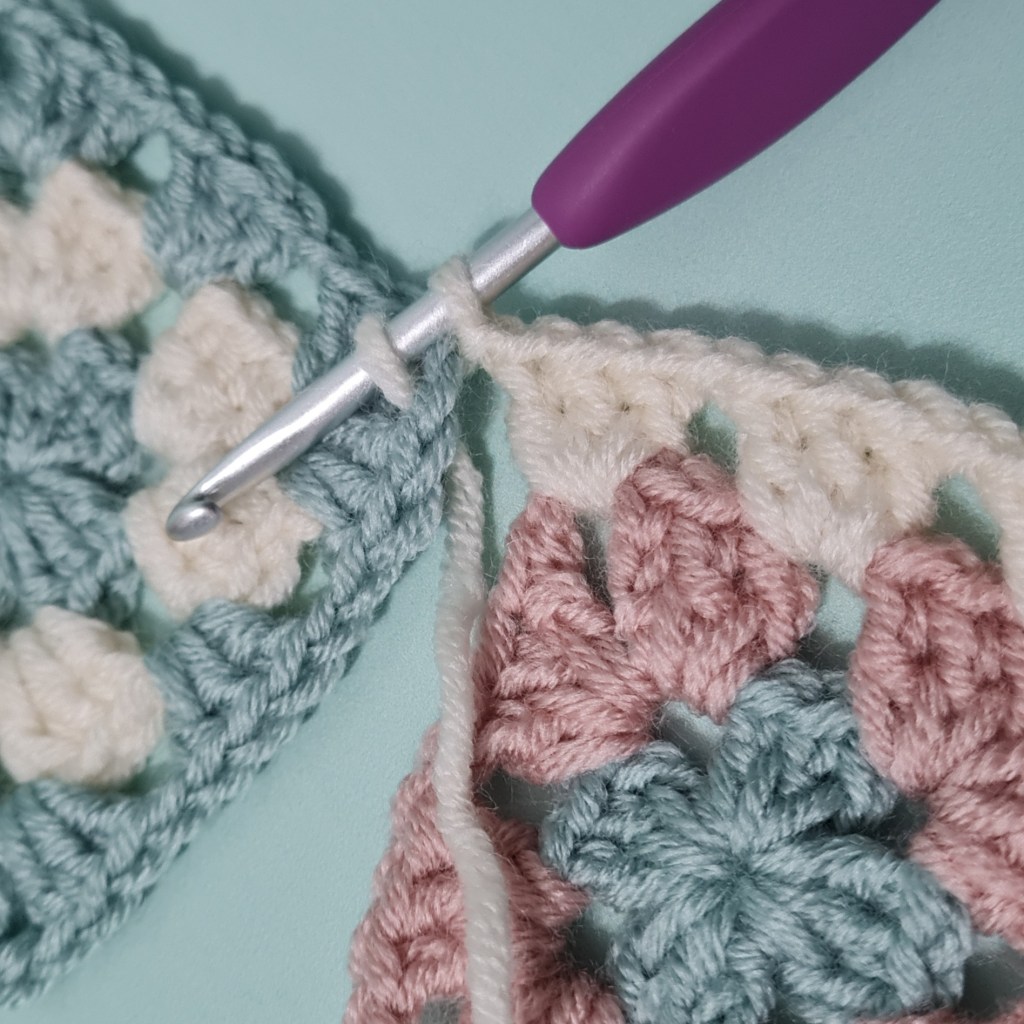
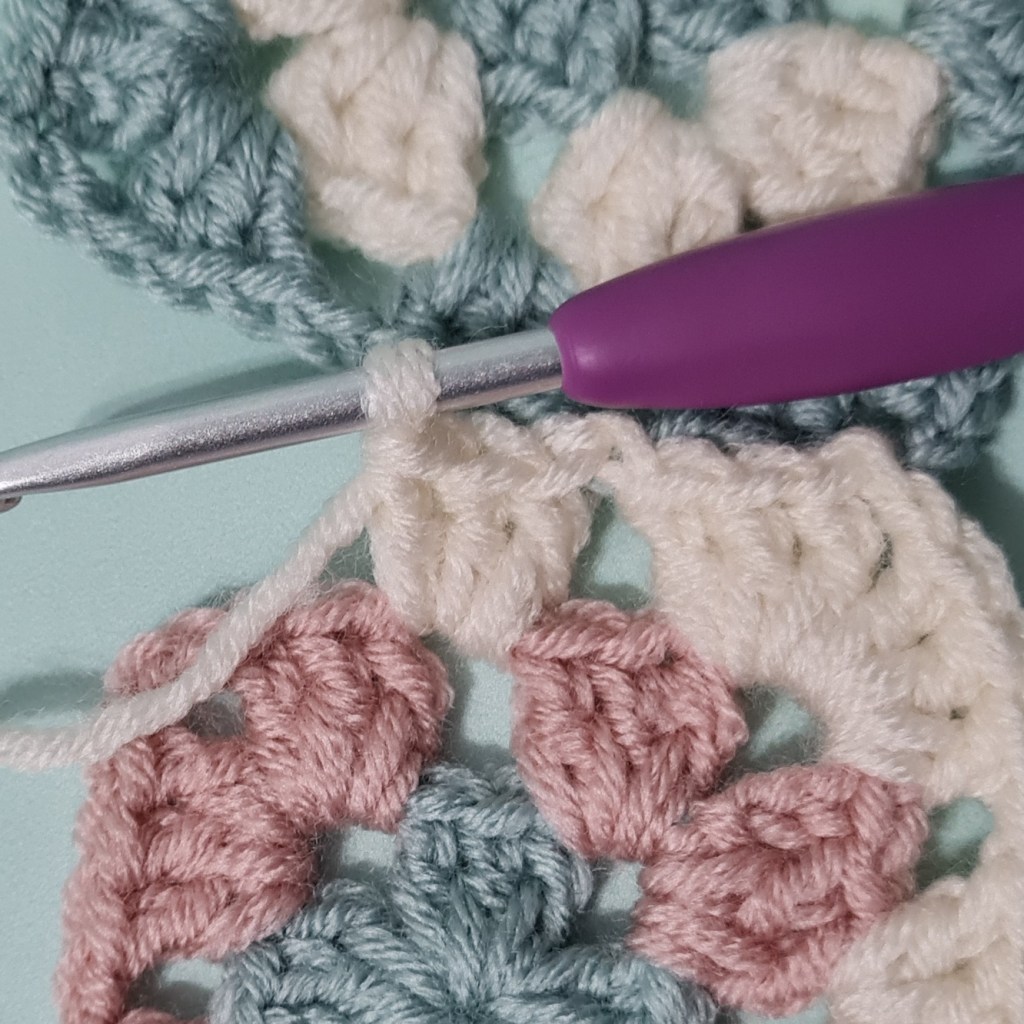
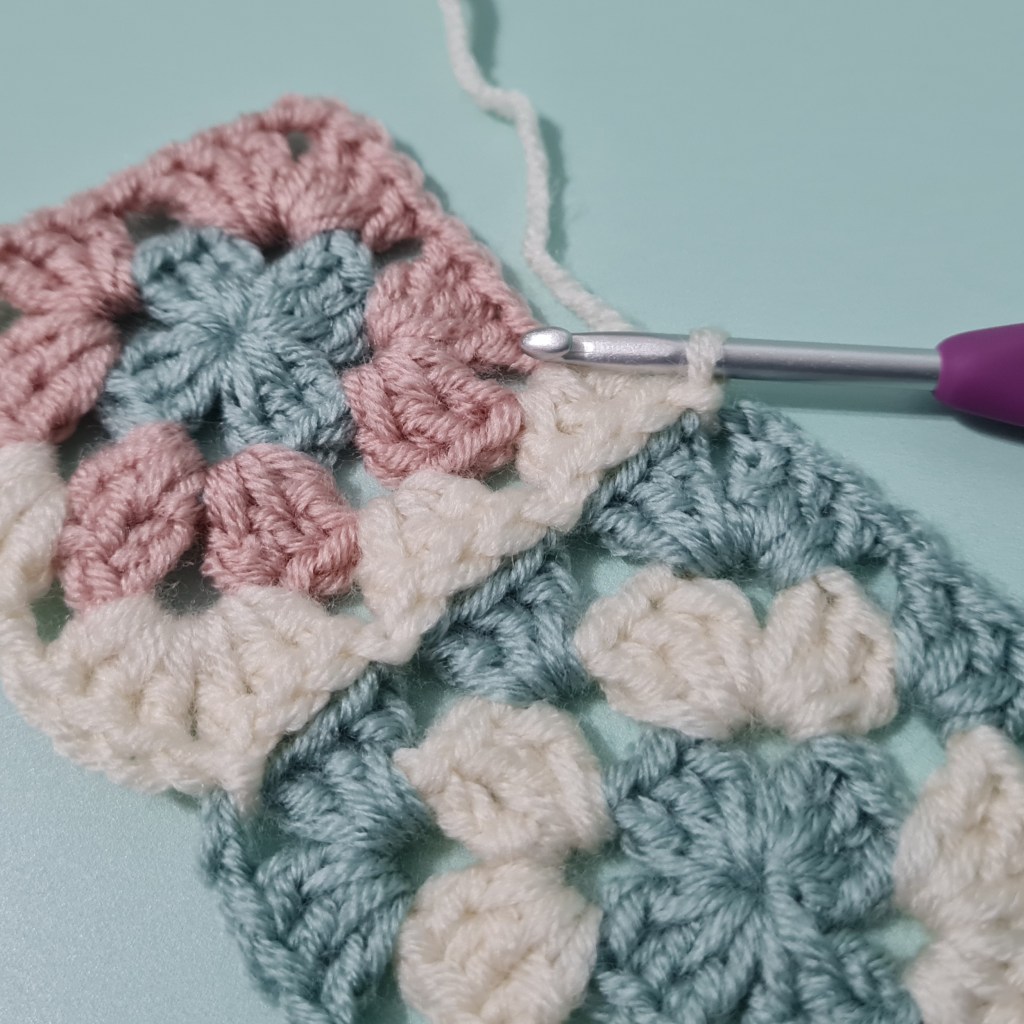
8. Do the next 3 stitches in the corner space to finish the corner…

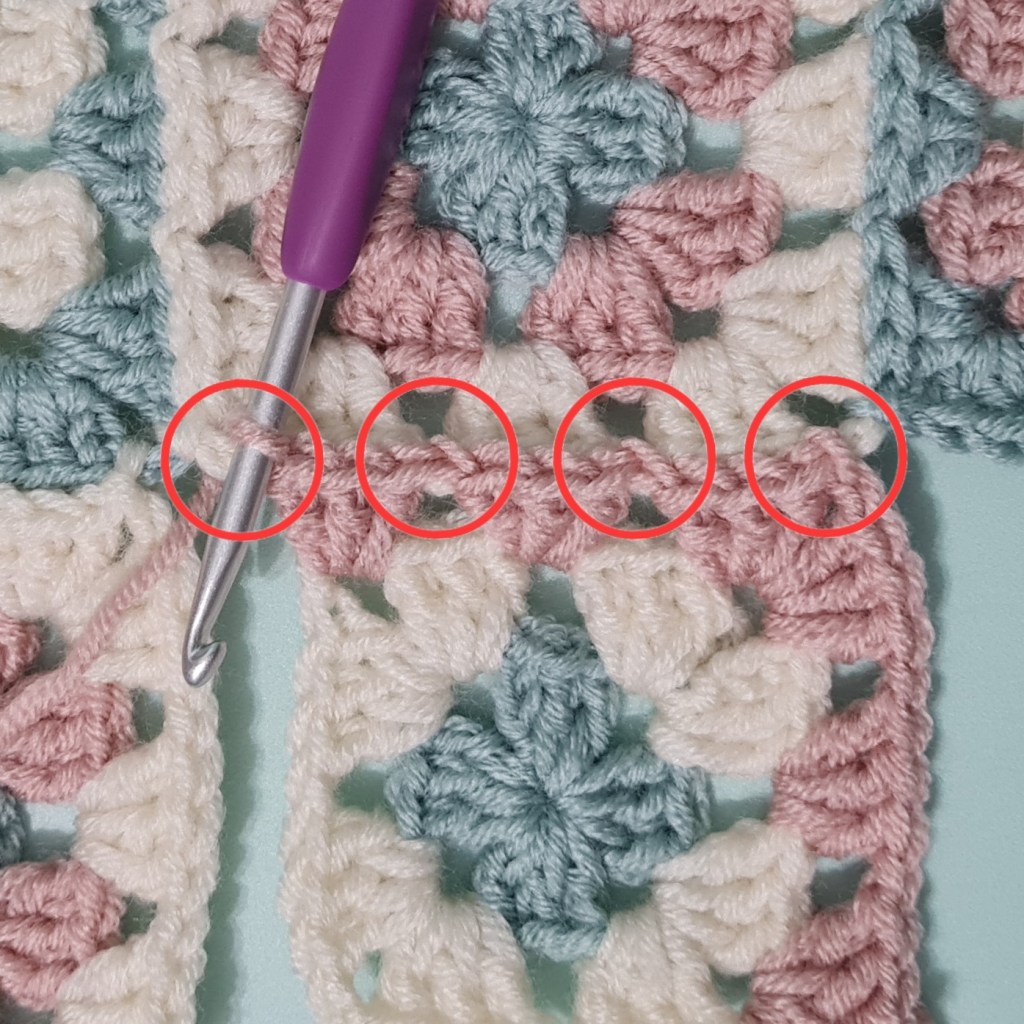
9. Instead of doing ch1, do a joining sl st into the next ch space of the first square
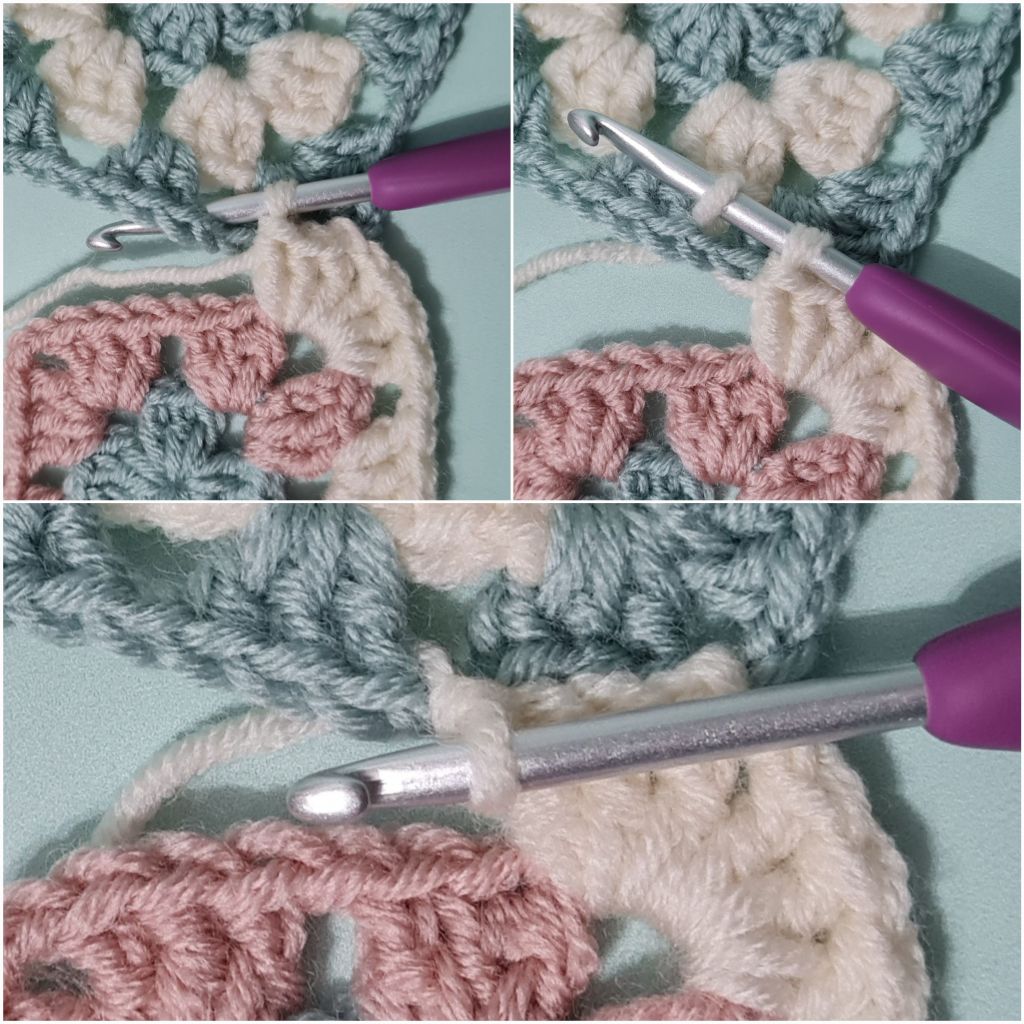
10. 3 stitches in the next ch space, as normal
11. Instead of doing ch1, do a joining sl st into the ch space of the first square
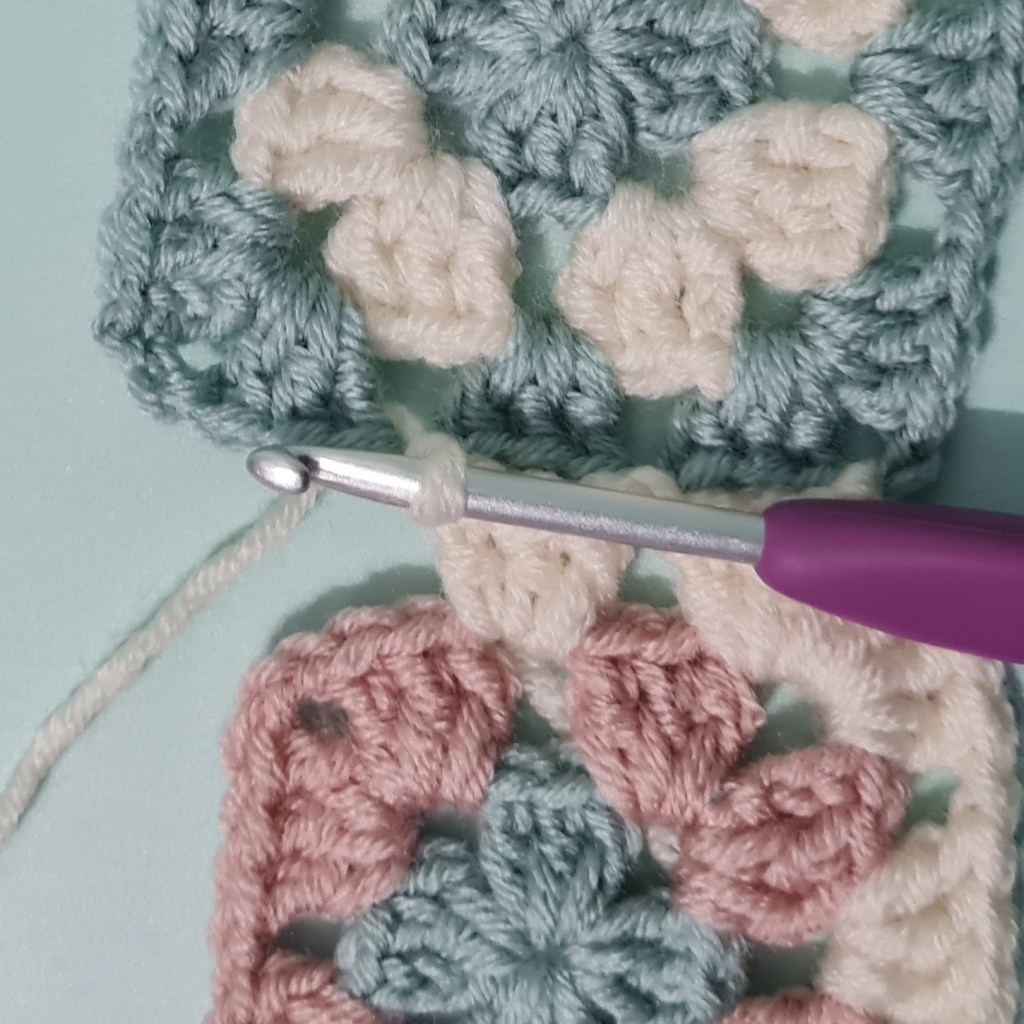
12. 3 stitches in the corner space, as normal
13. Instead of doing ch1, do a joining sl st into the corner space of the first square
14. ch1, do the next 3 stitches in the corner space to finish the corner
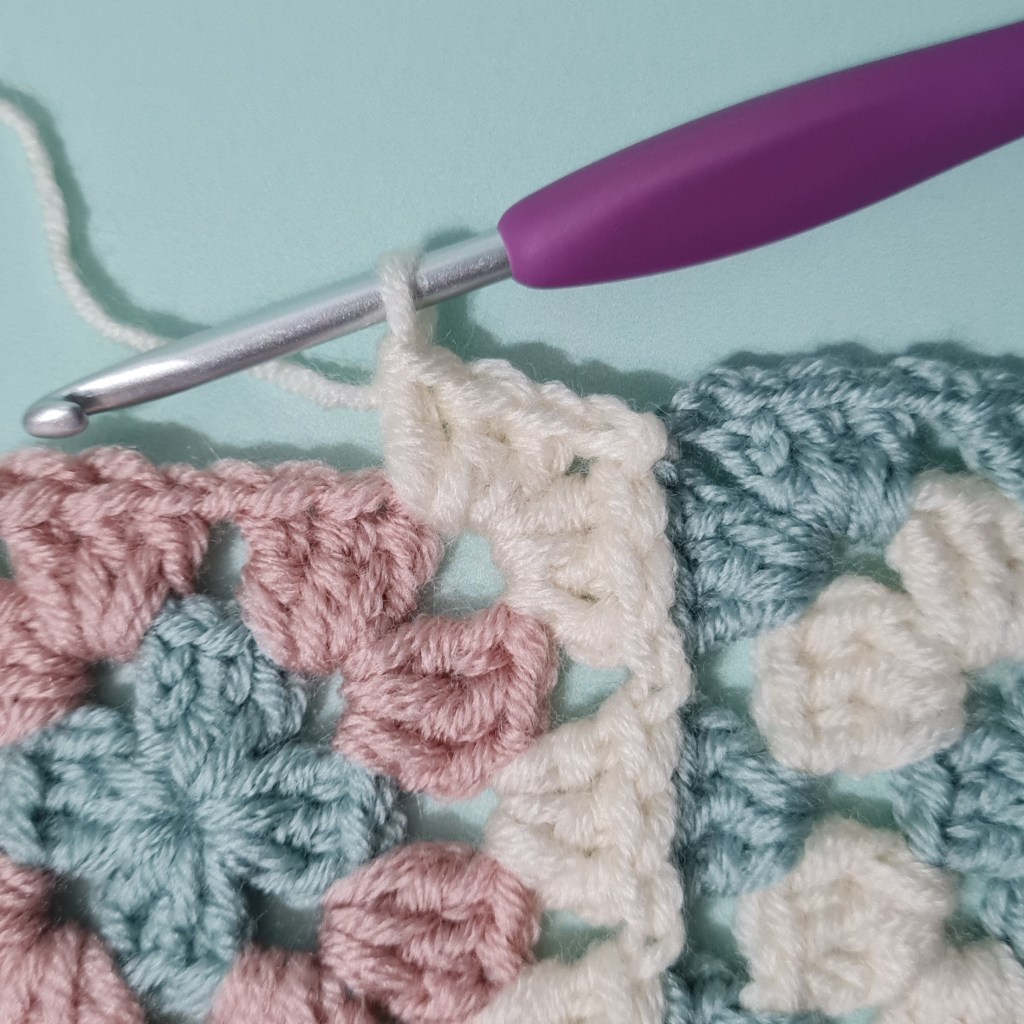
15. Continue making the rest of the square as normal
JAYG (2 sides – 8 joins): Follow the instructions above (from box 1 to box 13) to join one side of the square (start the join on the second side)…
1. You’ll have joined your square along the bottom of the square above, with 4 joins…
2. Instead of doing a ch1, make a joining sl st into the corner space of the square on the left

3. Continue working along the third side of the square, doing 3 stitches and a joining sl st…
4. After the fourth joining sl st (8 in total for both joined sides)…
5. Do your ch1 and 3 stitches in the corner space to finish the corner

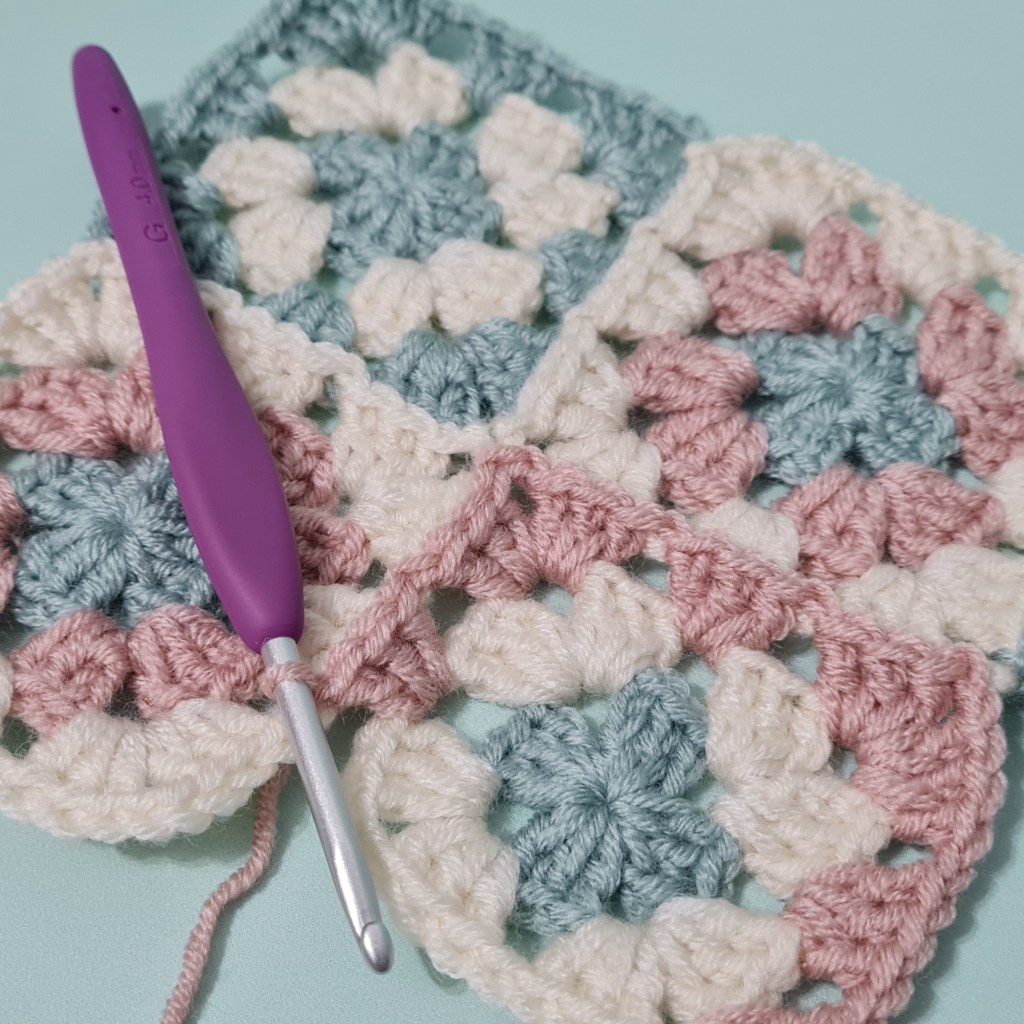
6. Continue making the square as you normally would along the fourth side and fasten off
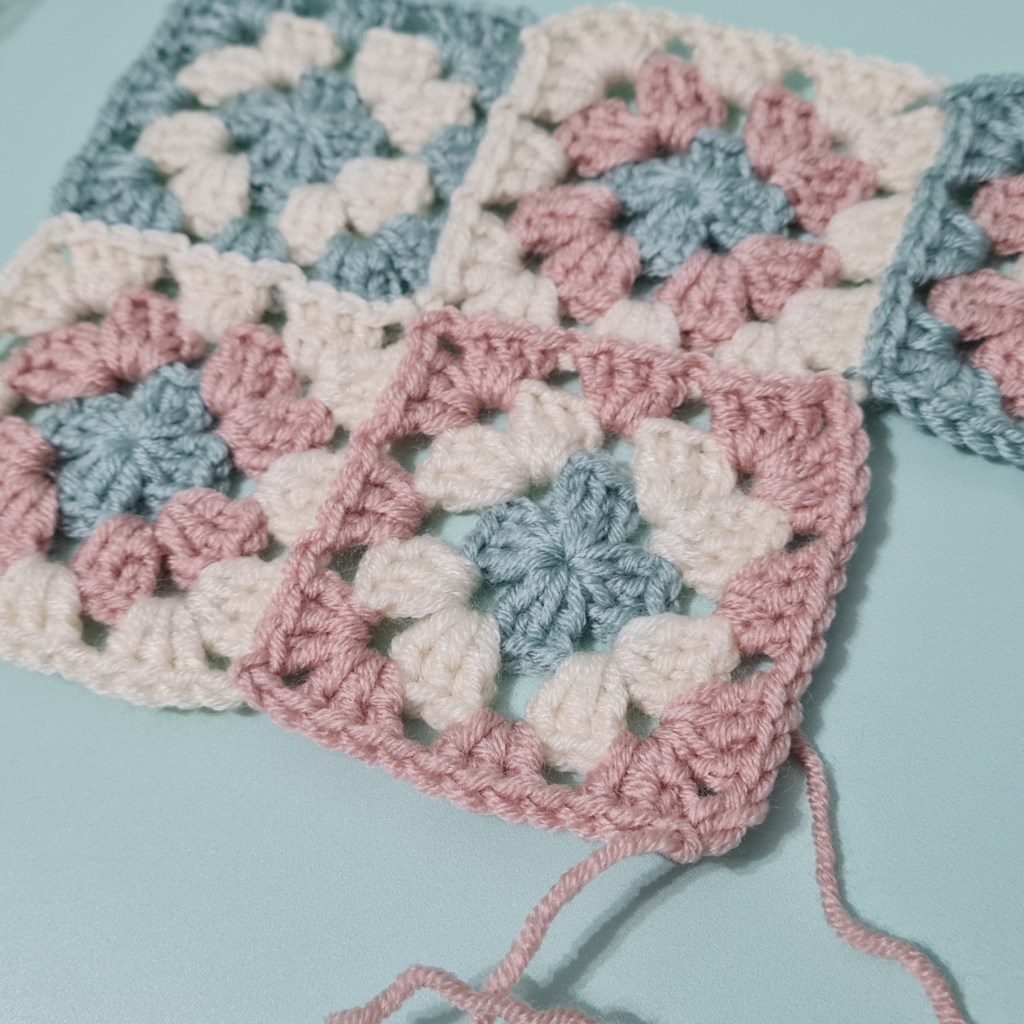
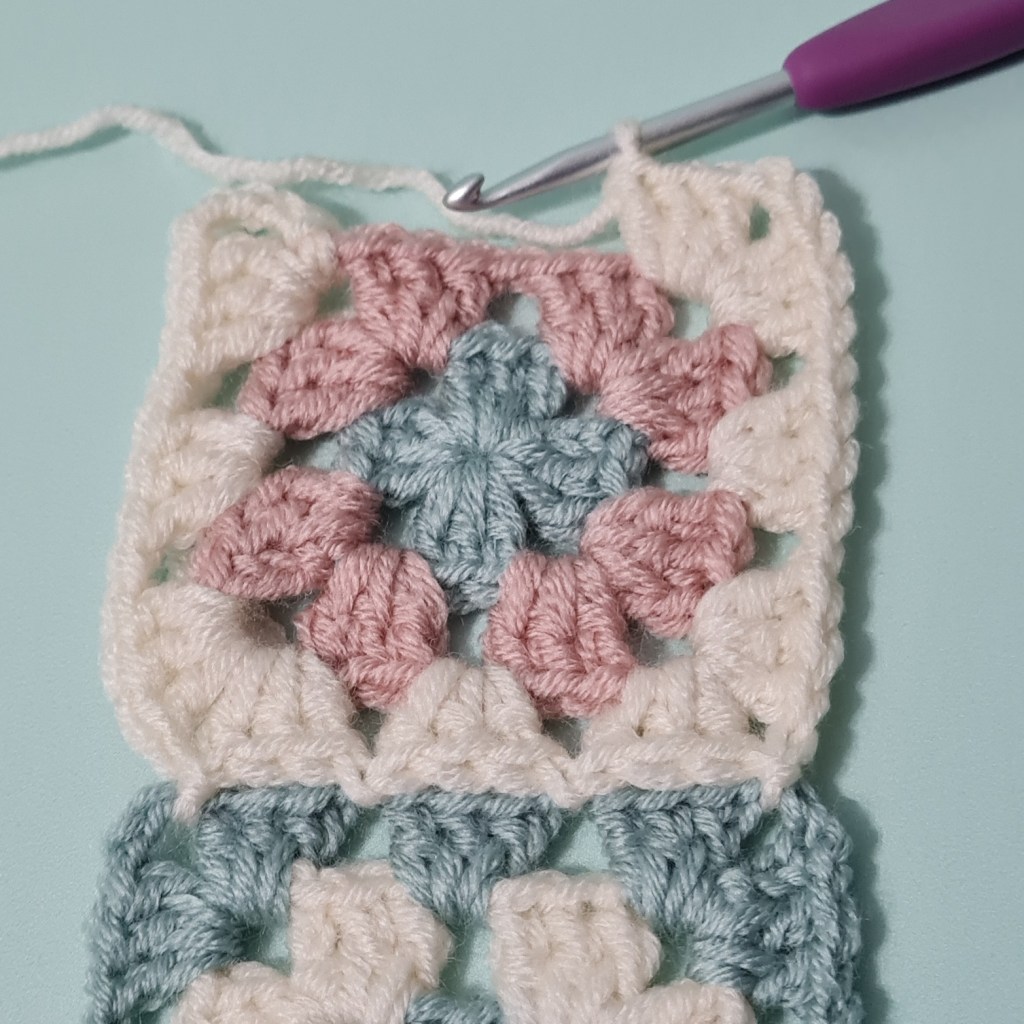
7. You can now sew in any ends and move on to the next square